Home › Forums › BD-5 Builders Forum › Cockpit and Canopy Construction › BD5J Forward Windscreen Build
- This topic has 9 replies, 1 voice, and was last updated 2 years, 4 months ago by
Benjamin Morgan.
-
AuthorPosts
-
February 8, 2023 at 7:56 am #293
Benjamin Morgan
KeymasterAbout to kick off fabricating all of the forward windscreen components for my BD5J build. Will be making up a set of CC4 and CC11 flange sections.
In preparation I have removed the mounting flanges from one of my other BD-5 kits as a reference. Whilst these parts have templates found in the BD5 plans, none of these parts would fit the BD5J fuselage that I am currently working on.
-
This topic was modified 2 years, 5 months ago by
-
This topic was modified 2 years, 5 months ago by
-
This topic was modified 2 years, 5 months ago by
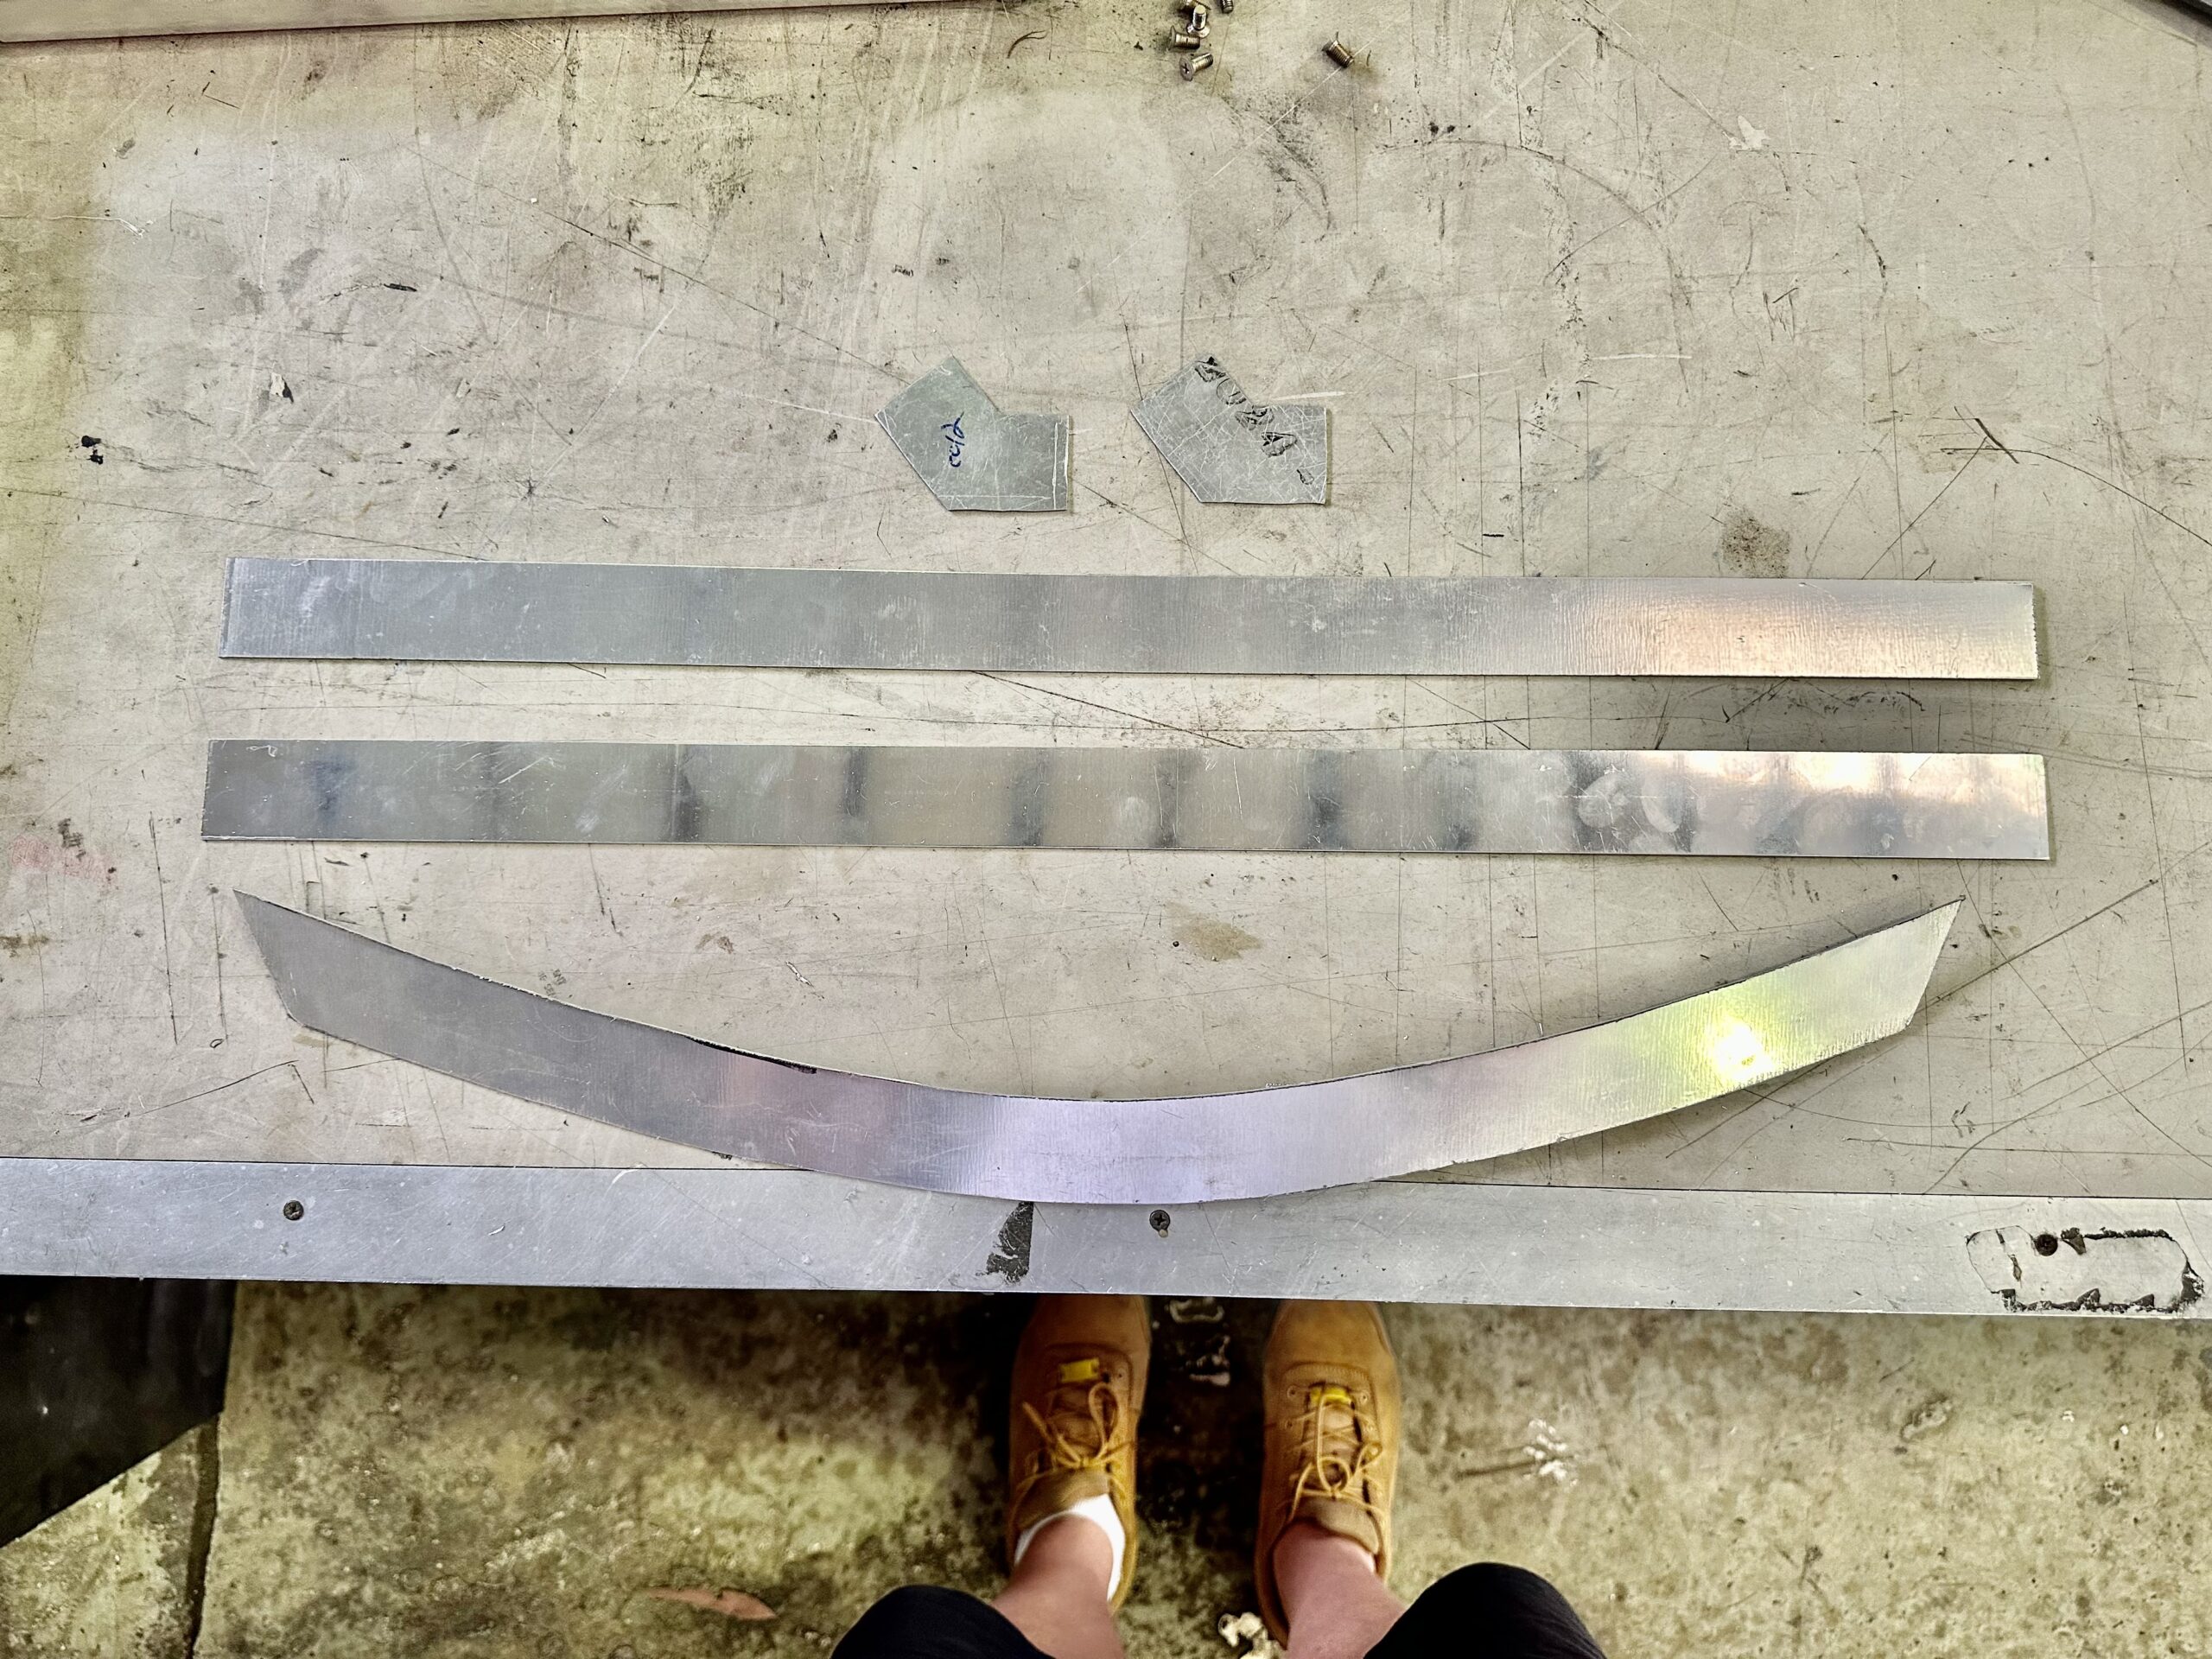
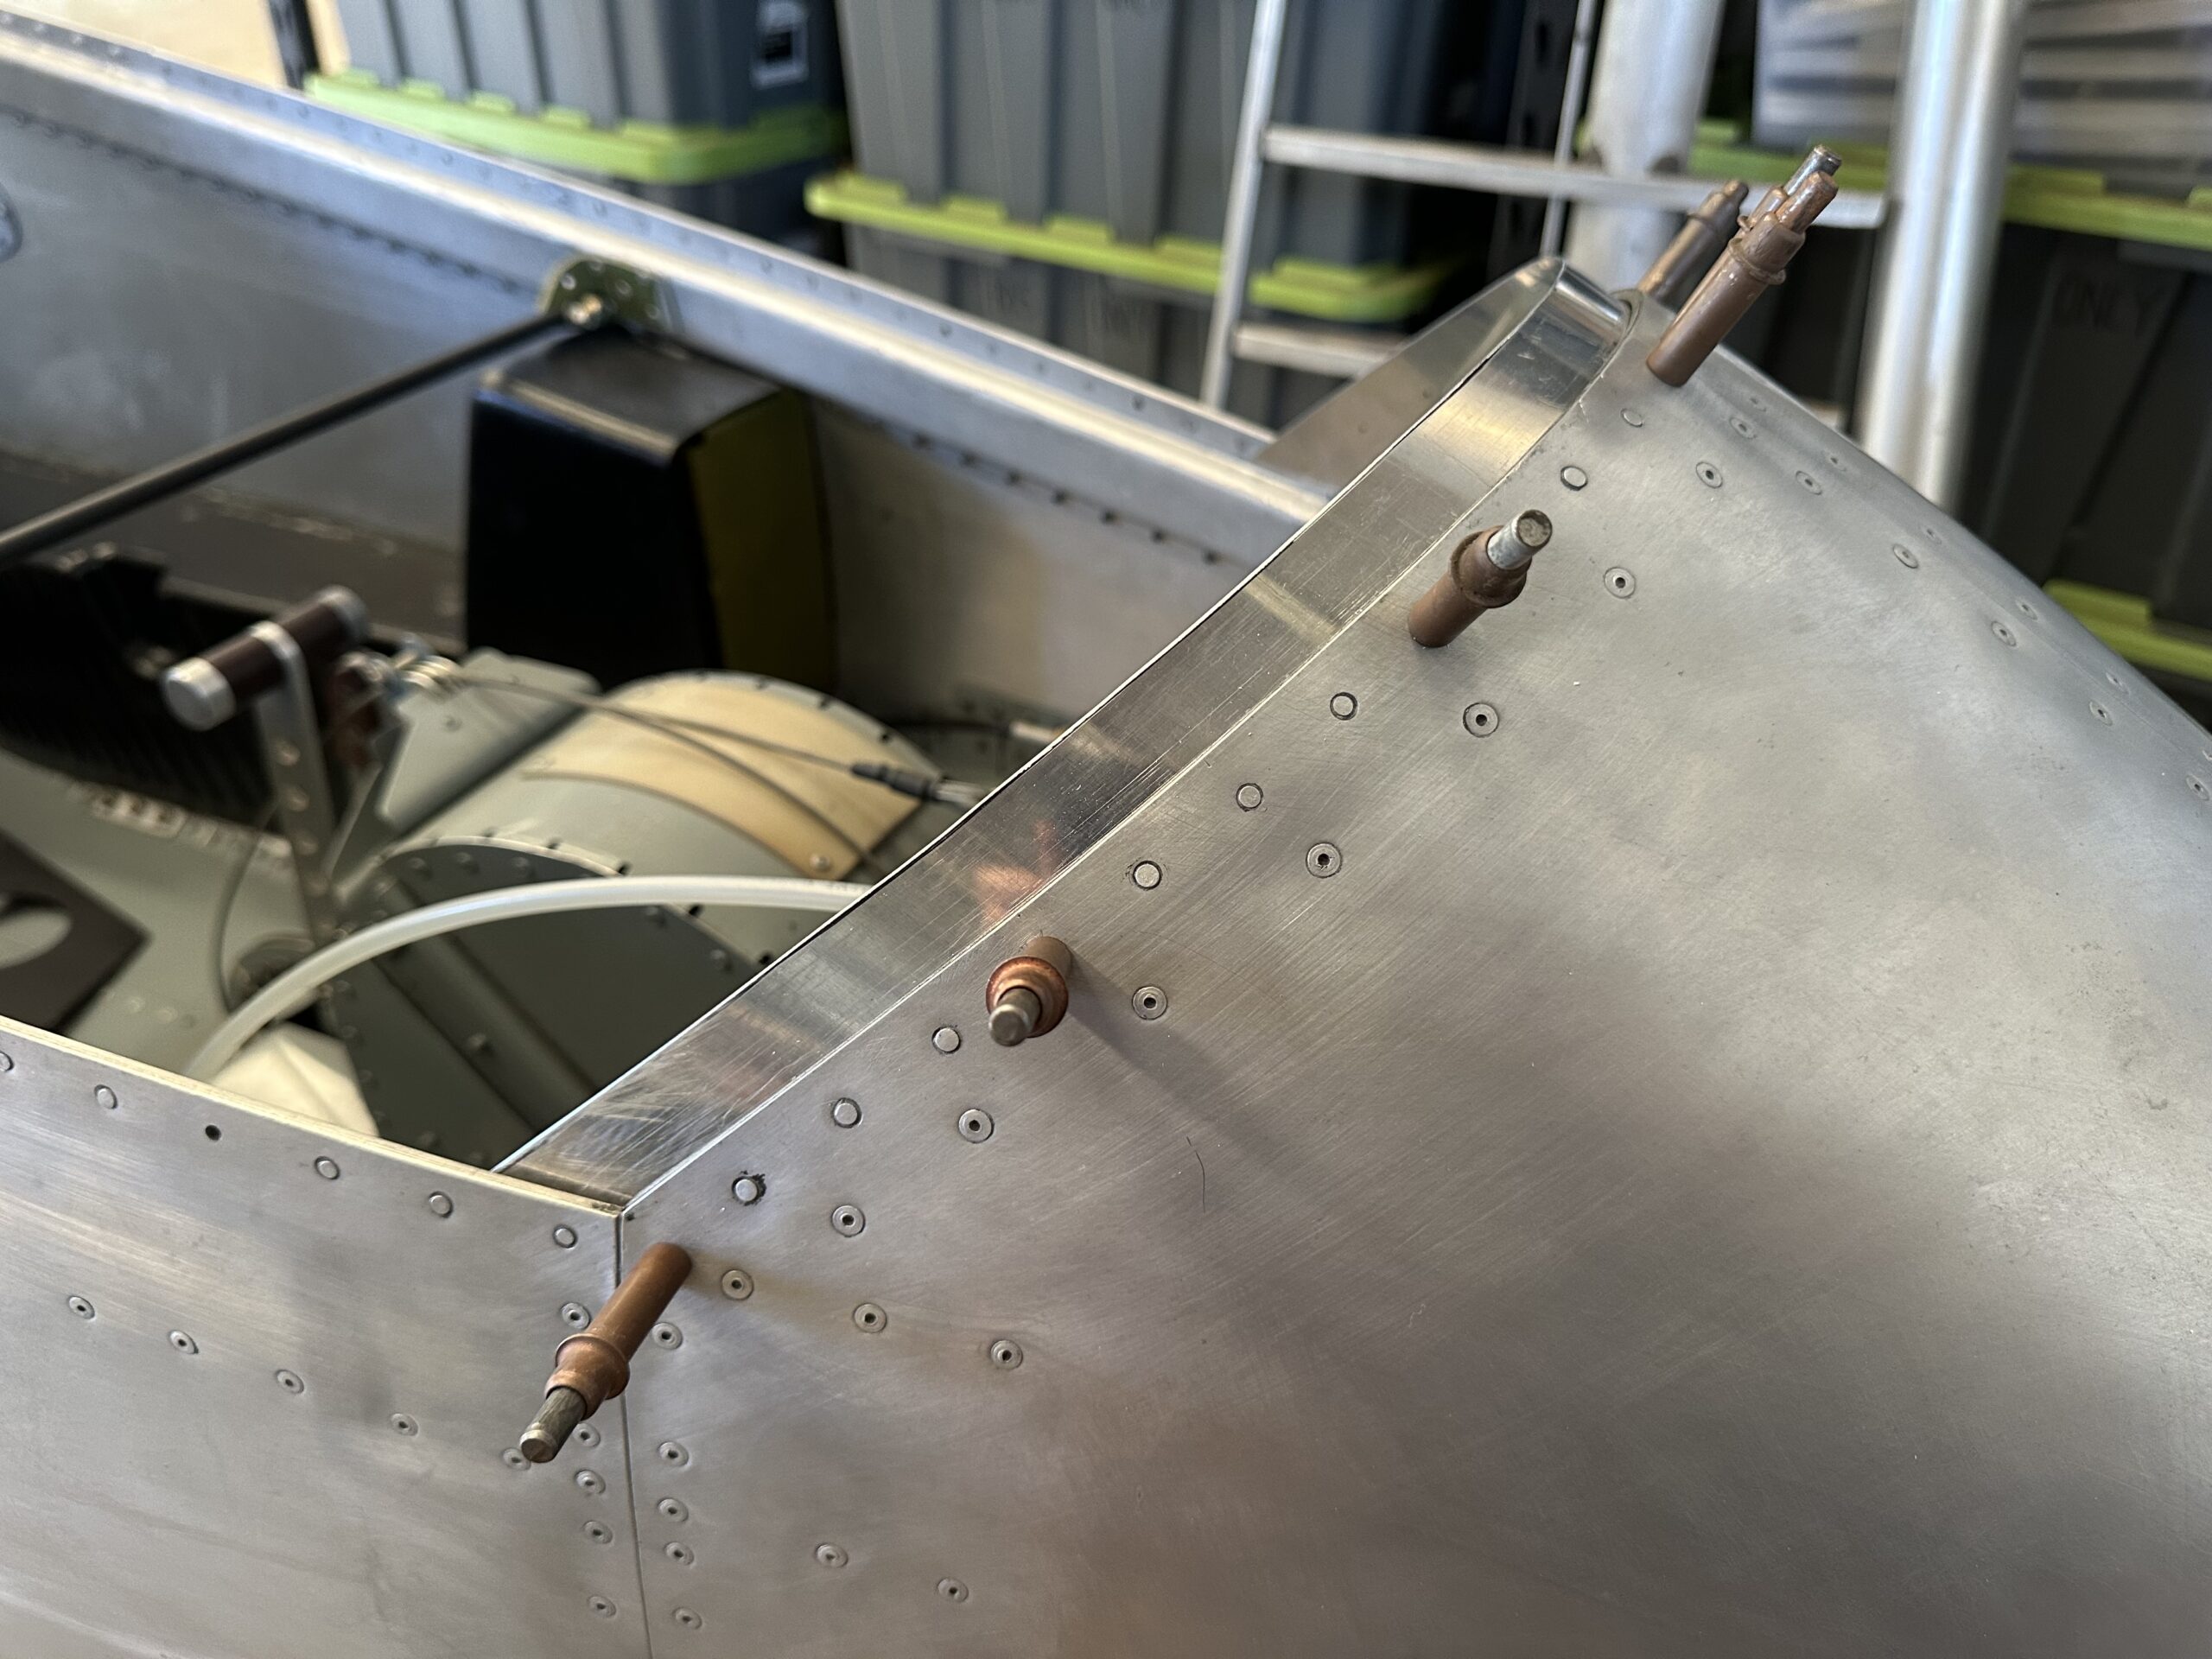
February 9, 2023 at 6:30 am #329KeymasterAnother progress day today. Managed to get the CC4, CC11 and CC13 forward windscreen mounting flanges cut out and trial fit – albeit with some fiddling about. Having carefully copied across the templates from the full-sized BD5 plans to the 2024 T3 0.032″ sheet, and spending time carefully cutting out the components with the band-saw and file finishing all edges, I quickly discovered they did not fit the airplane!
So, it was back to making the part from scratch to achieve the desired outcome!
The CC4 part according to the plan is a 1.50″ wide curved section of metal, however, I took a straight-edge and laid it in along the longitudinal hat sections that run along each side of the aircraft and that sat there flush. So, instead of cutting out a curved section, I simply created the CC4 part as a perfectly straight 1.50″ wide section and it fits in as the plan calls for it.
The plans template for the CC11 was close to fitting to my aircraft, but required both ends to be shortened down. Now that I have this component fitting nicely, I will go ahead and trim down and polish up the sides.
I have rough cut both CC13 reinforcing angles and tomorrow I will set about getting those tidy.
-
This reply was modified 2 years, 5 months ago by
-
This reply was modified 2 years, 5 months ago by
-
This reply was modified 2 years, 5 months ago by
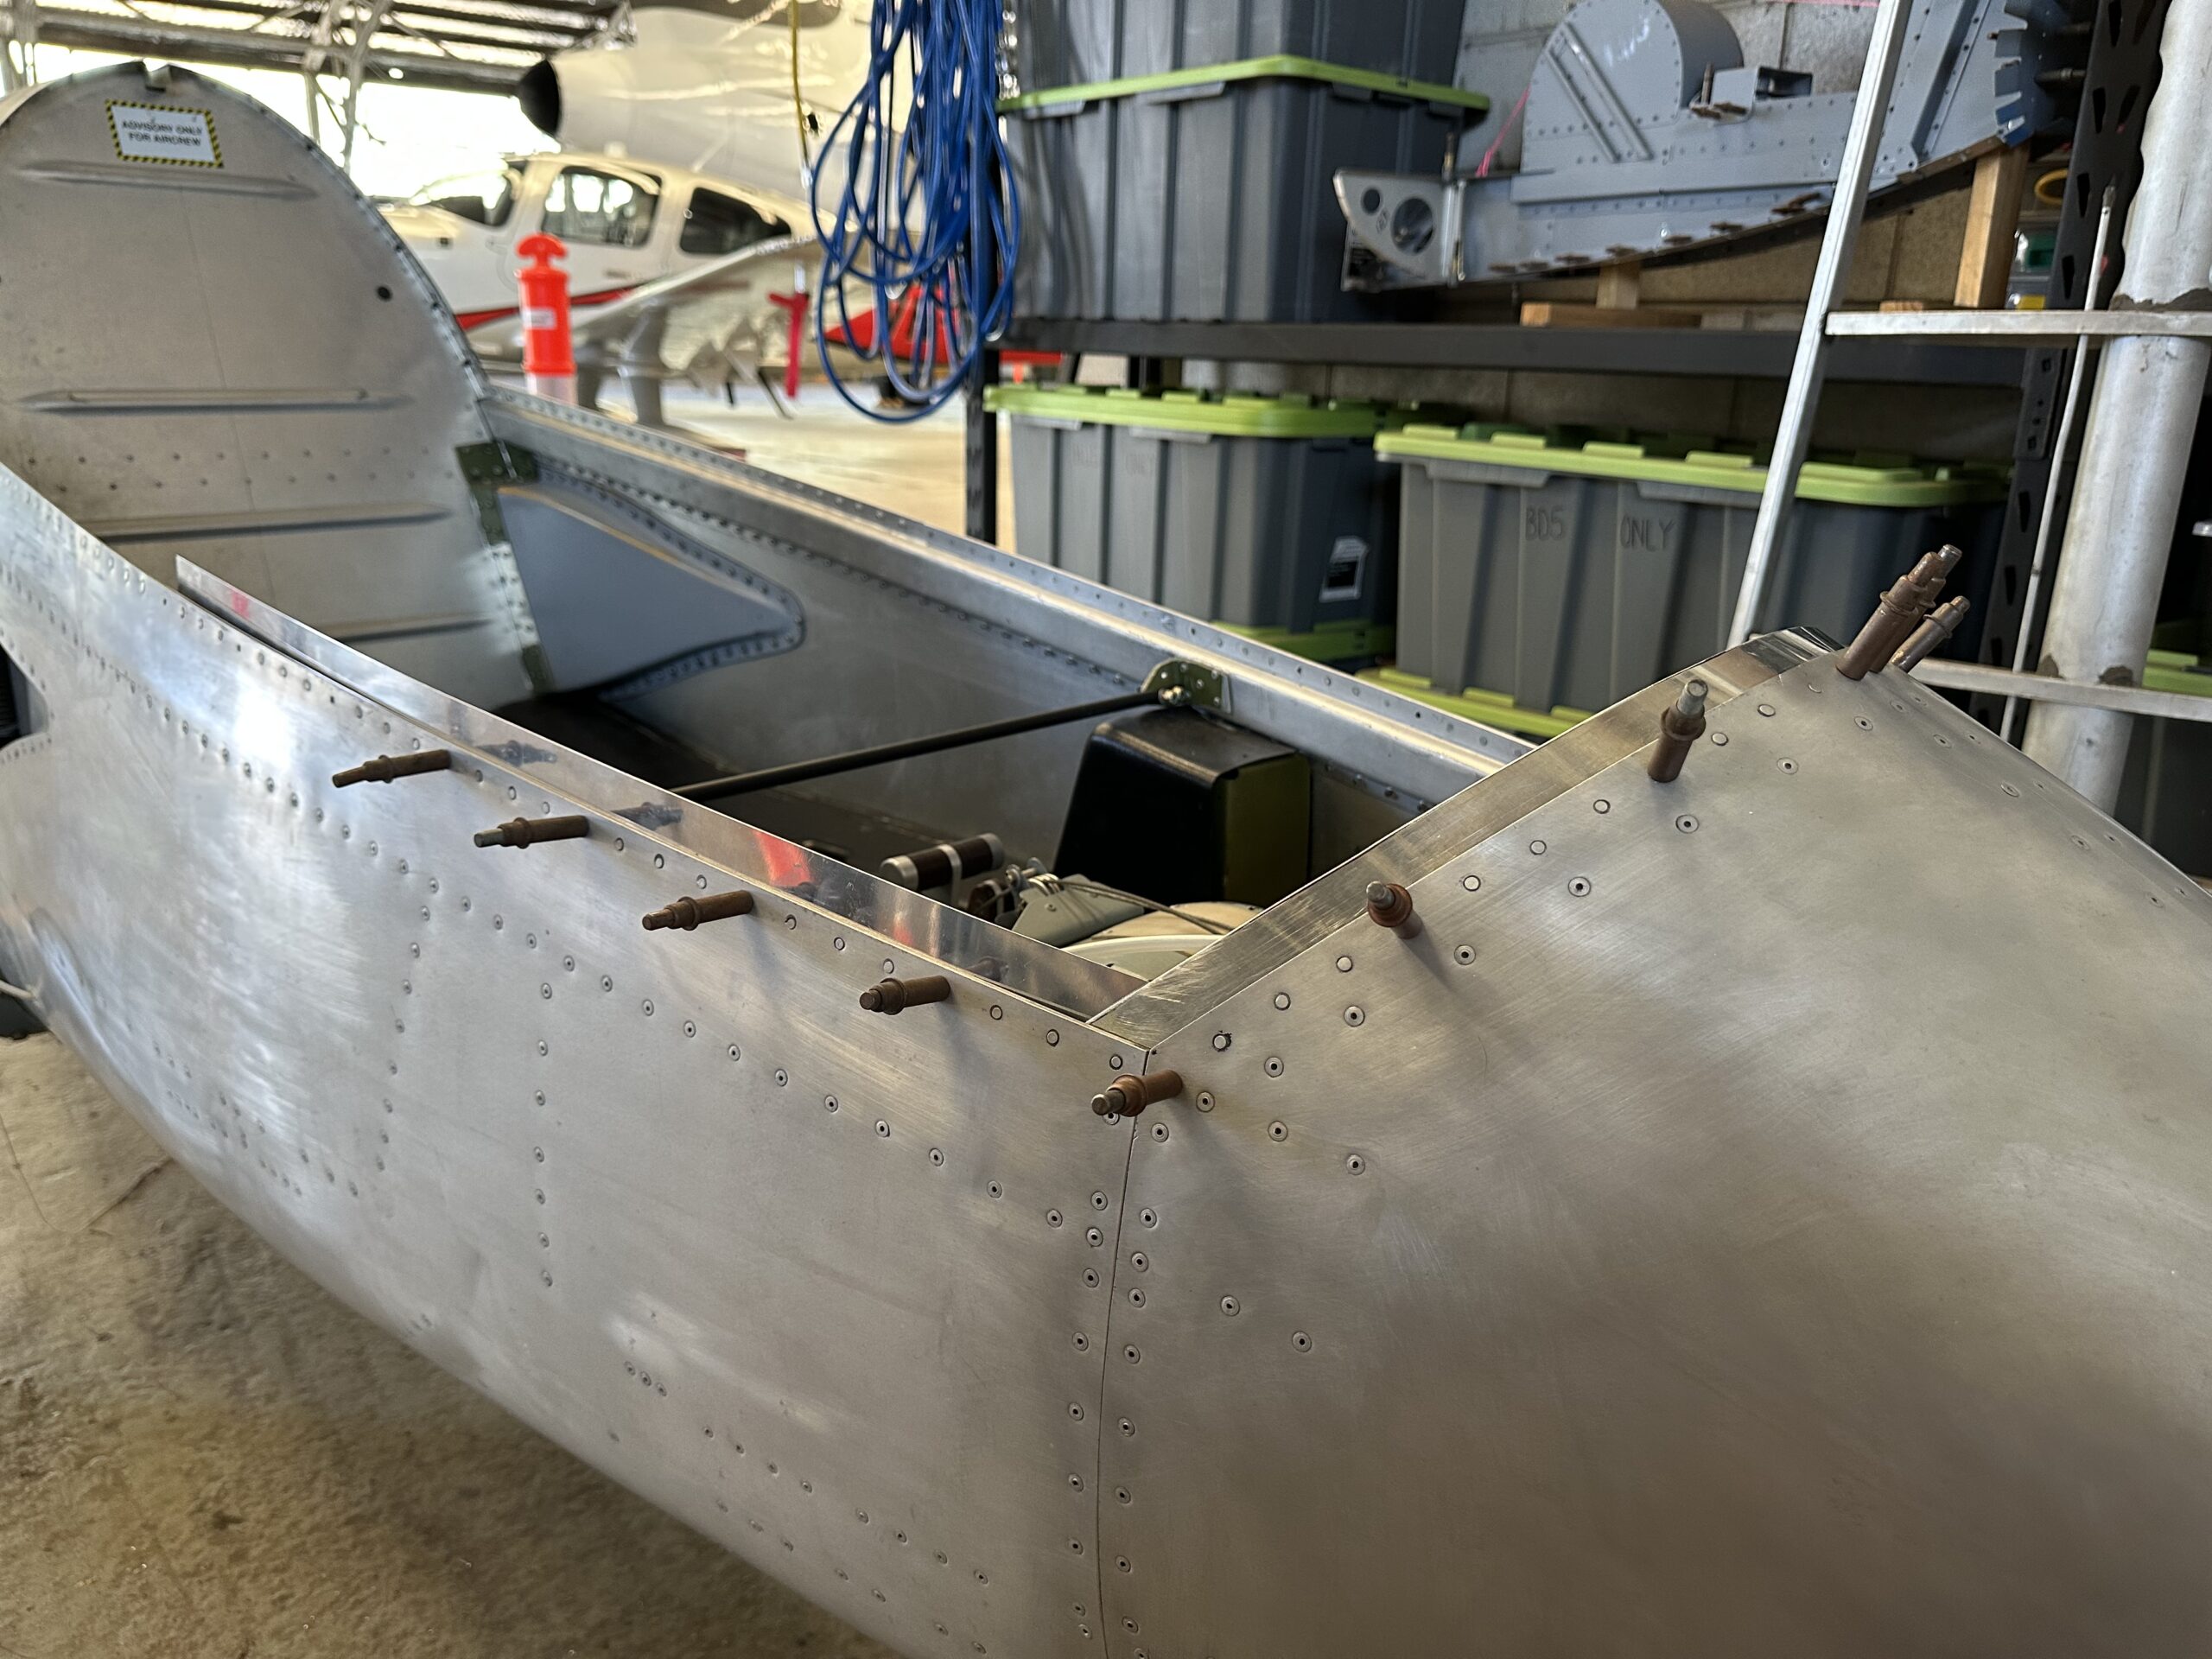
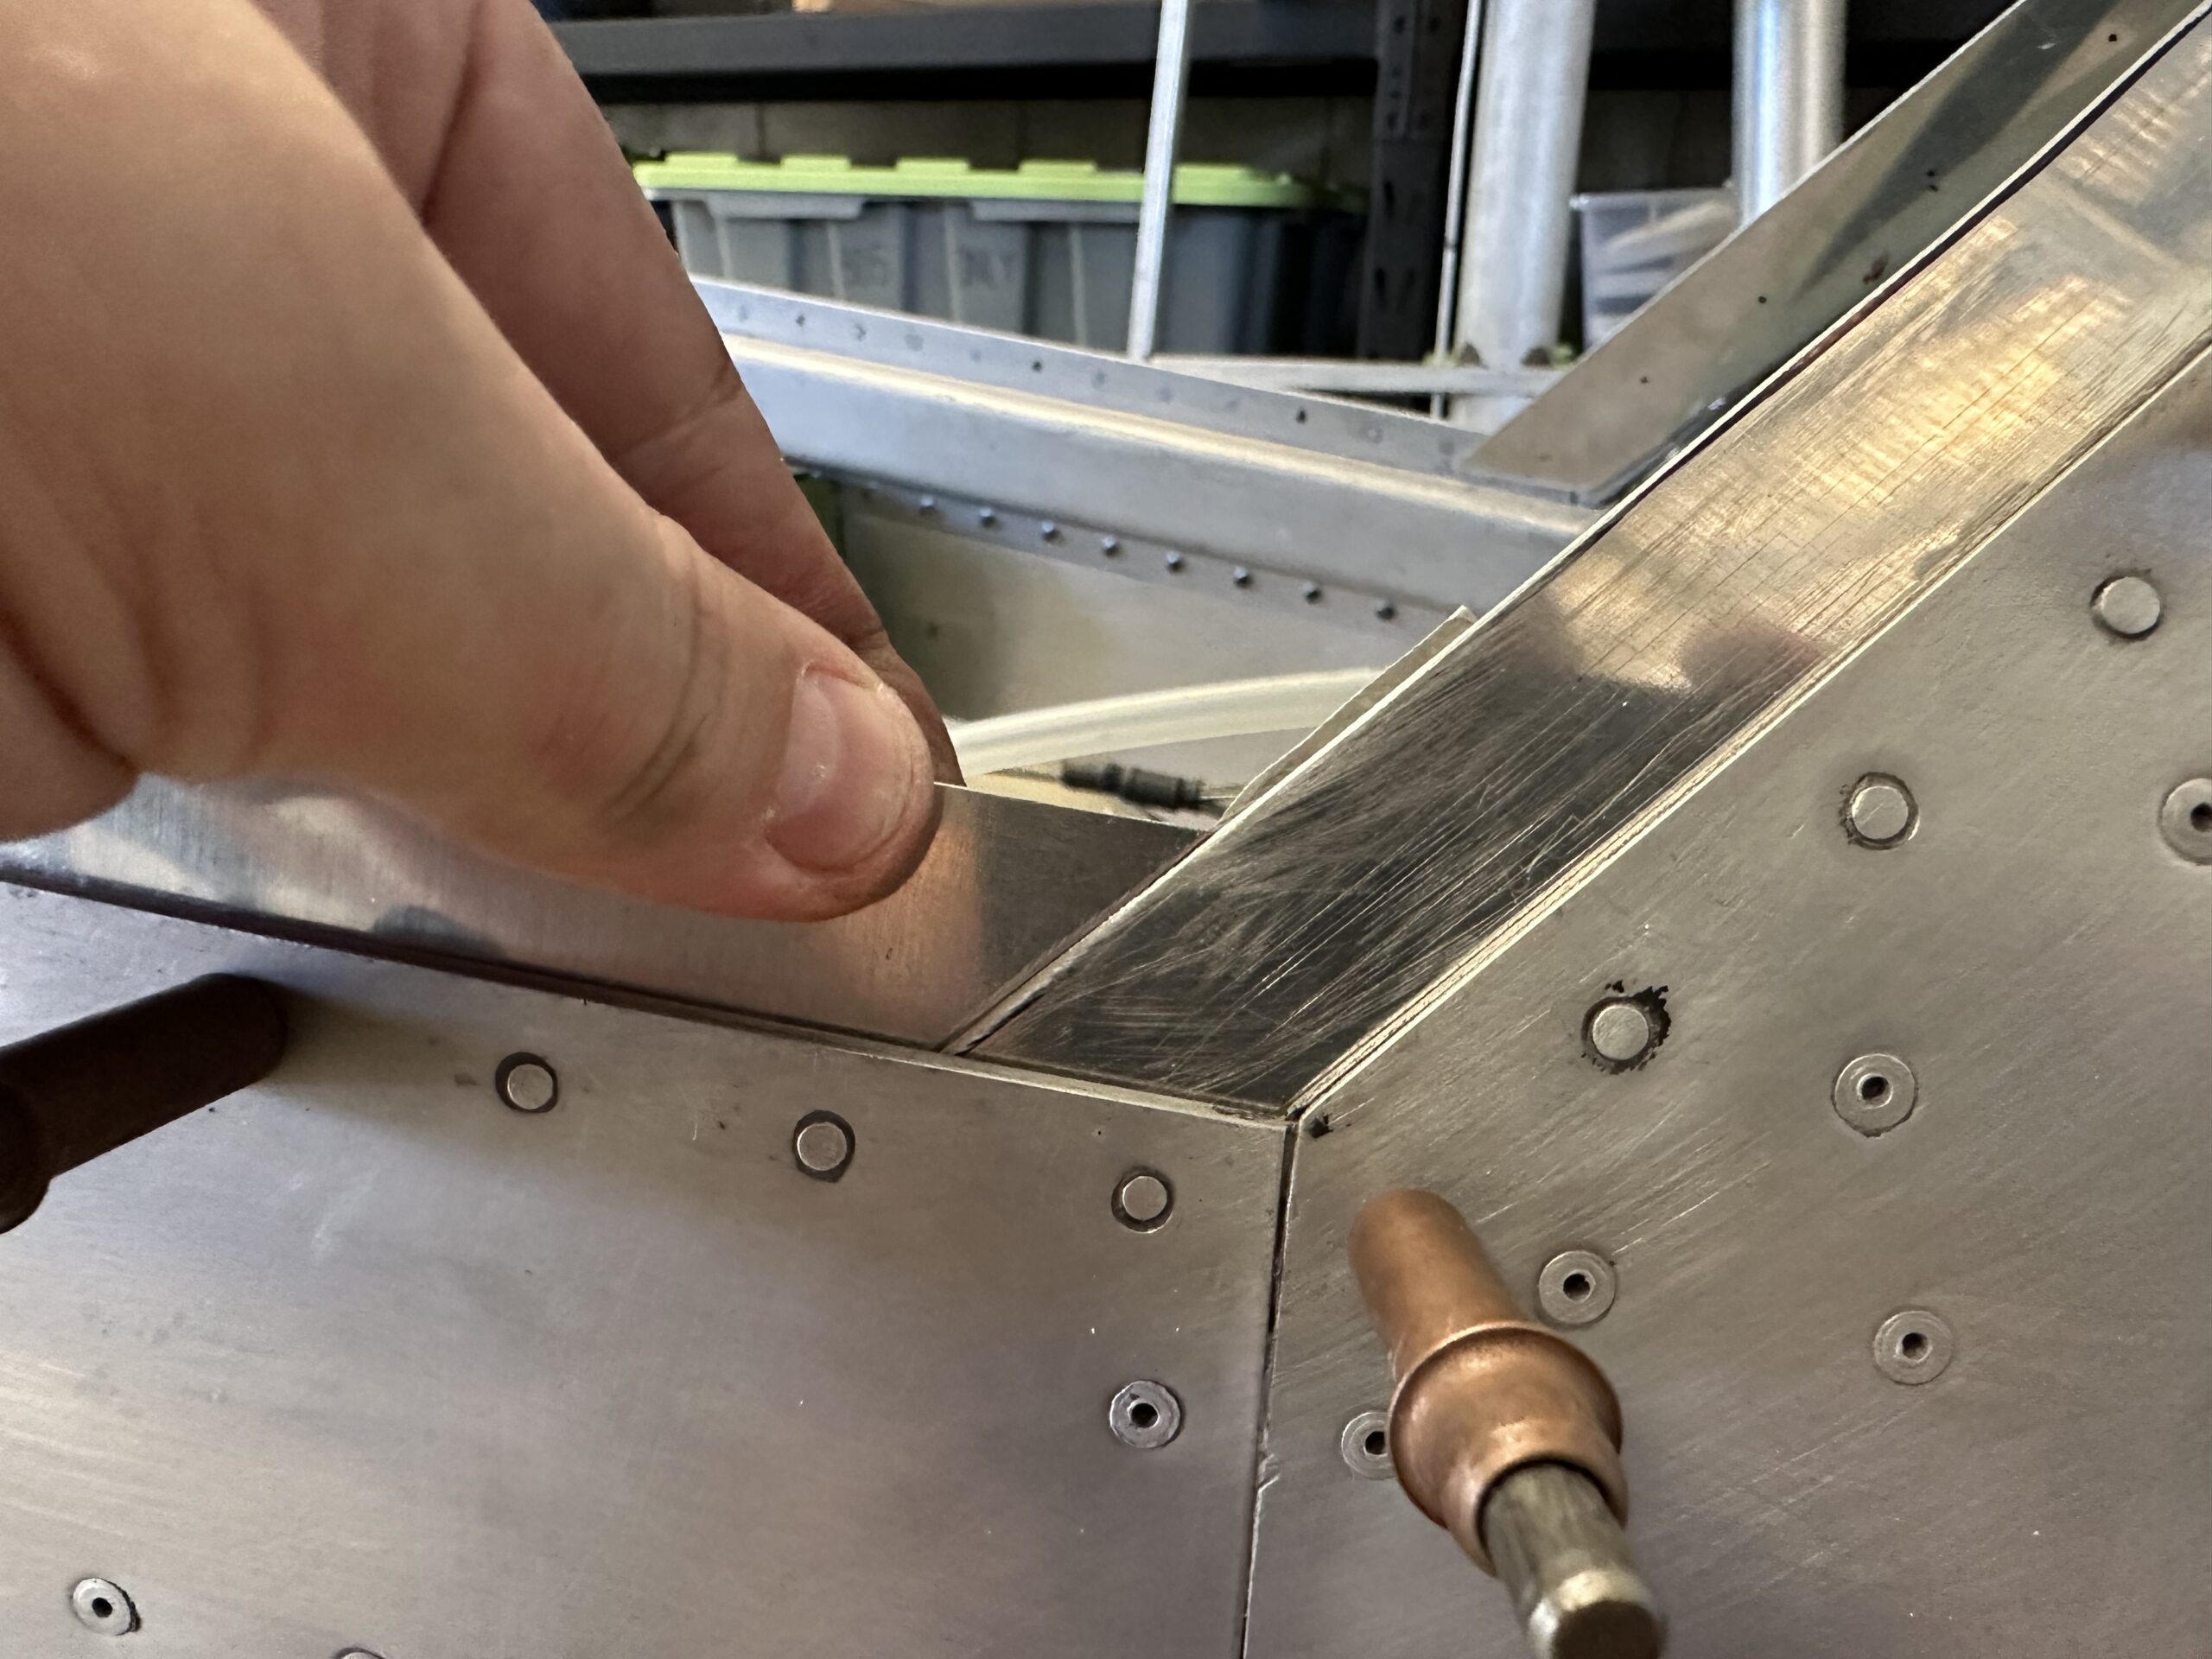
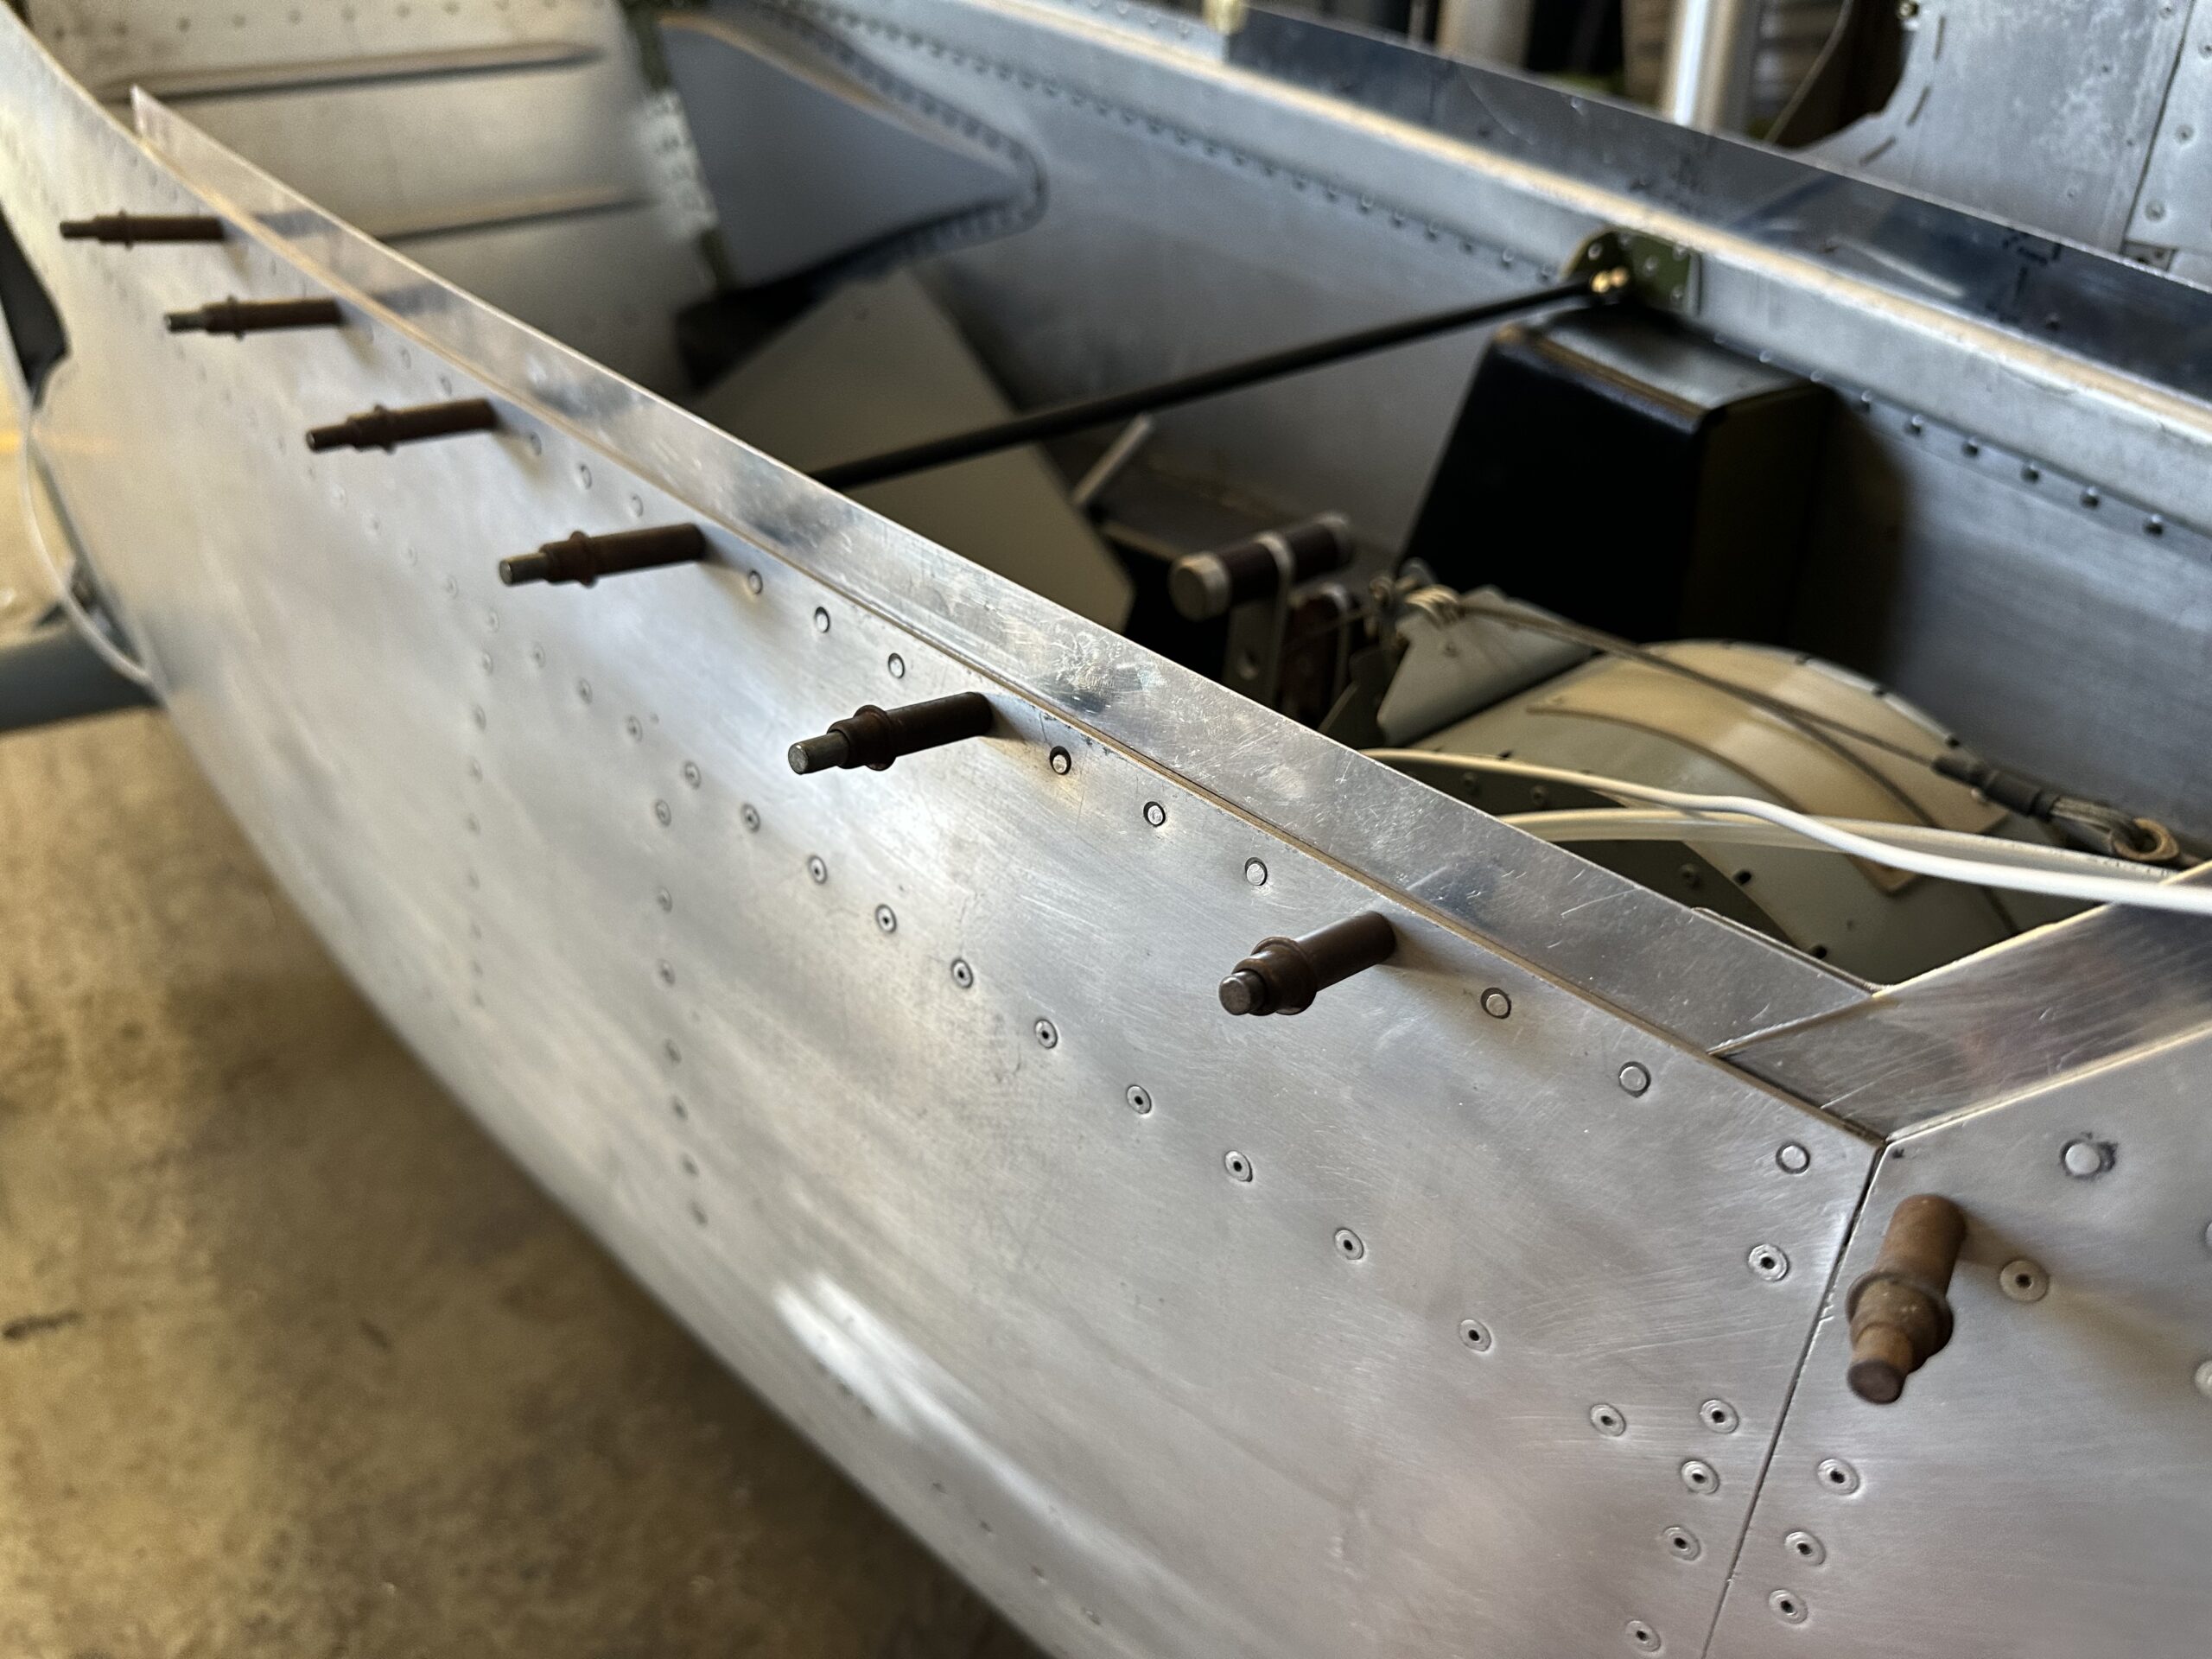
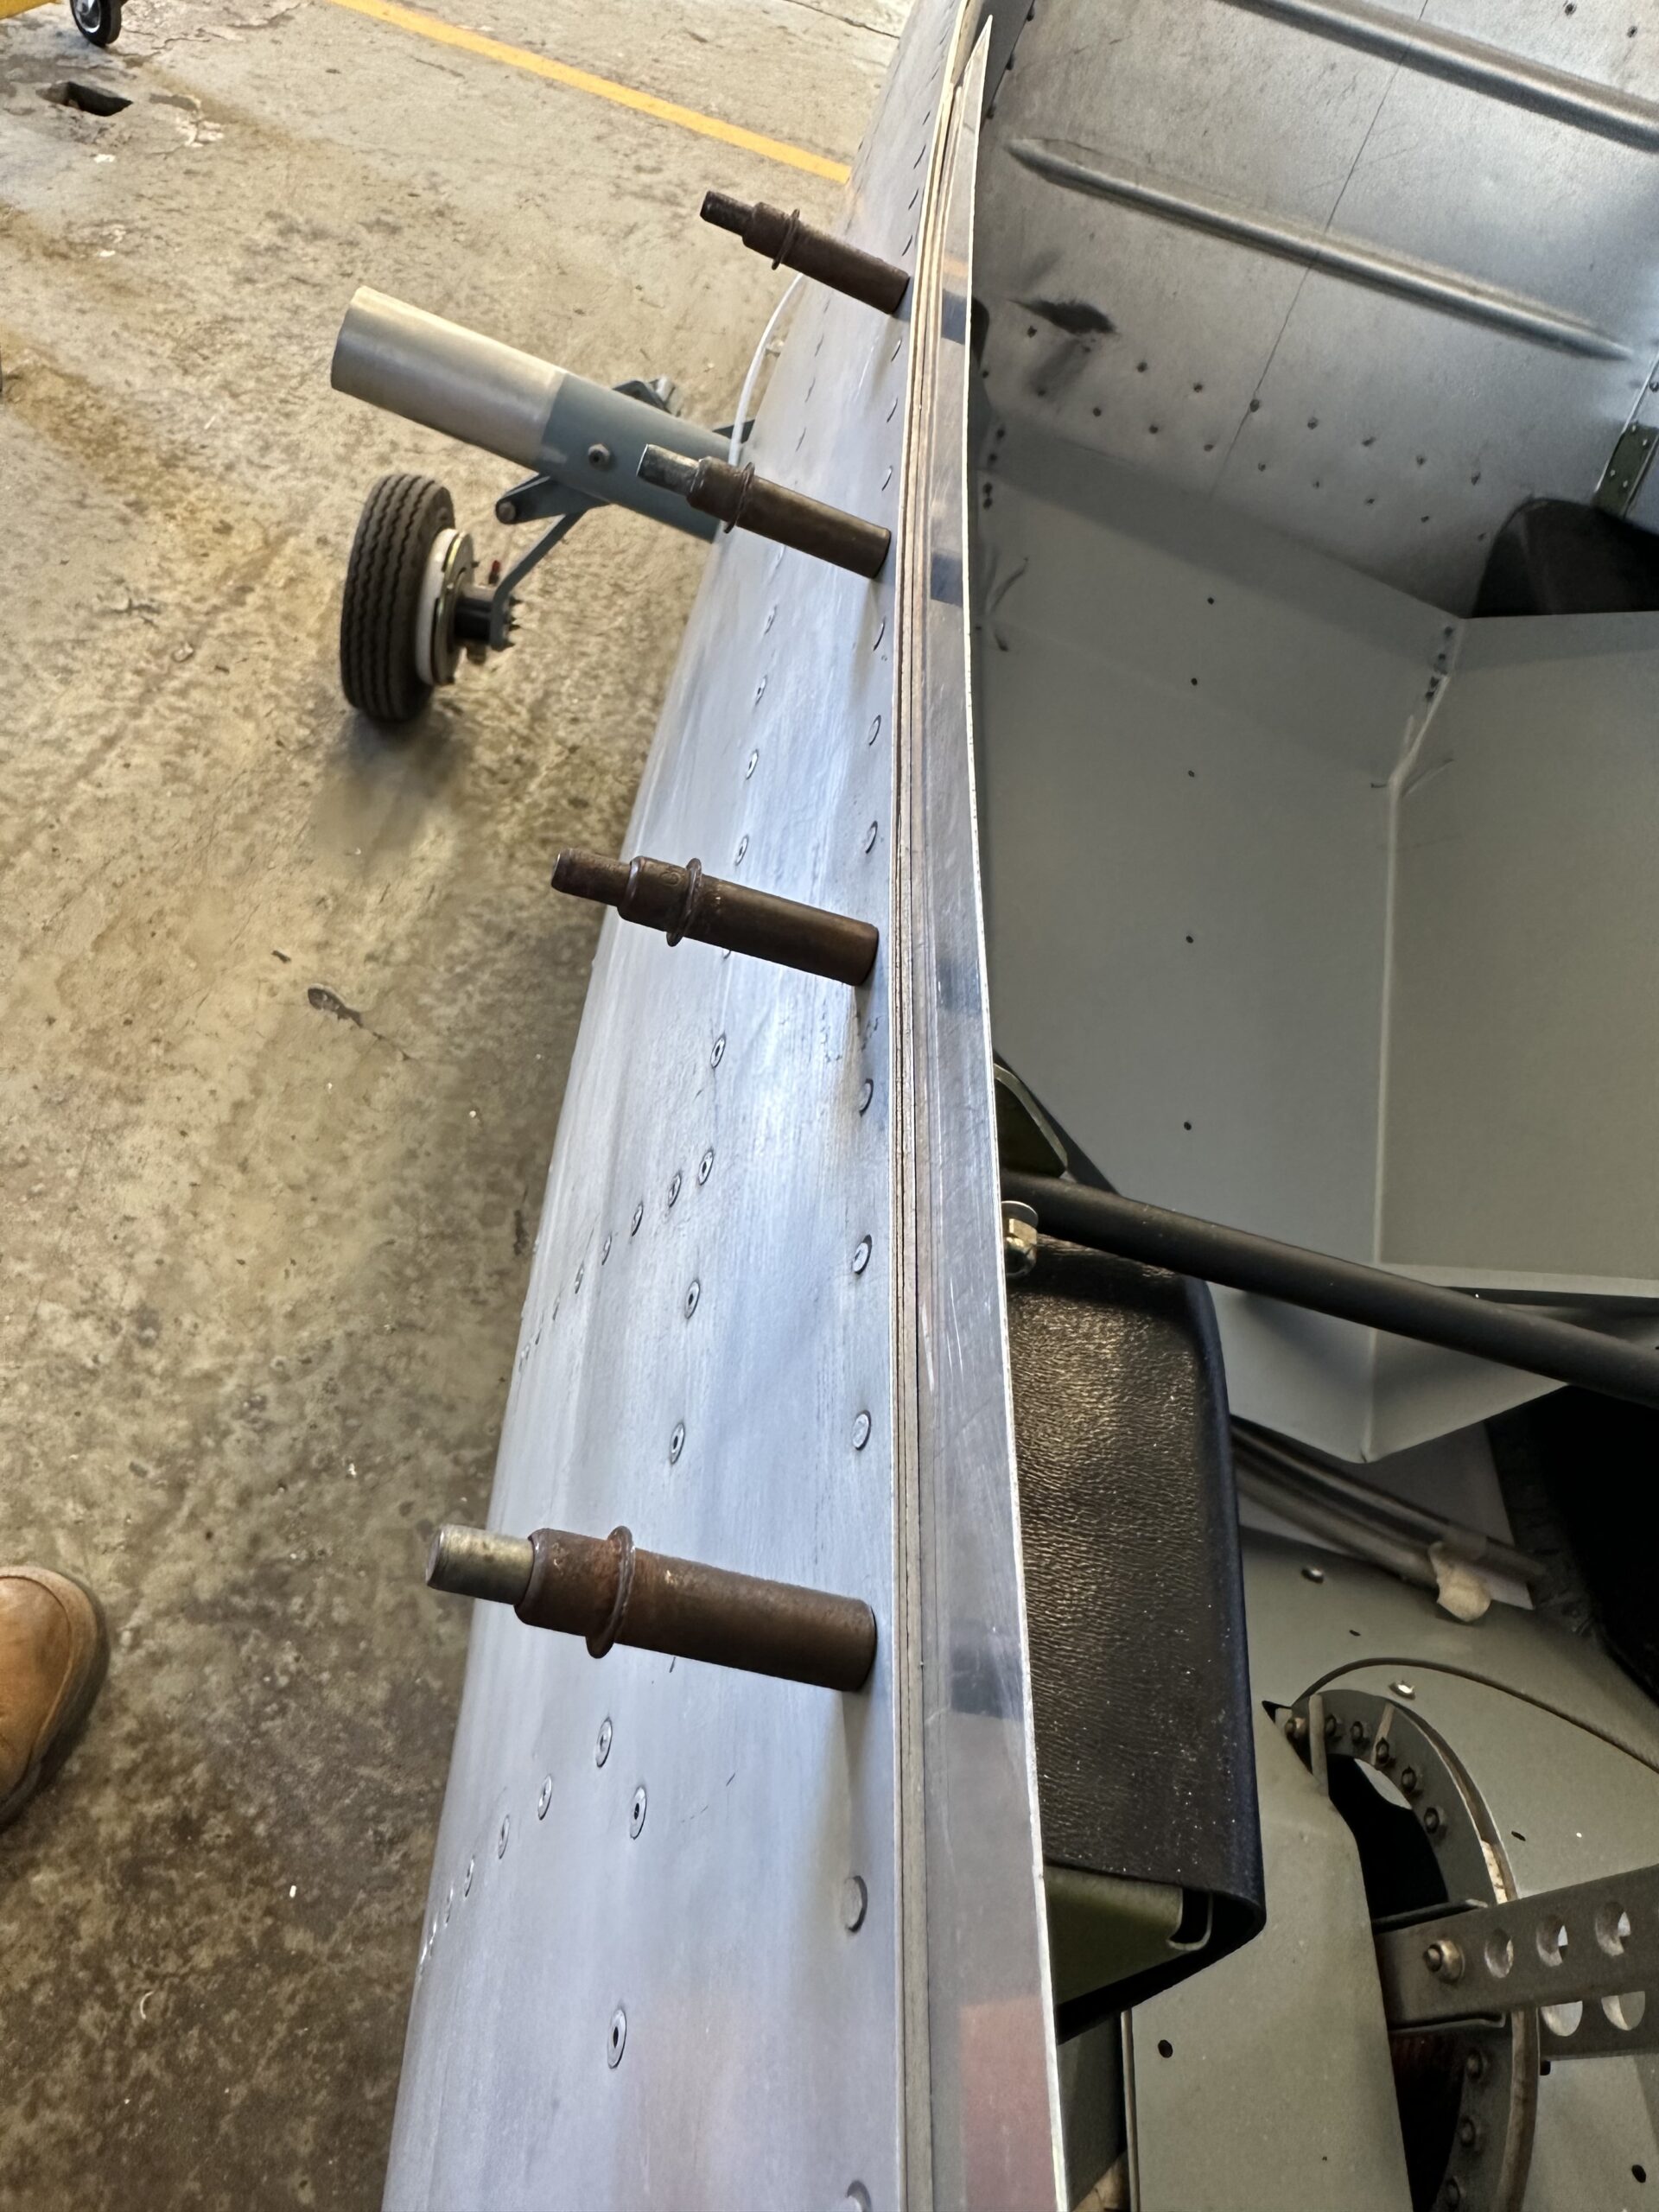
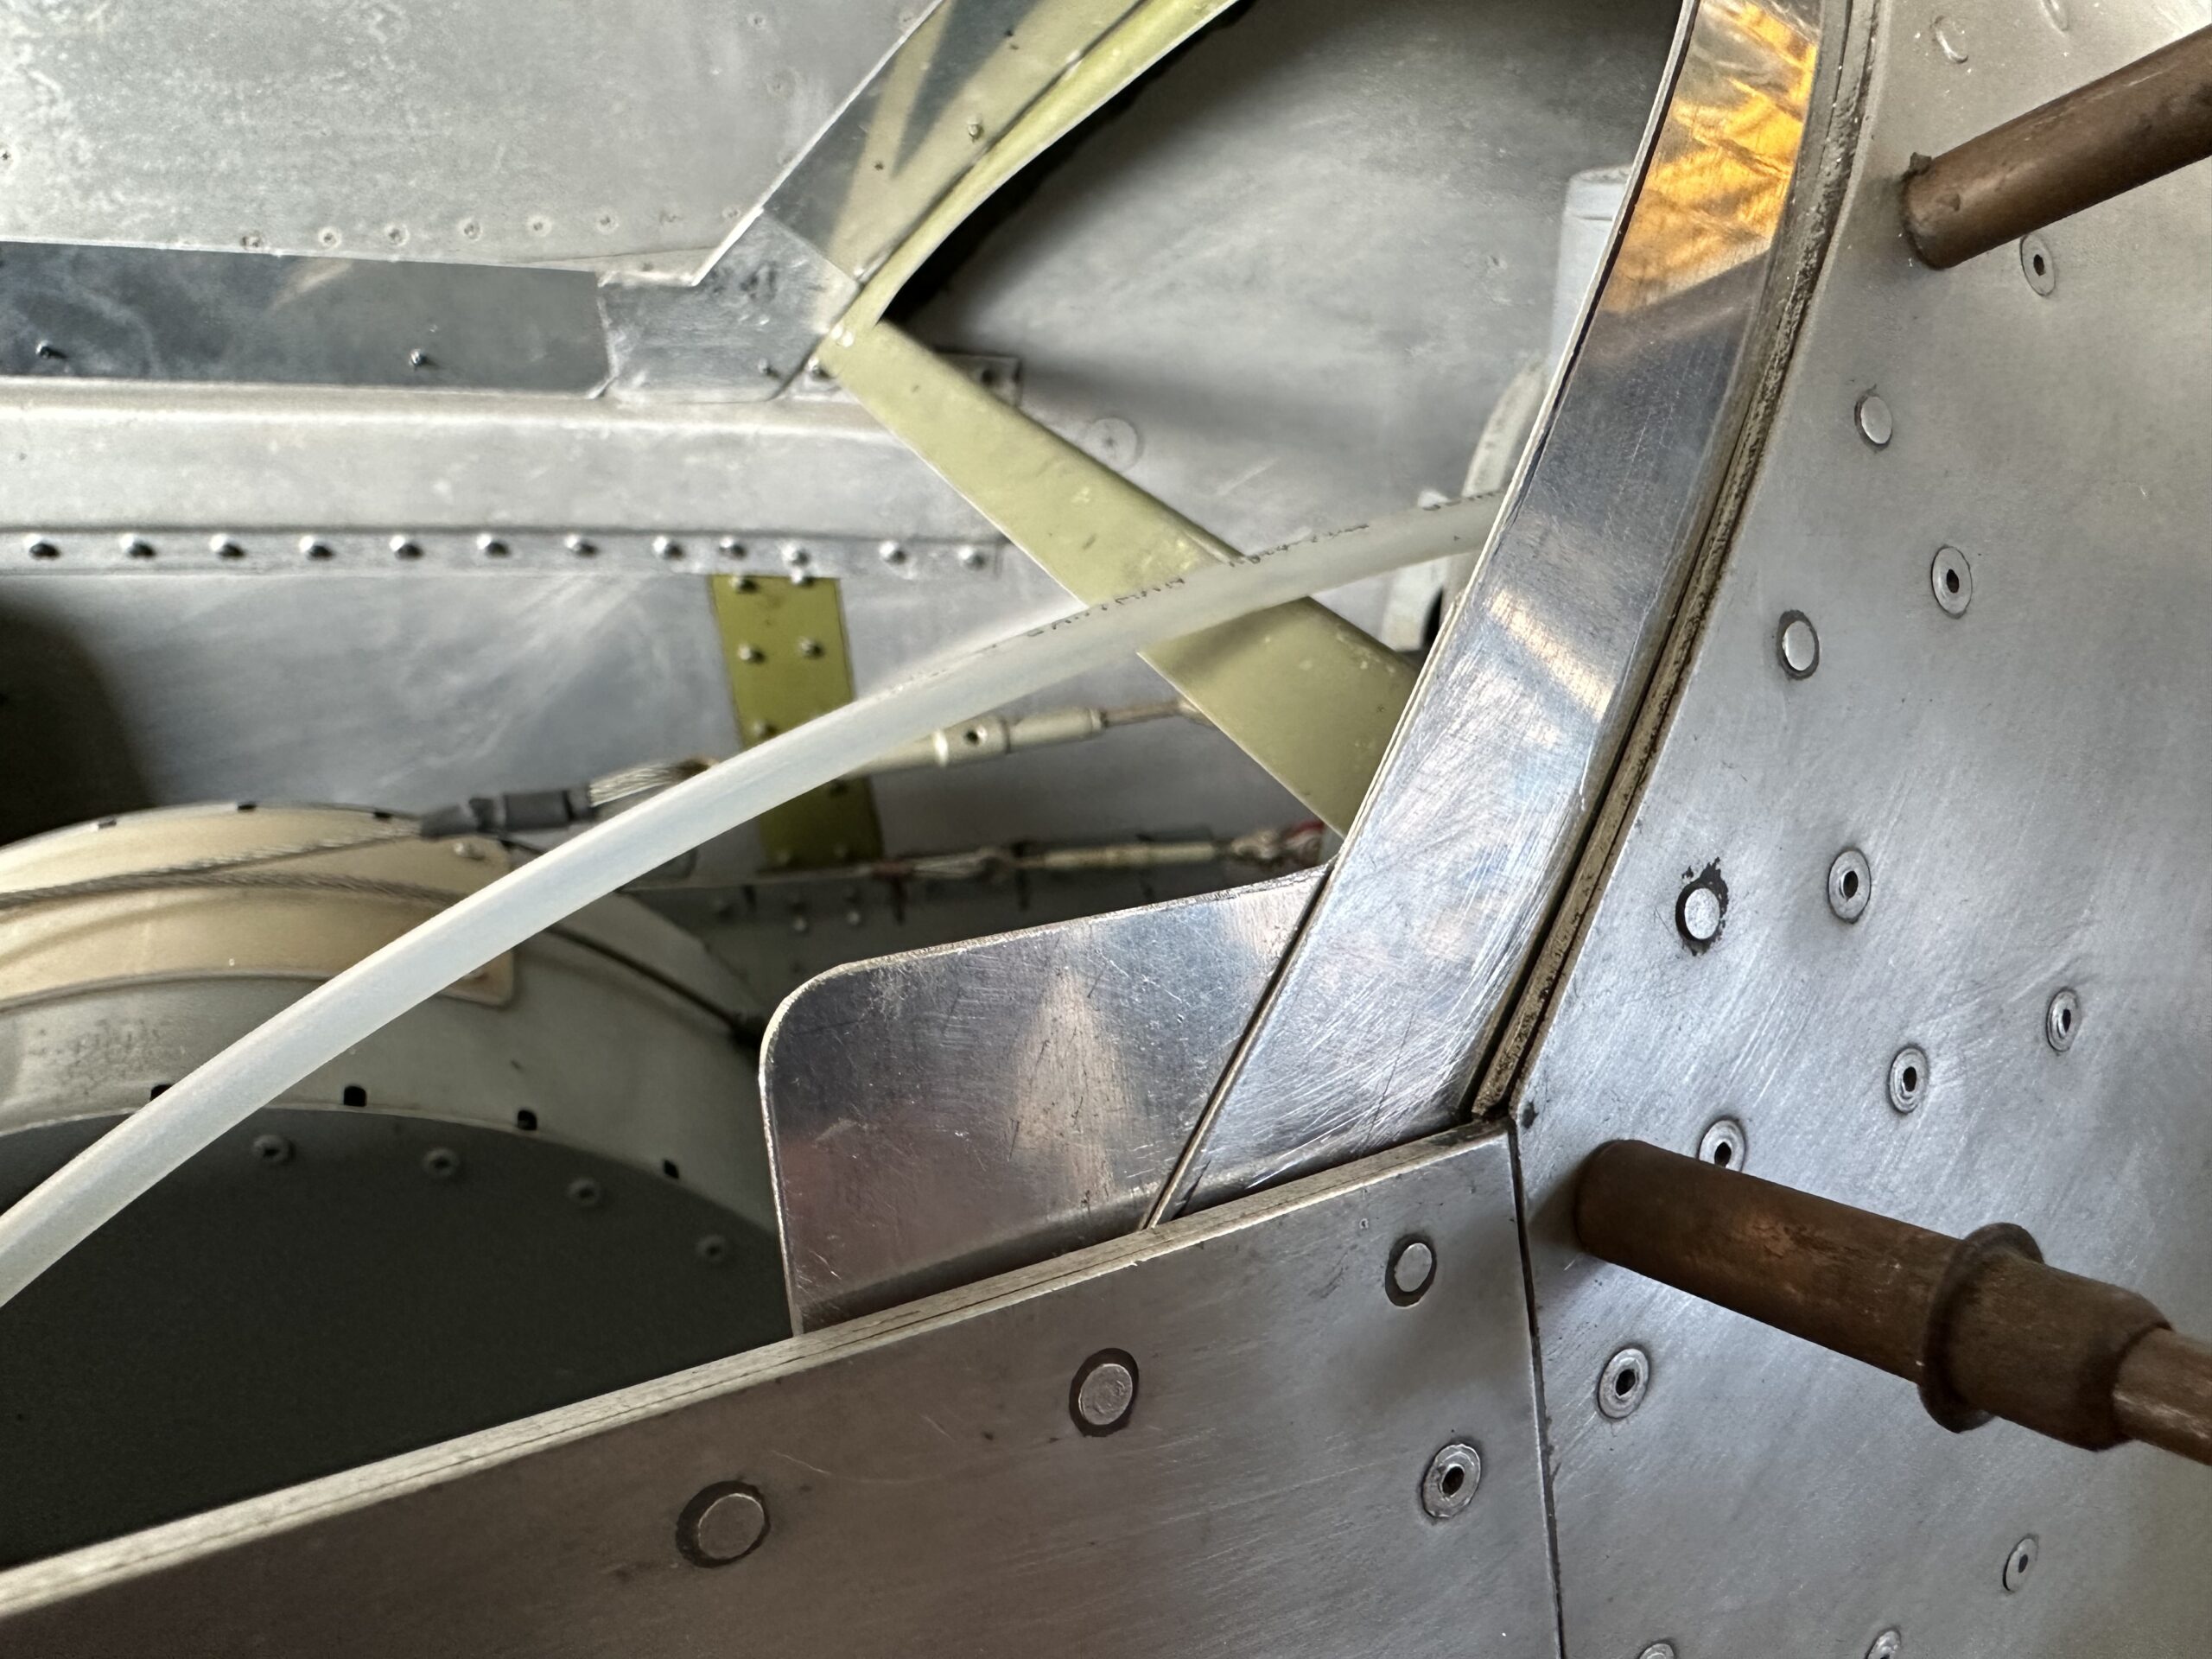
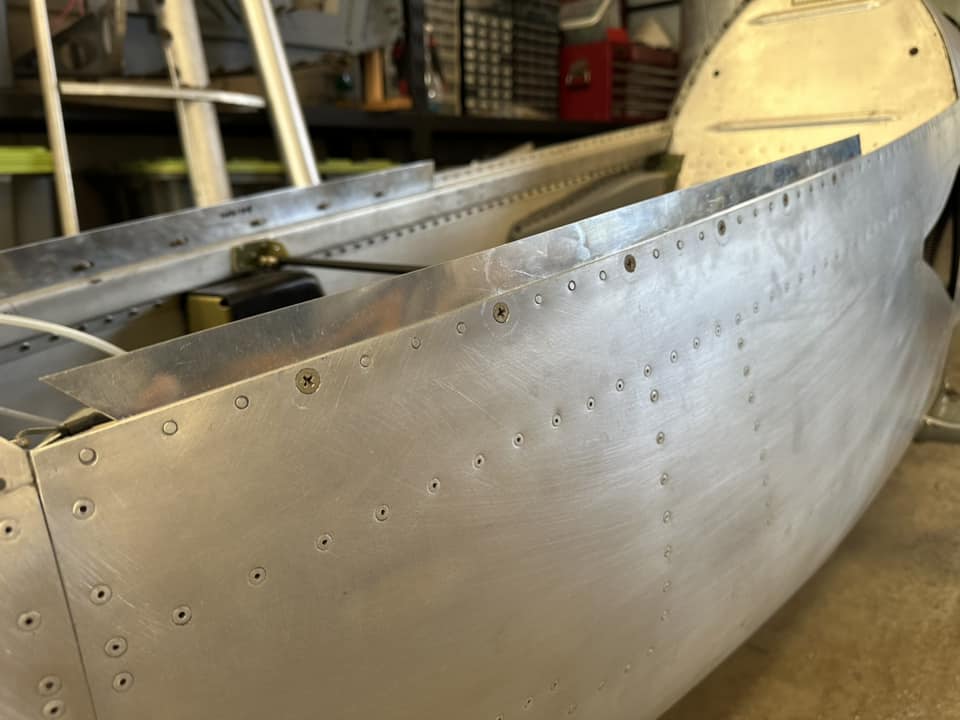
February 10, 2023 at 12:50 am #340KeymasterMore work on trimming and fitting the forward windscreen mounting flanges. This part of the job has taken far longer than I thought it would, with plenty of back-and forth fitting and filing going on. Must have spent a good three hours sorting out the alignment of the CC11 mounting flange, then another two hours marrying up the CC4 parts. As stated in the beginning of this thread, the plans template for the CC4 just did not fit right, so both left and right hand sides had to be made fresh to fit!
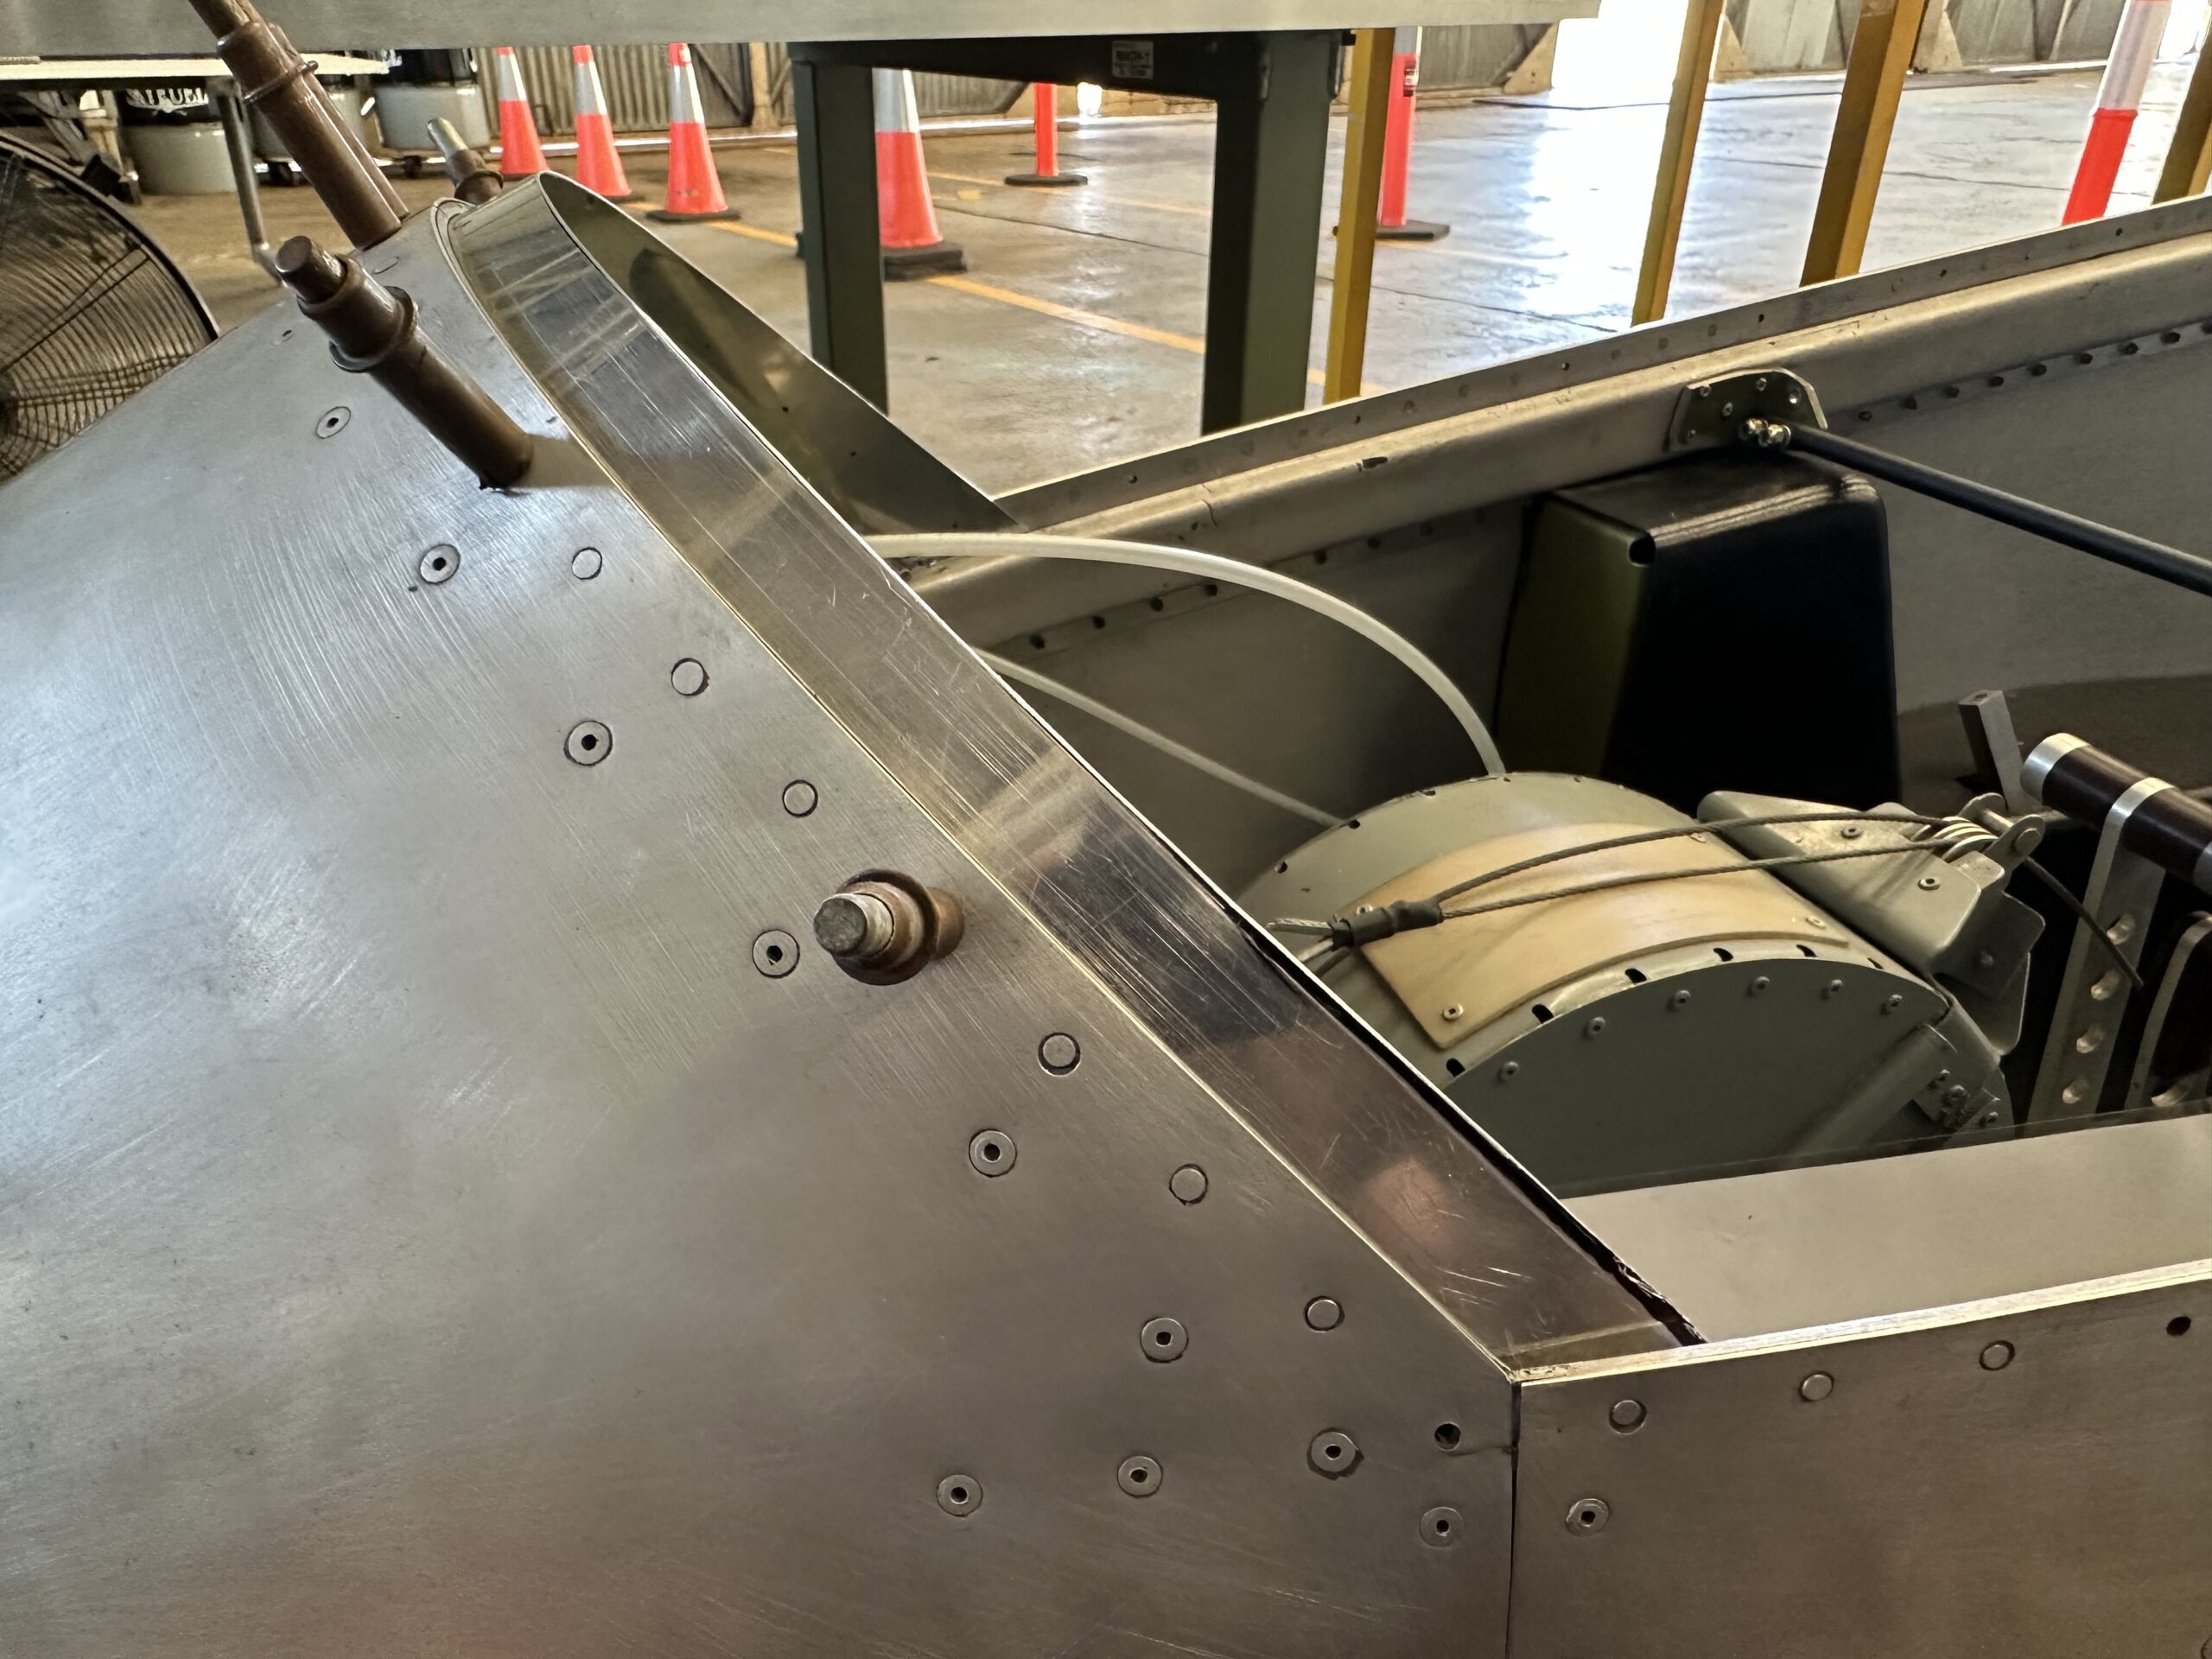
I paid particular attention to get the diagonal interface between the CC11 and CC4 as clean and sharp as possible. Am happy with the result I achieved.
Before I finished up, I made a quick flange depth gauge and ran it around the various flange faces to ensure that I have a consistent and equal flange on all sides. Some additional filing was required, with everything now ready for the next steps!
-
This reply was modified 2 years, 5 months ago by
-
This reply was modified 2 years, 5 months ago by
-
This reply was modified 2 years, 5 months ago by
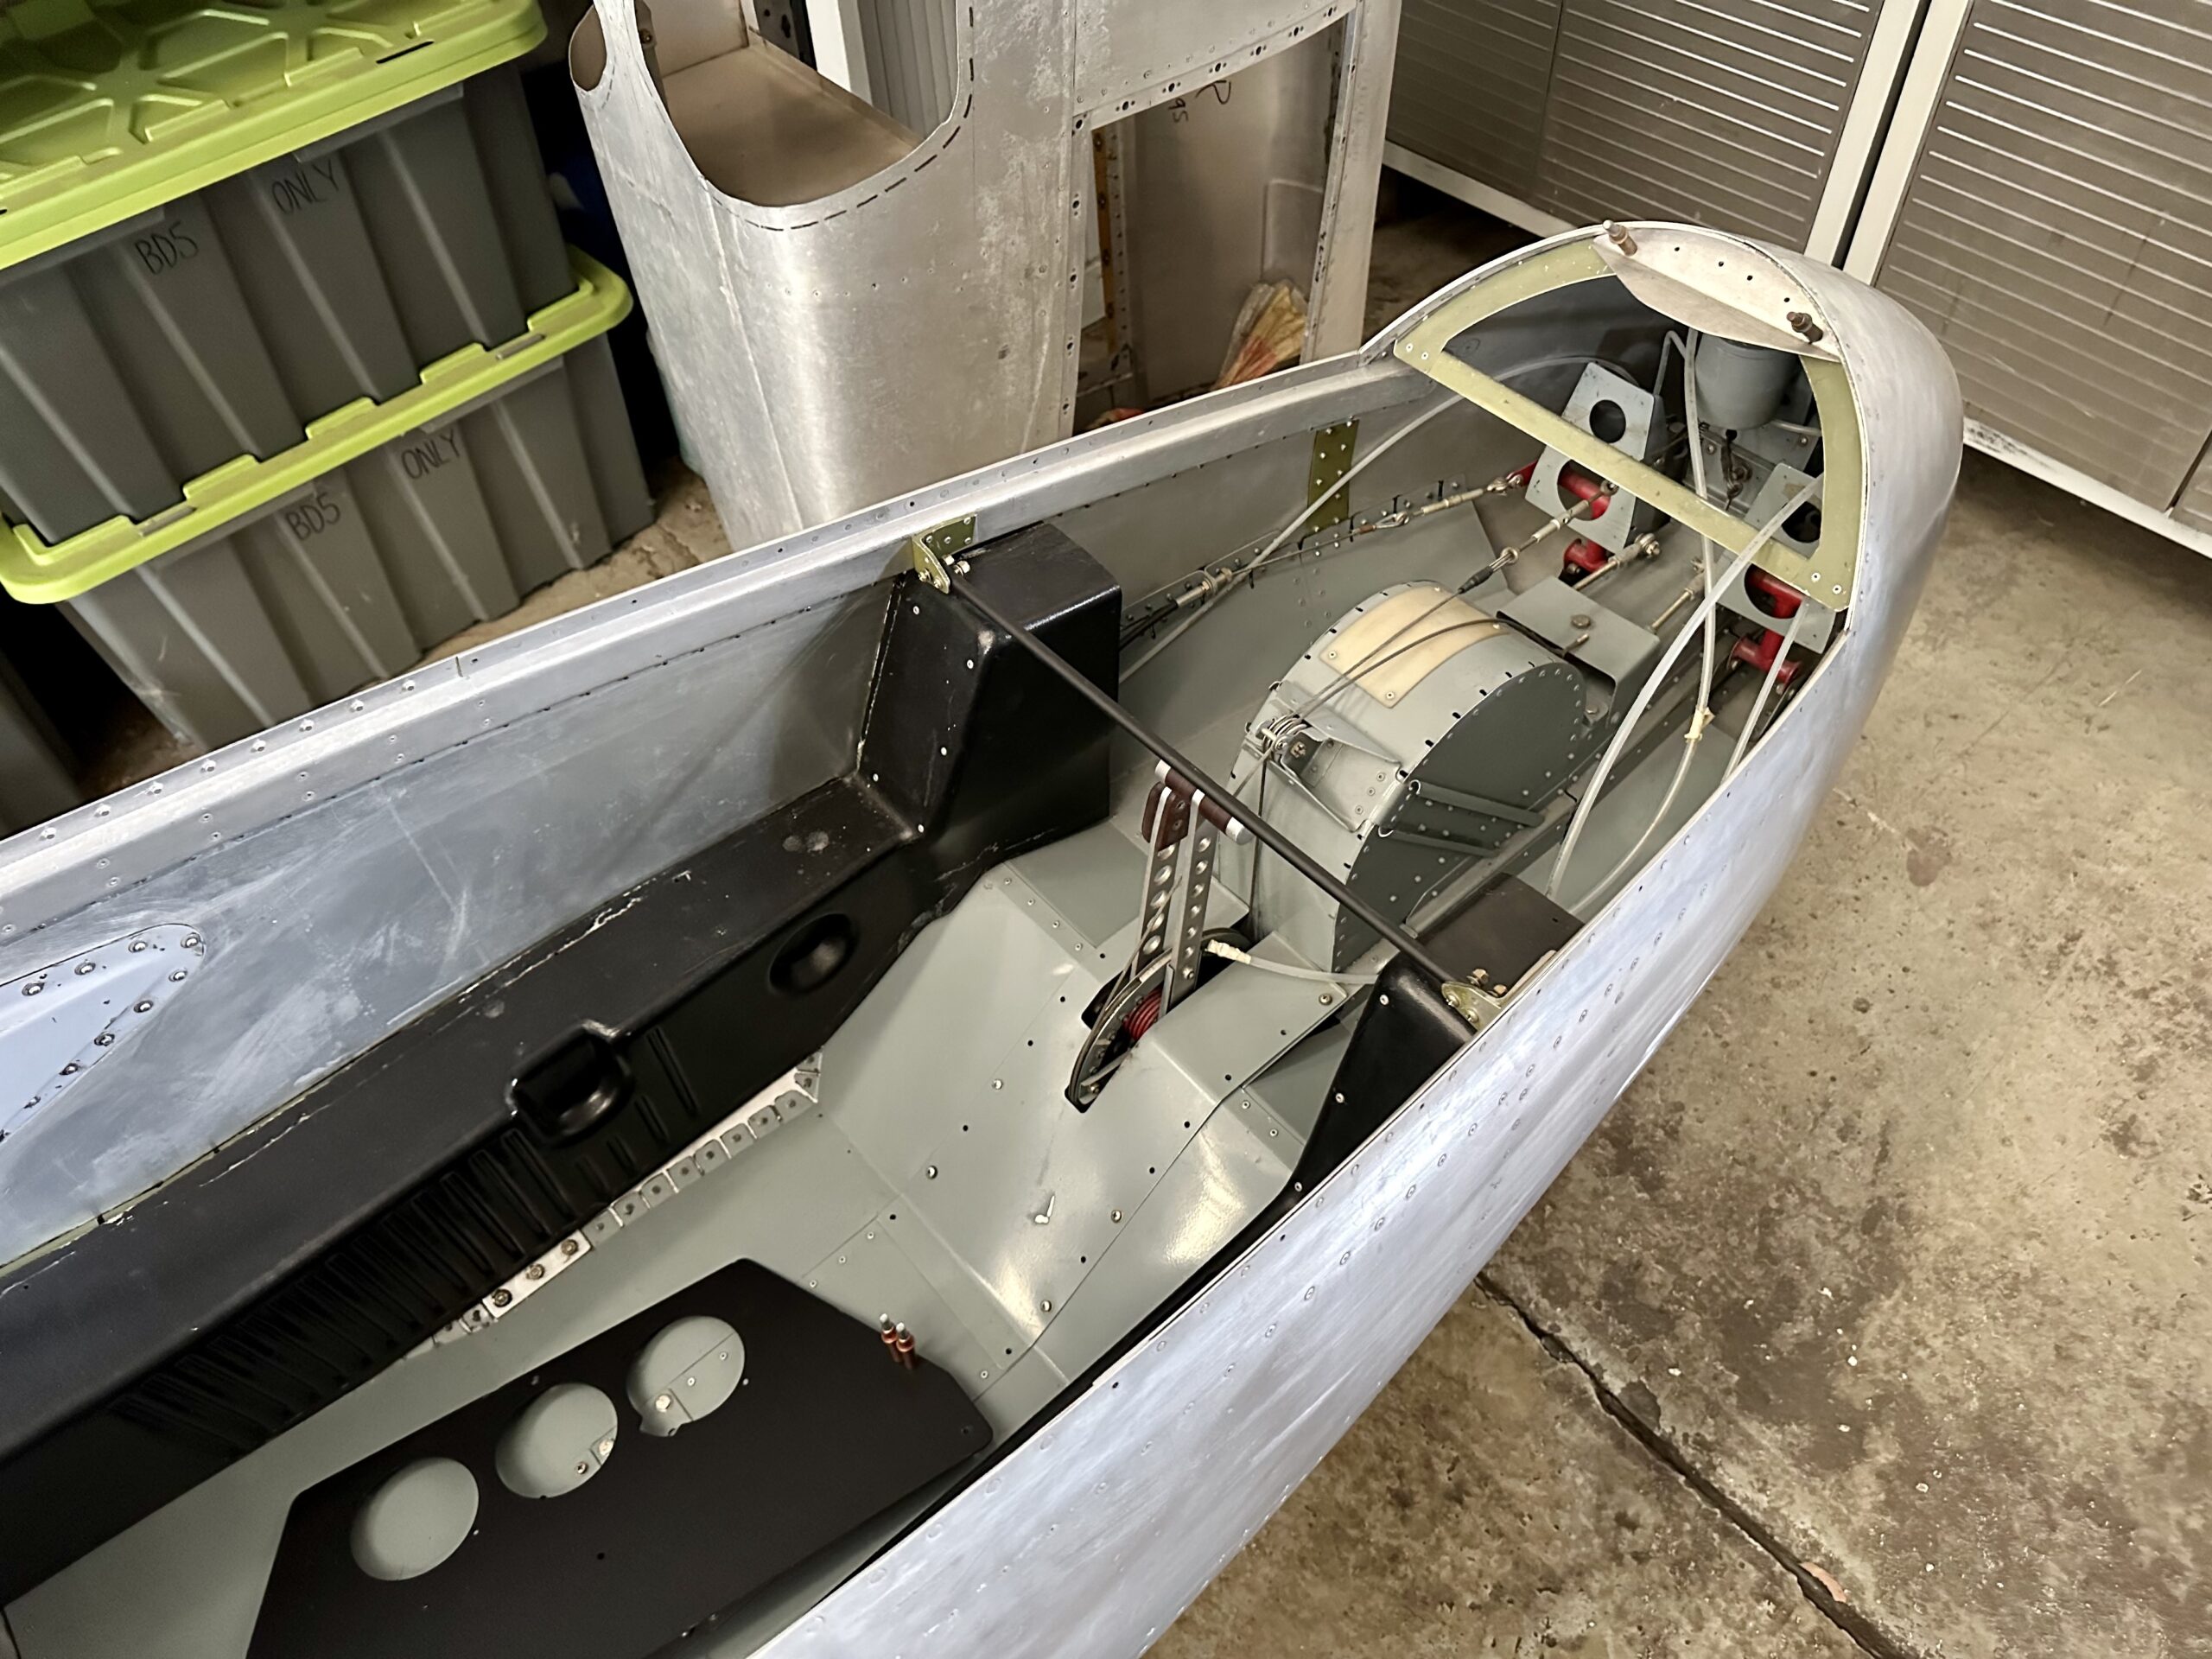
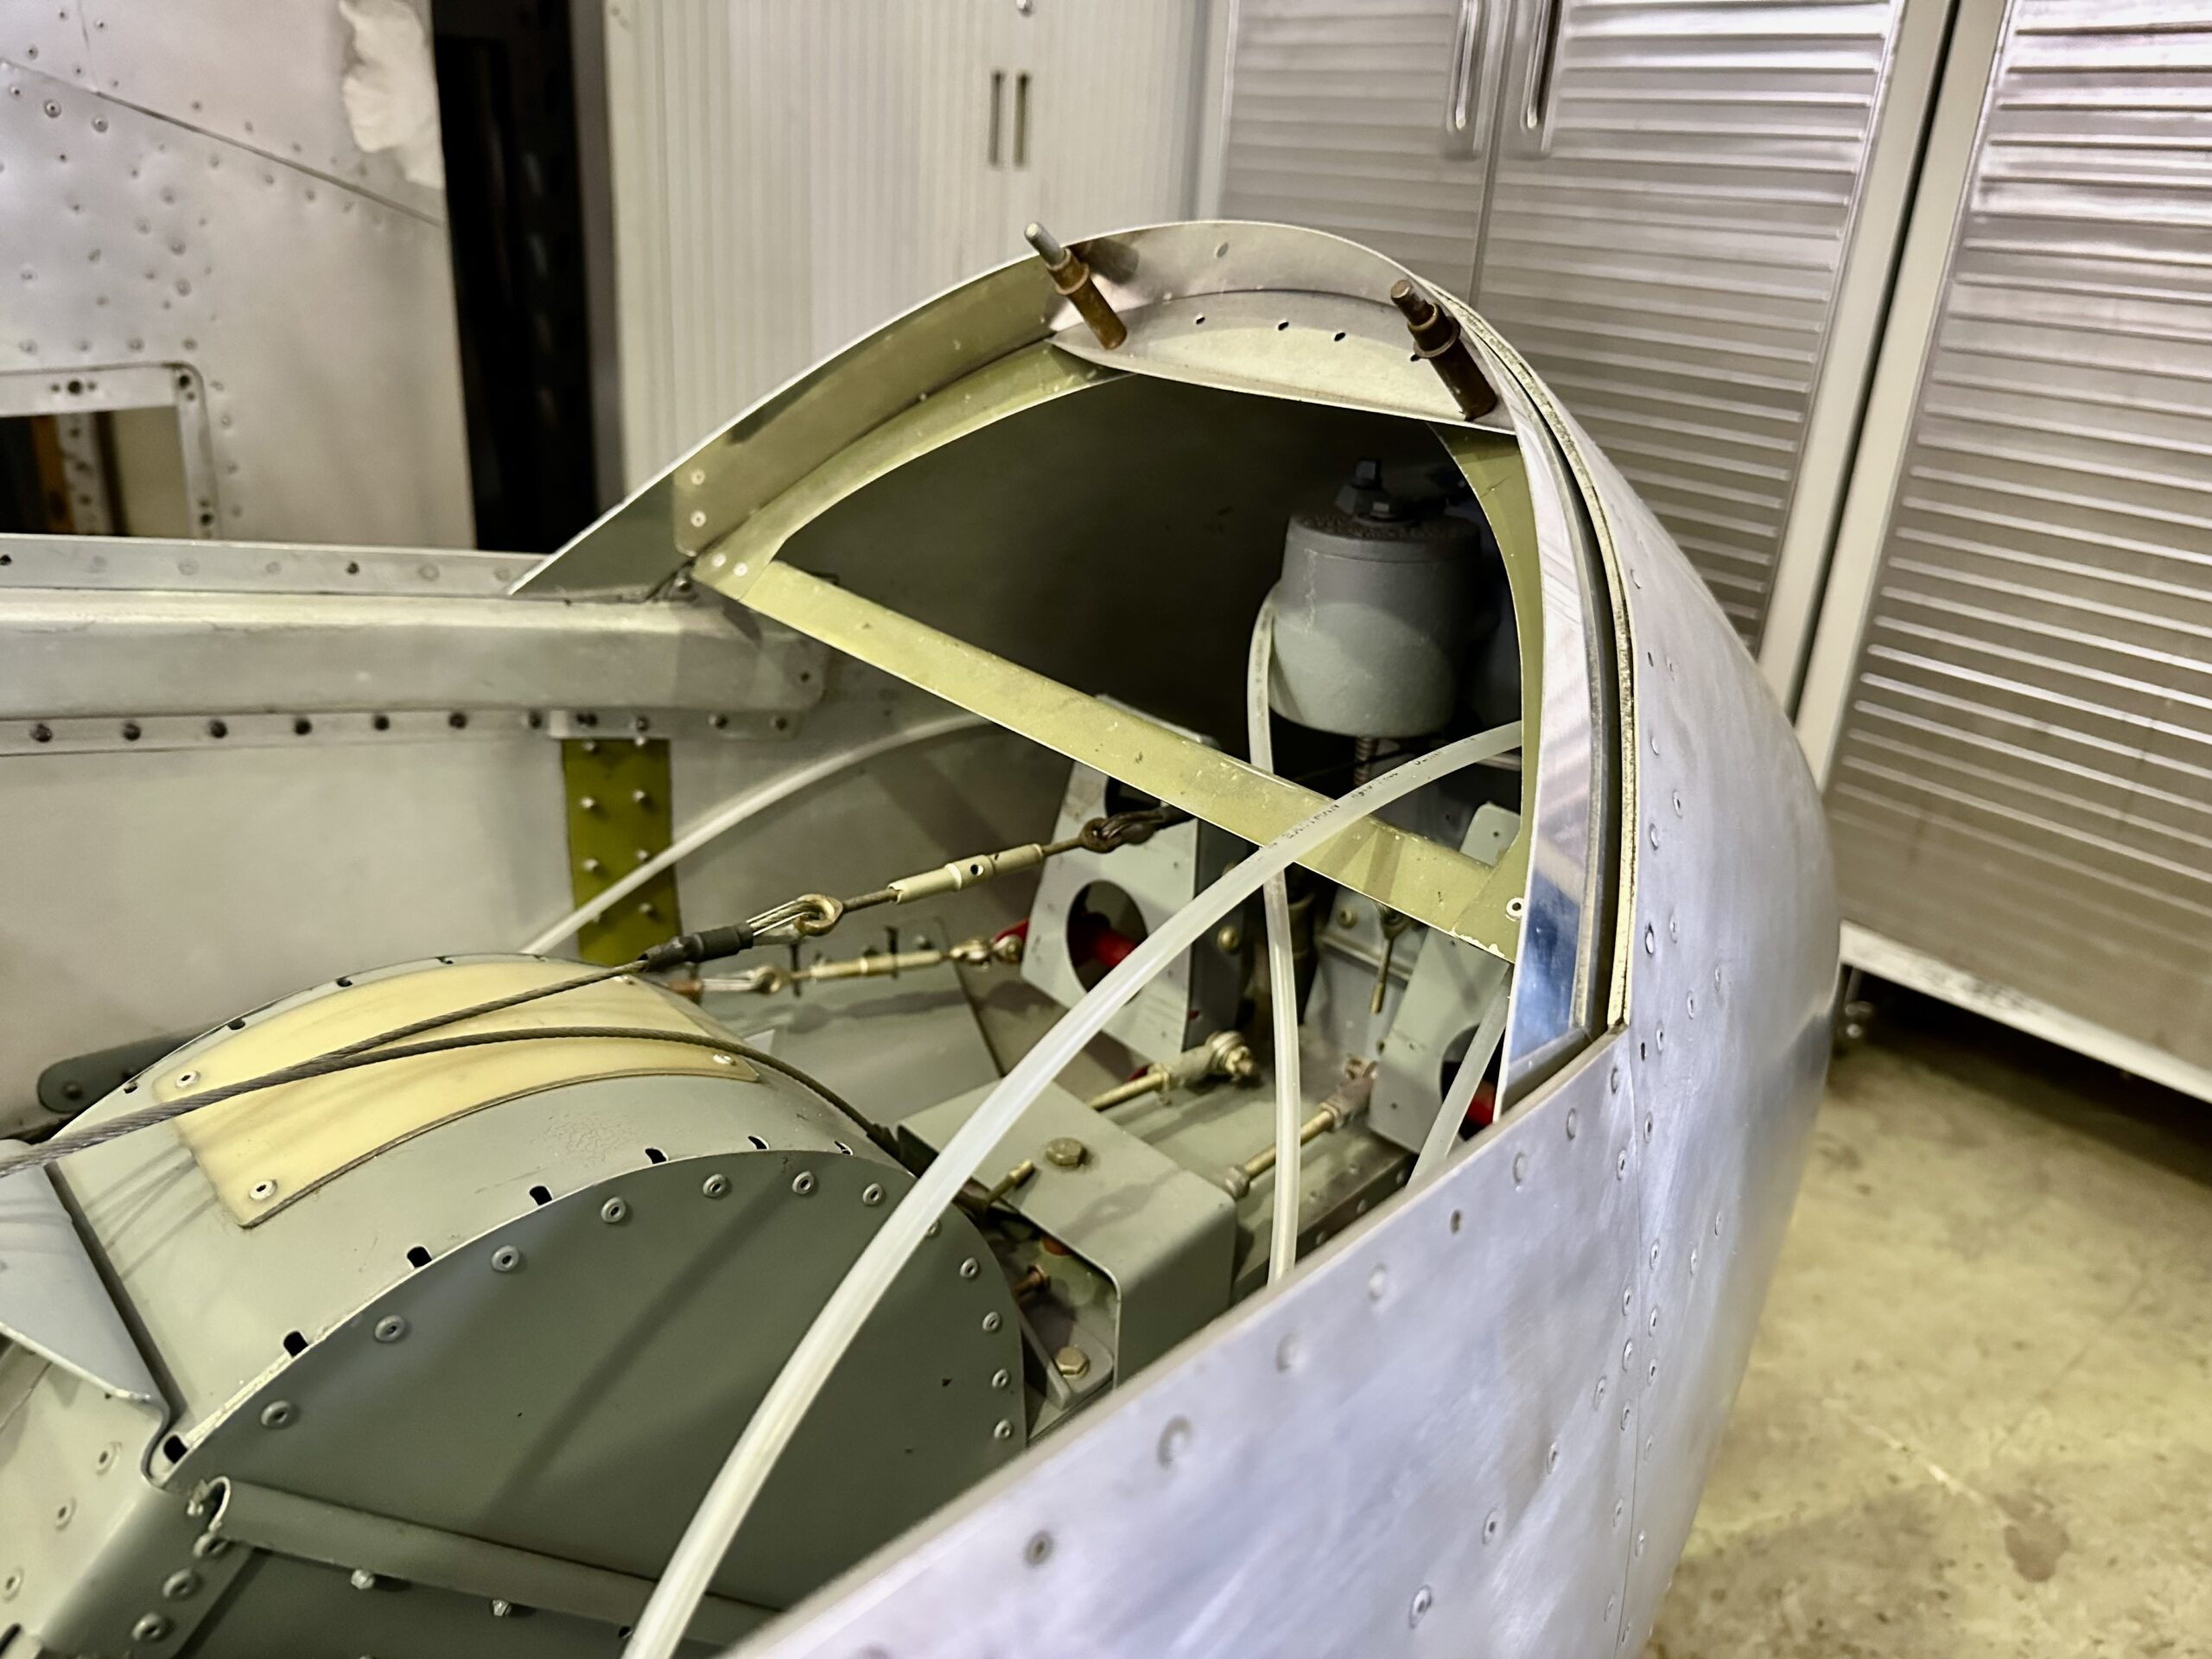
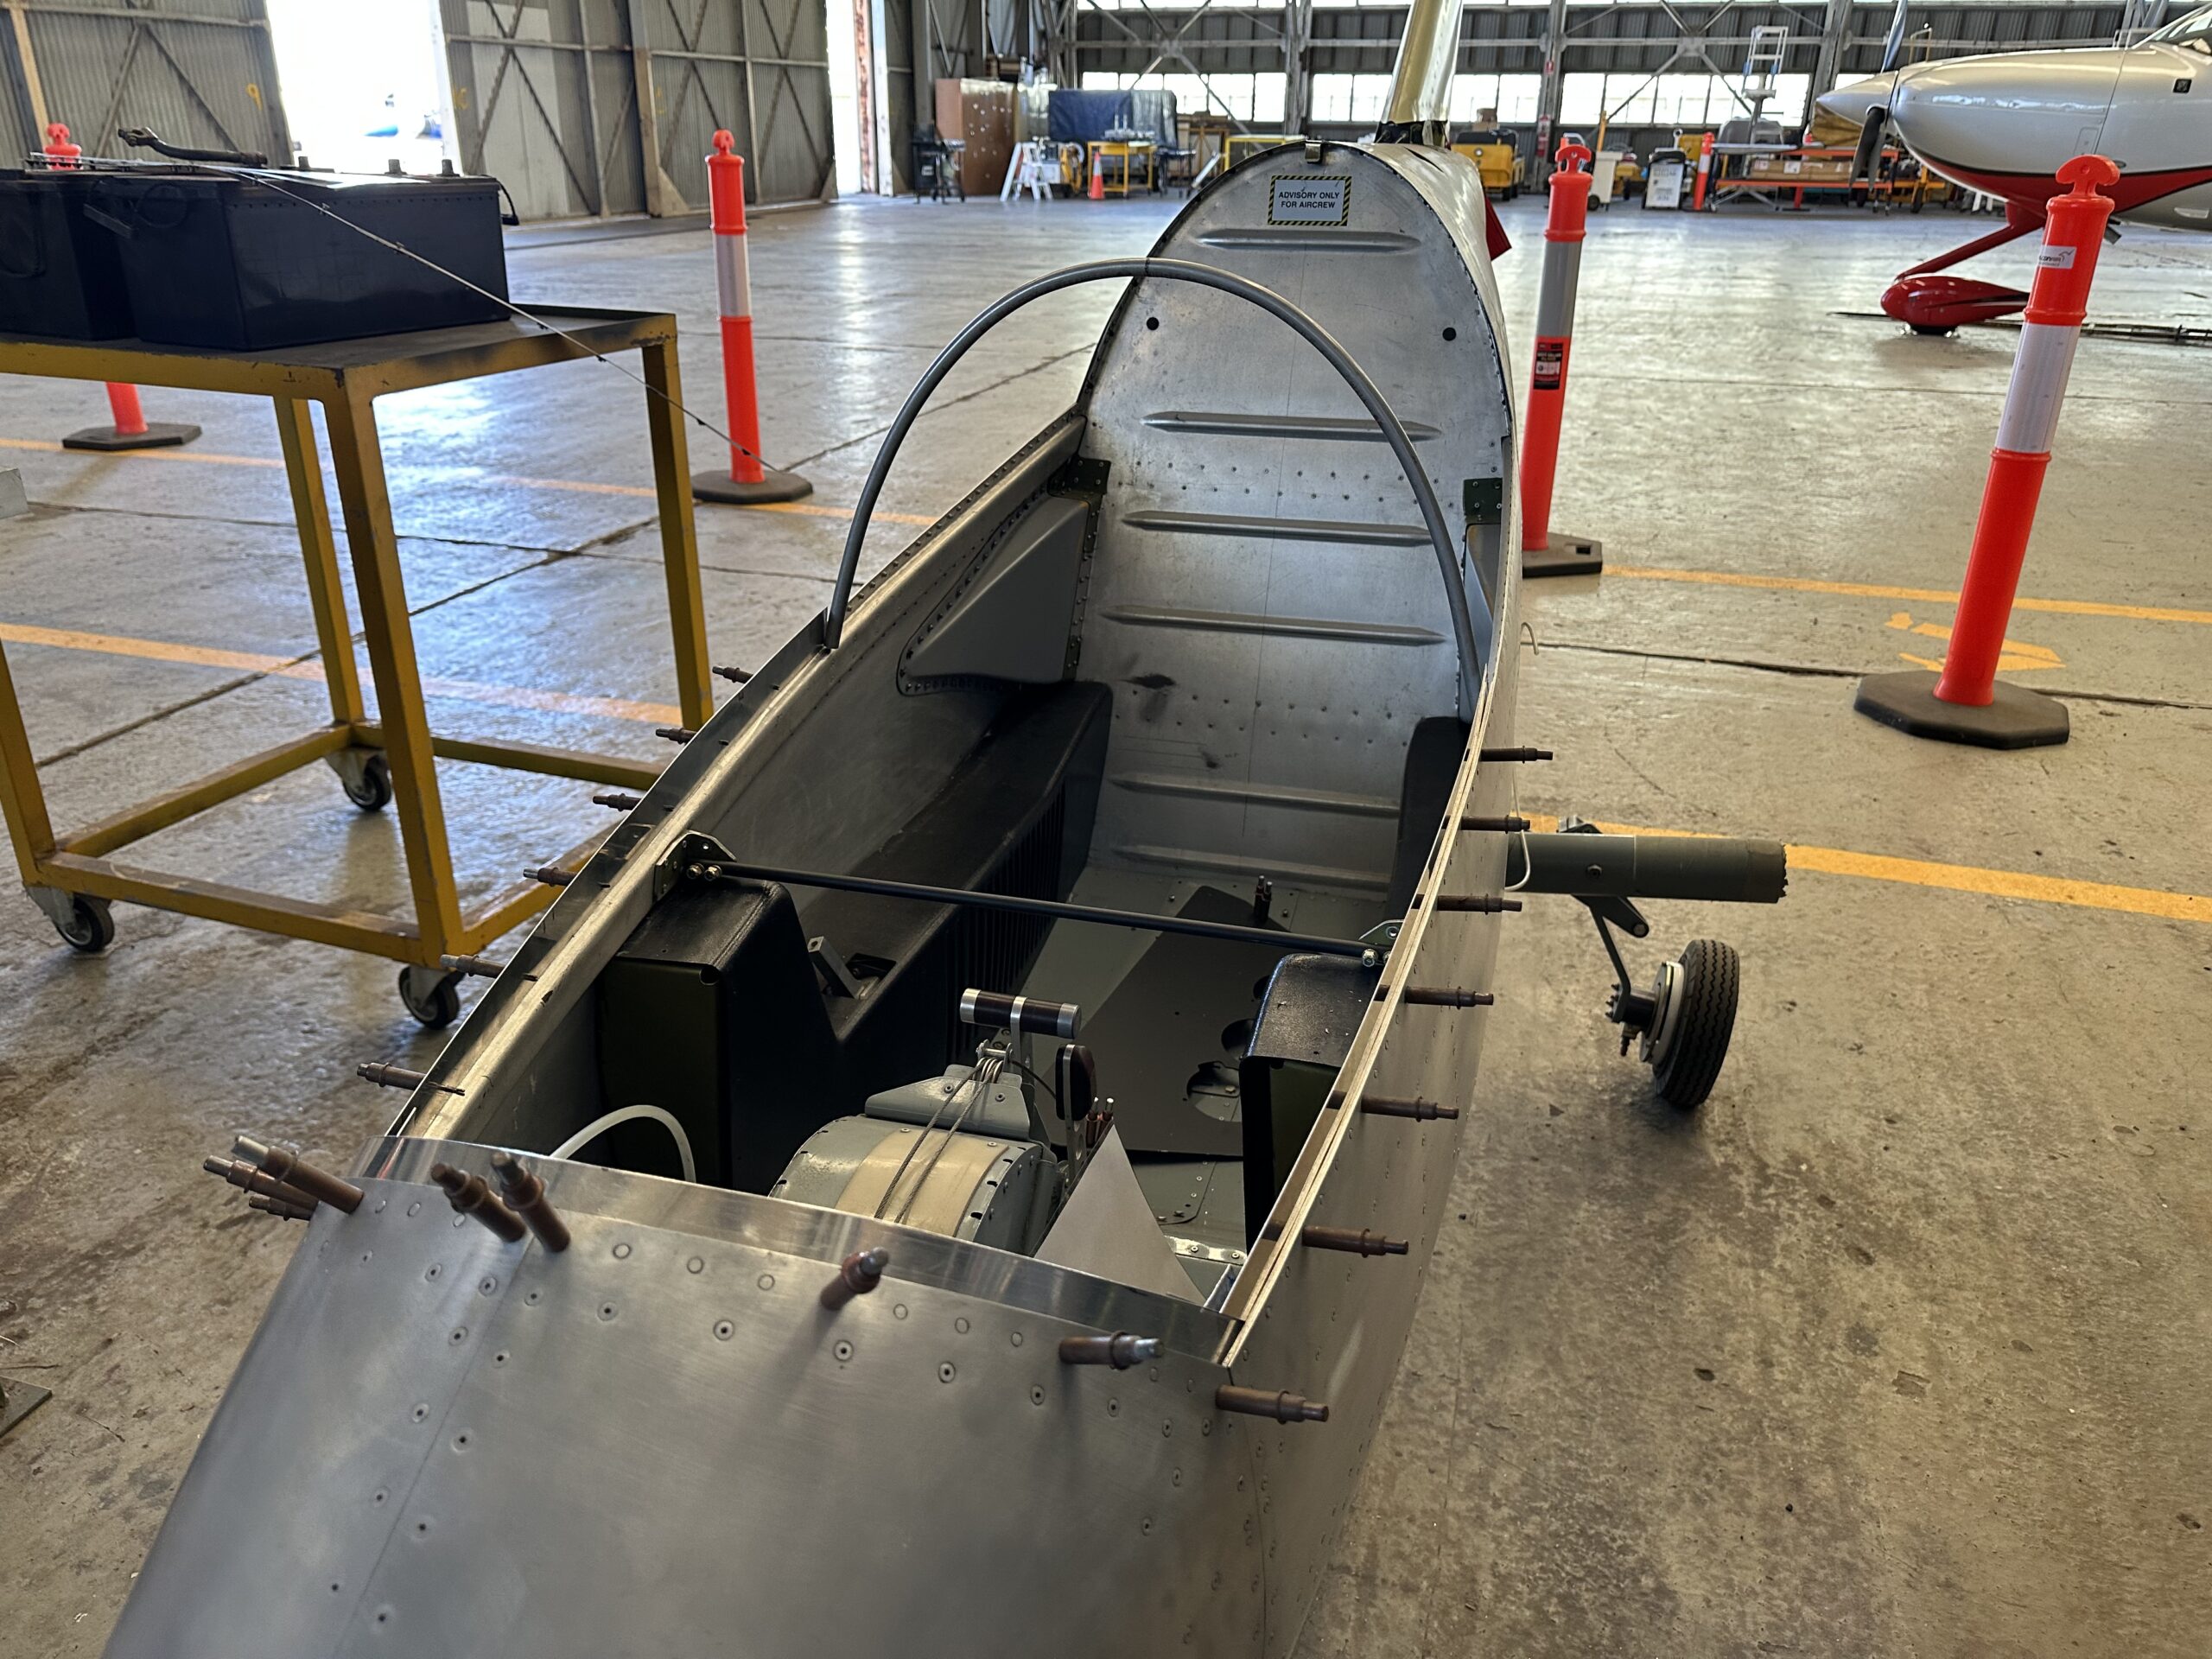
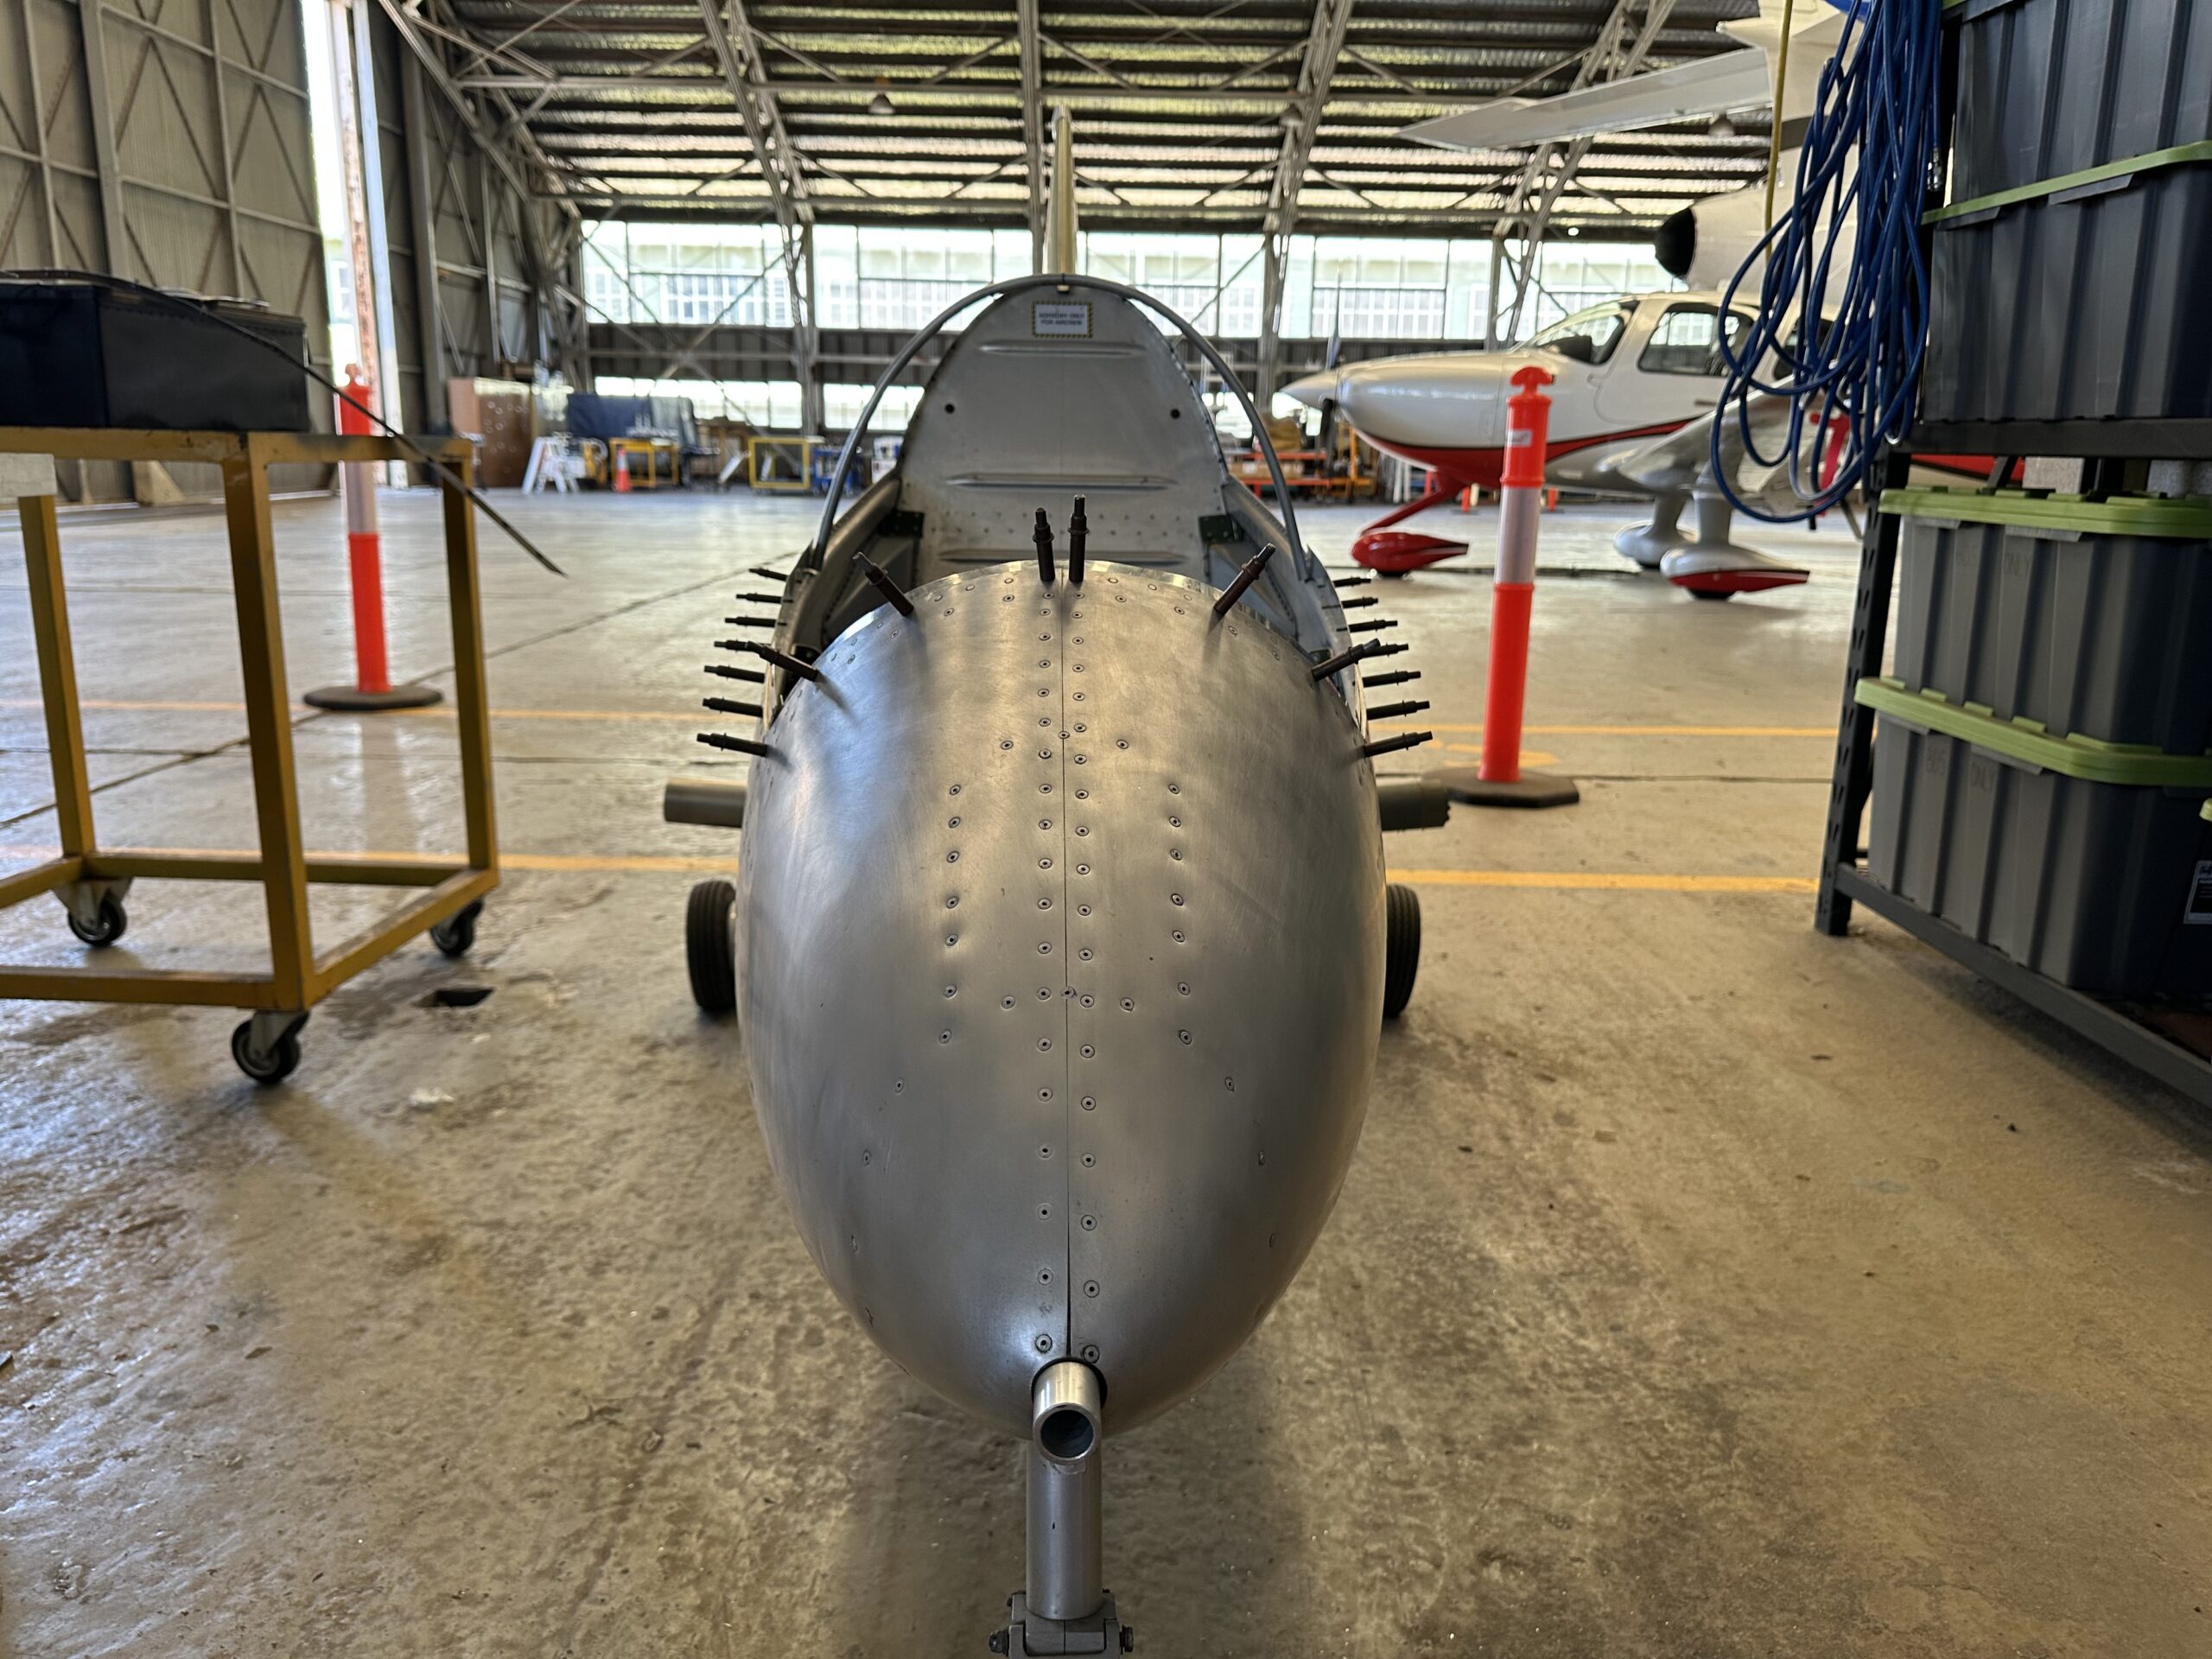
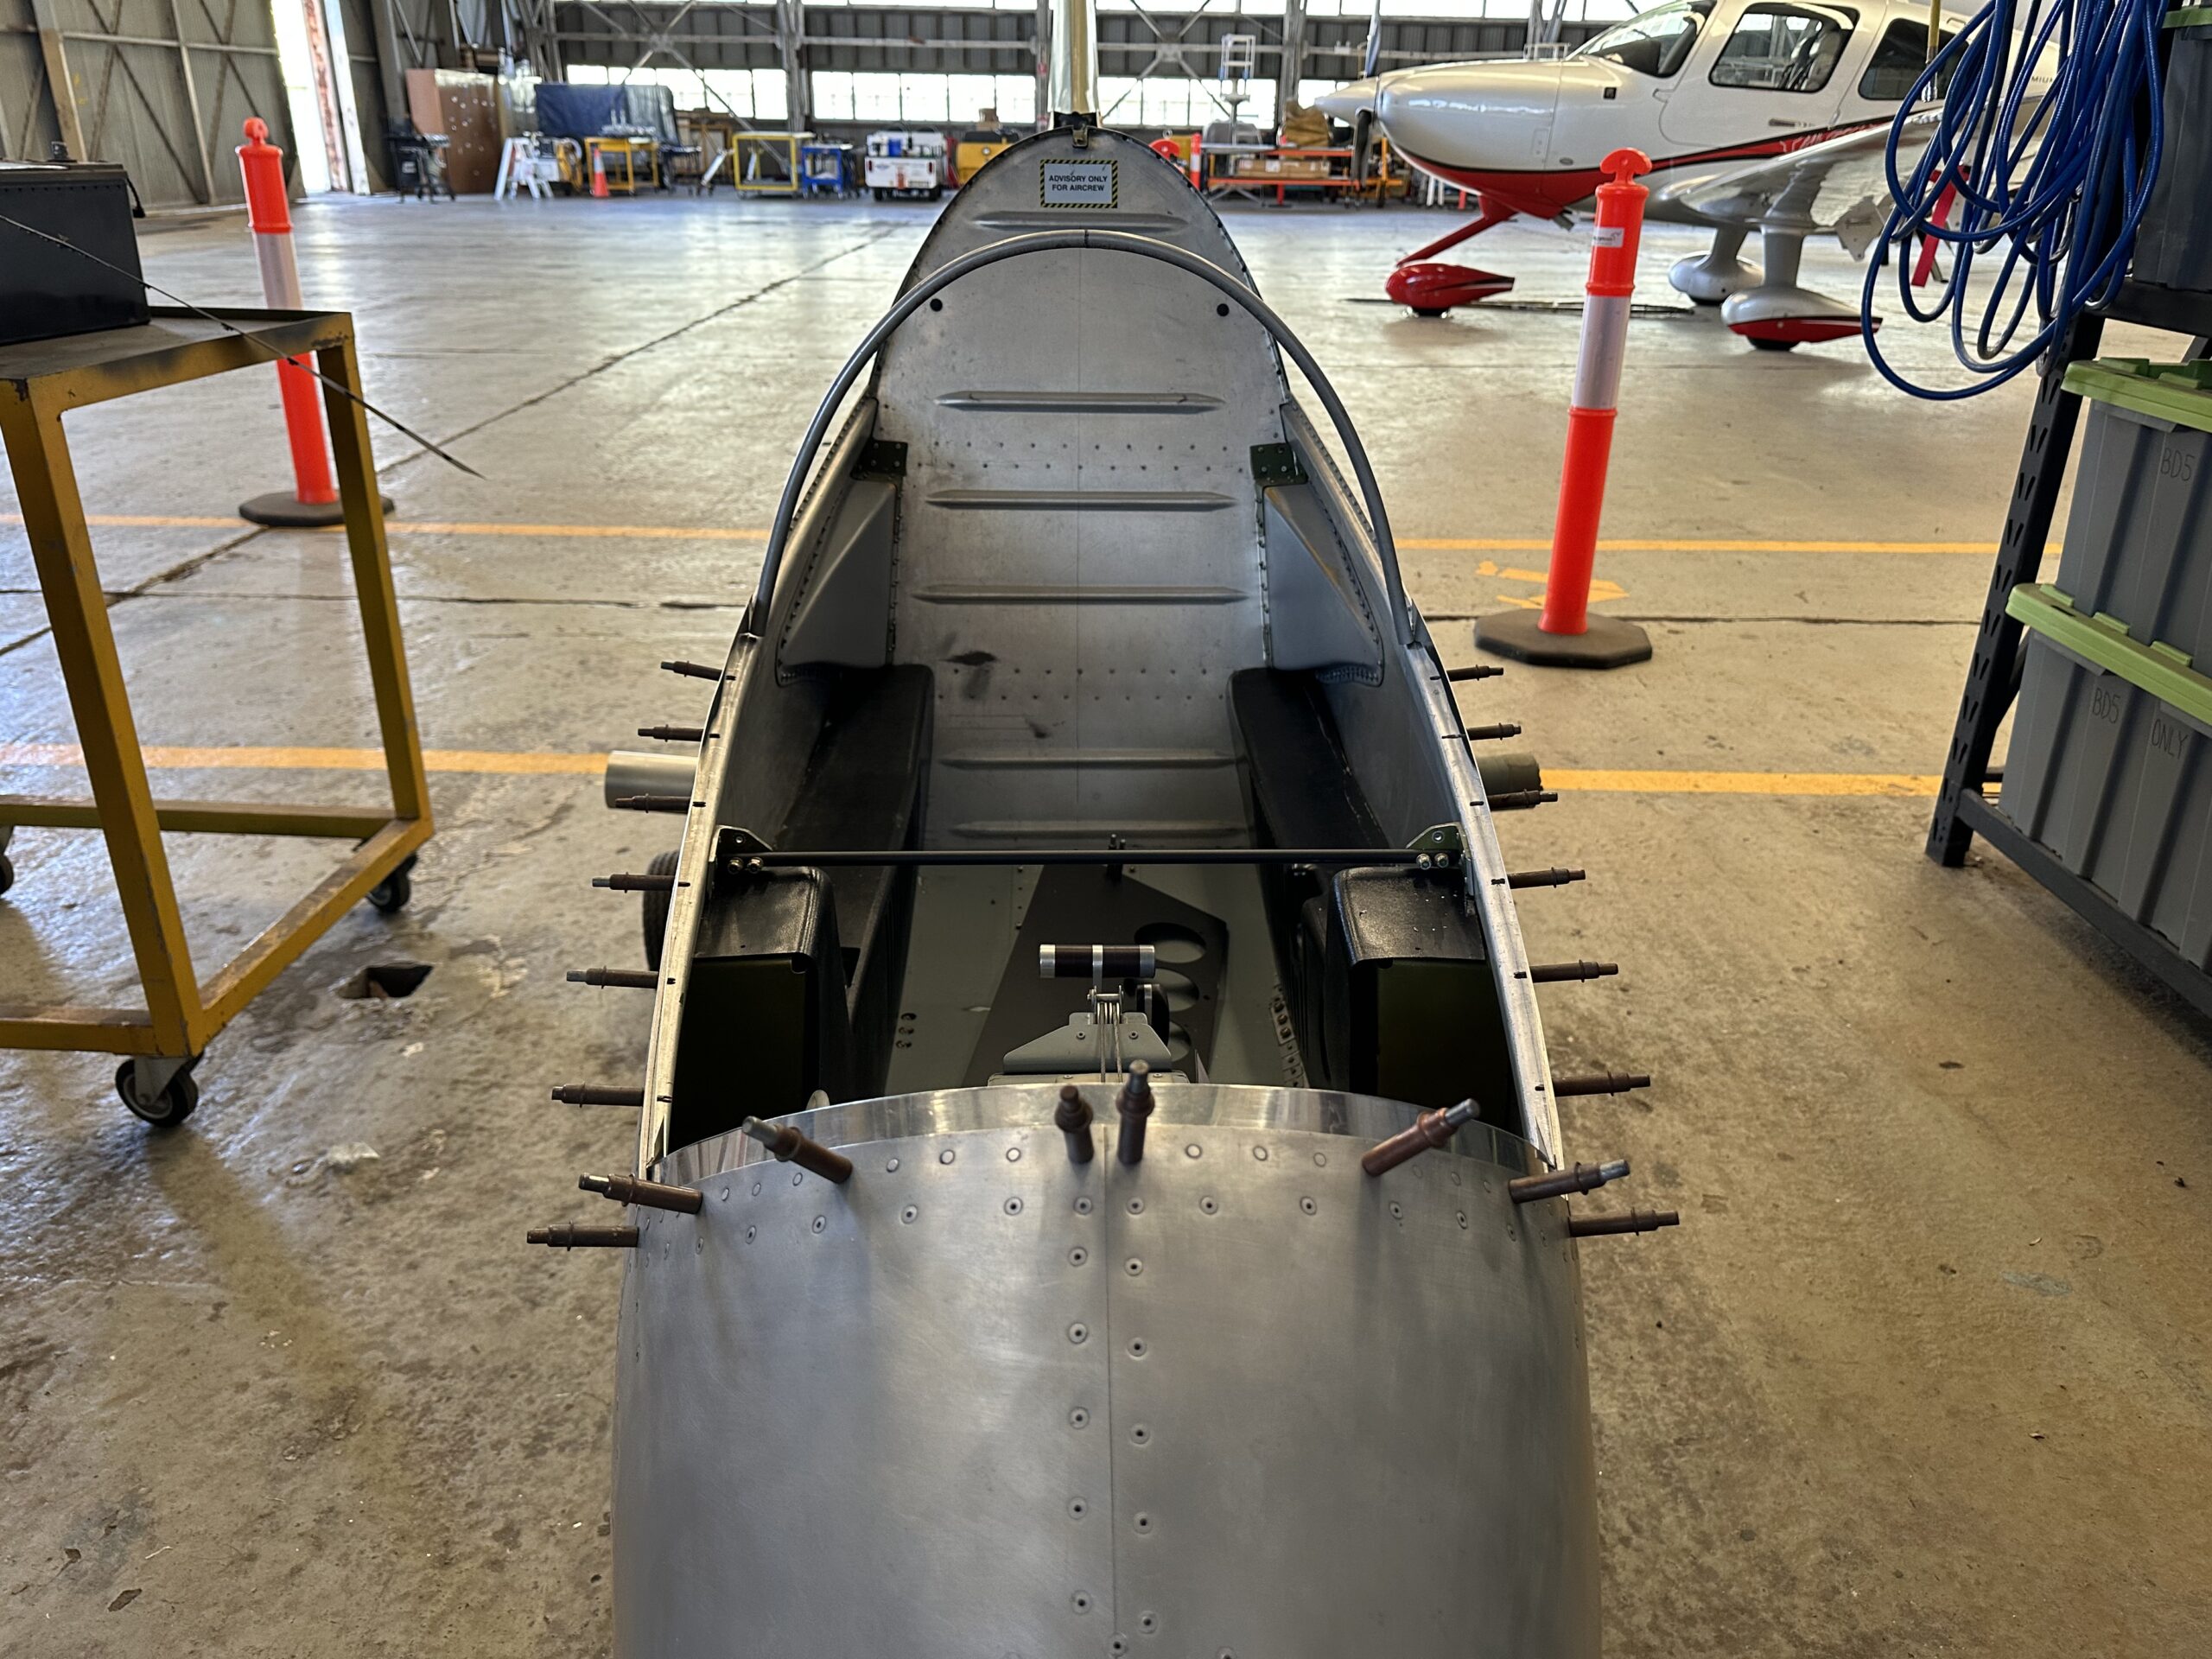
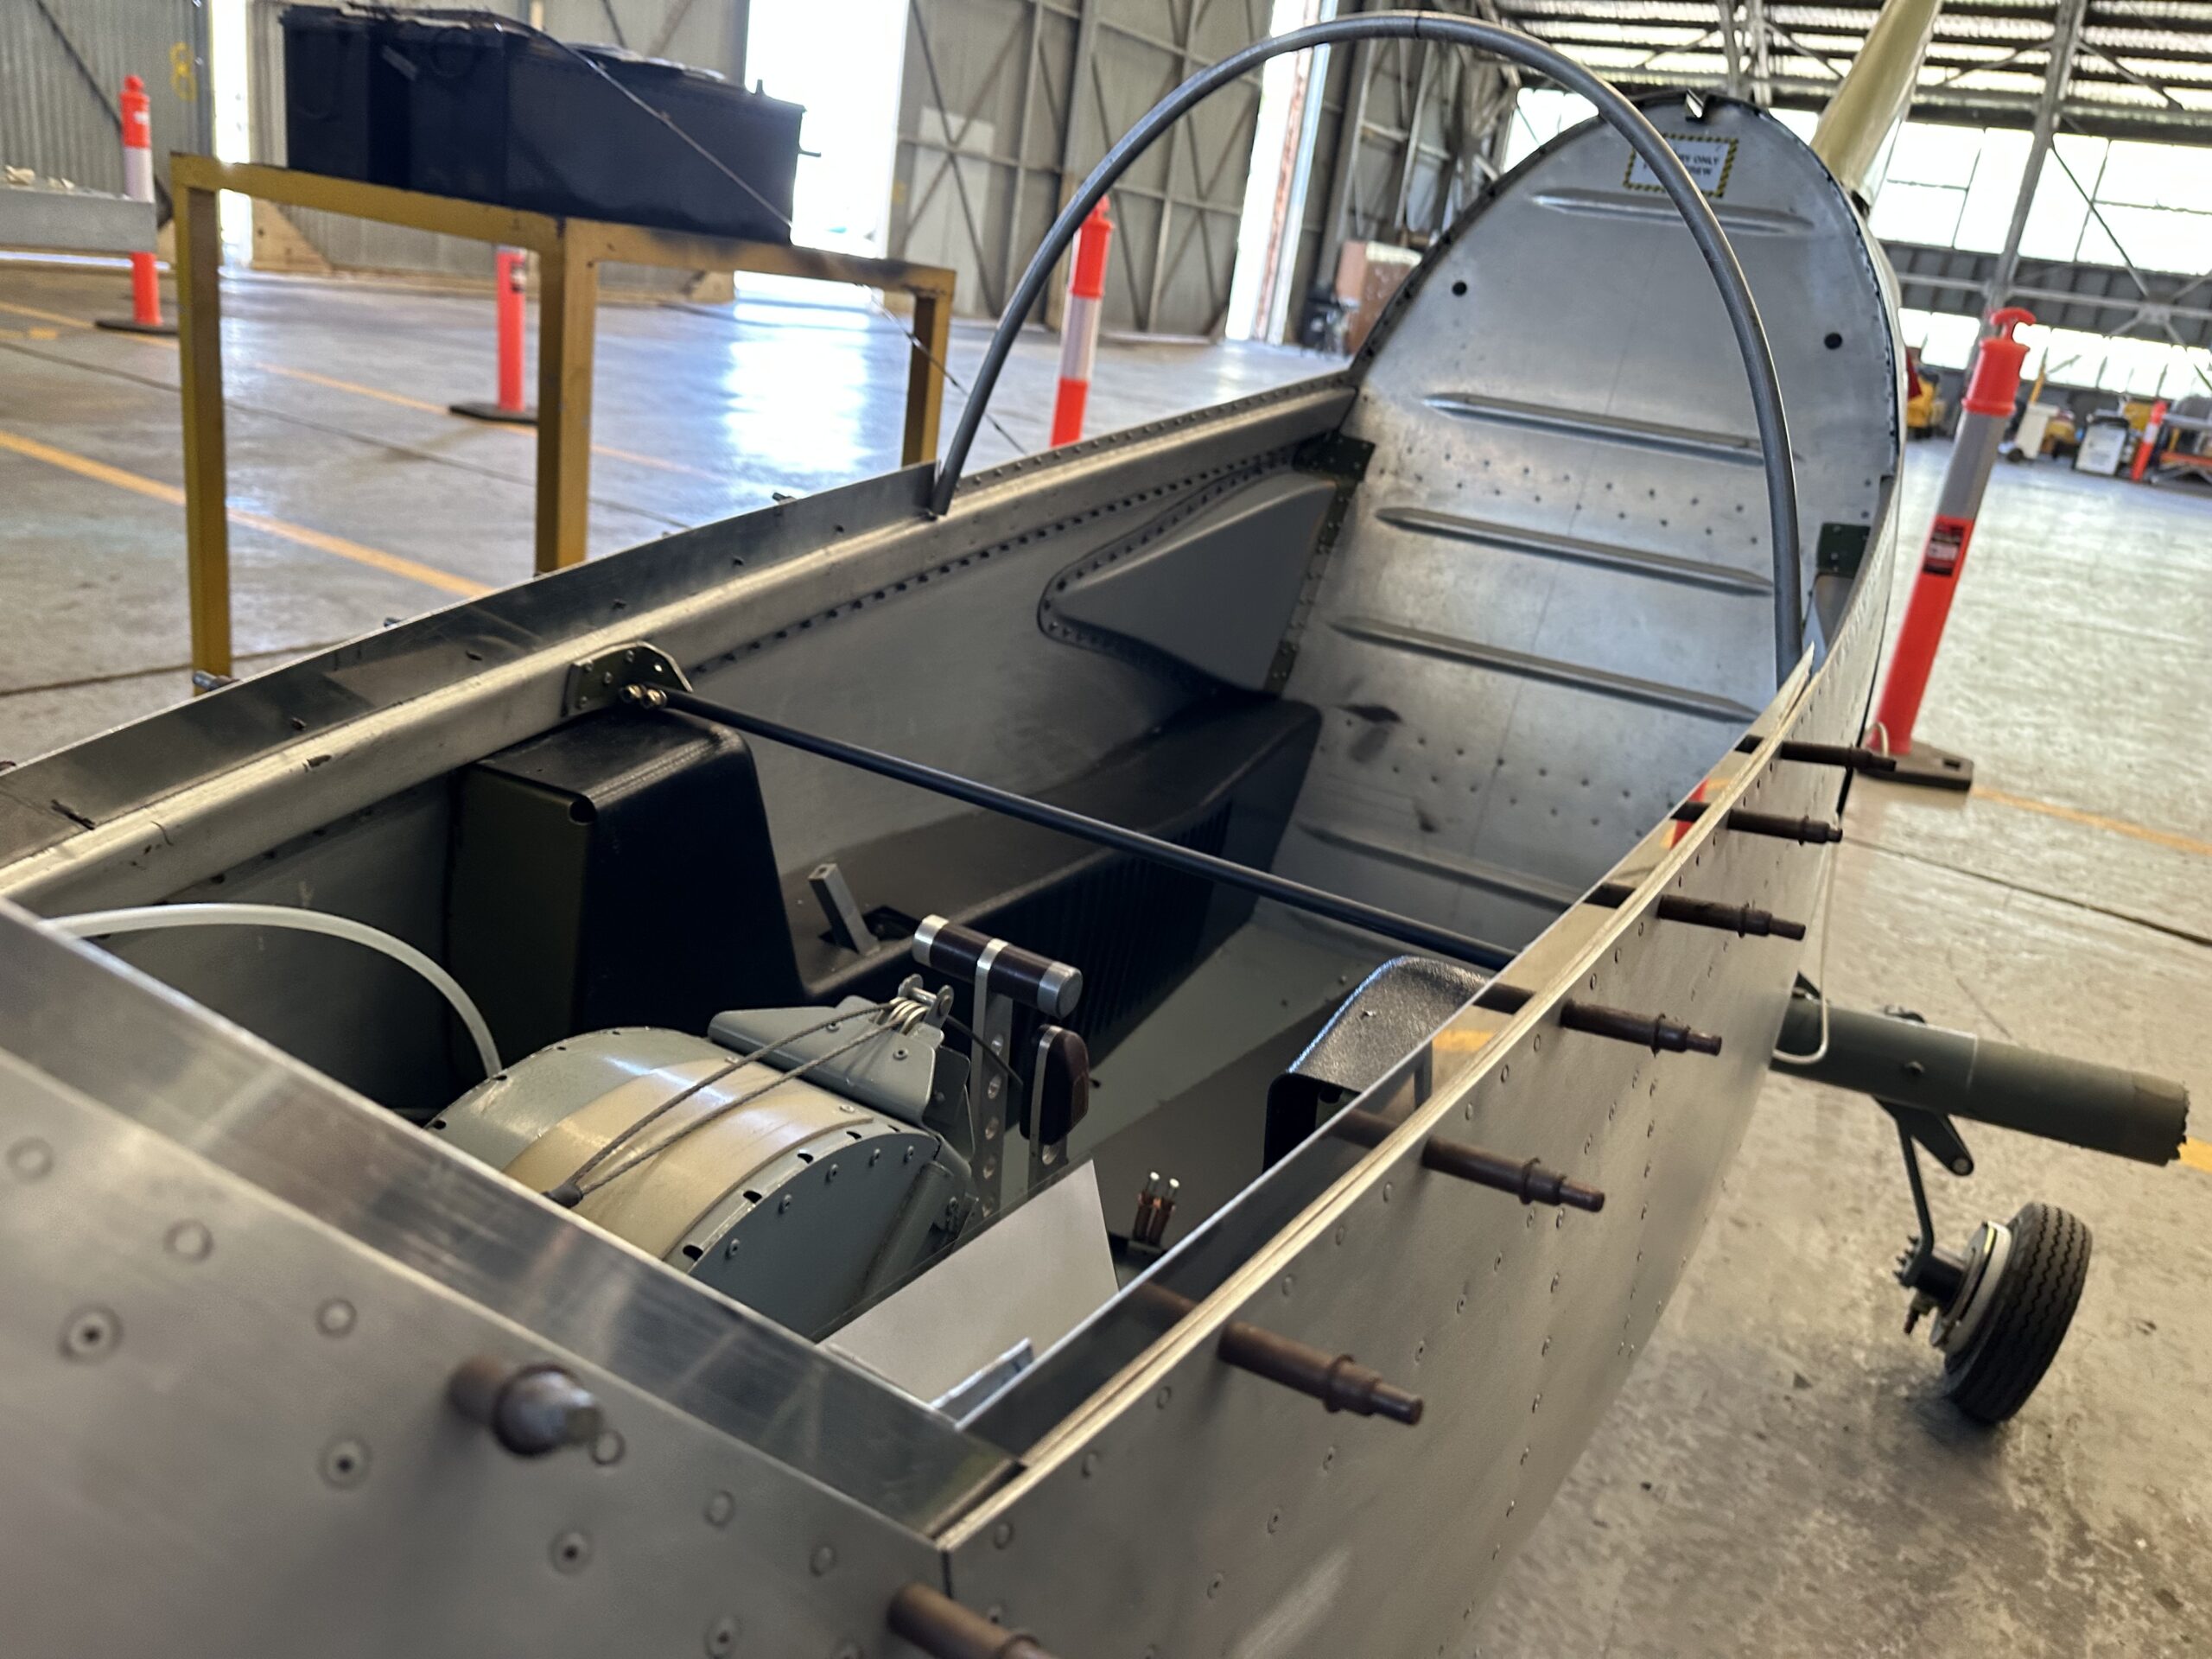
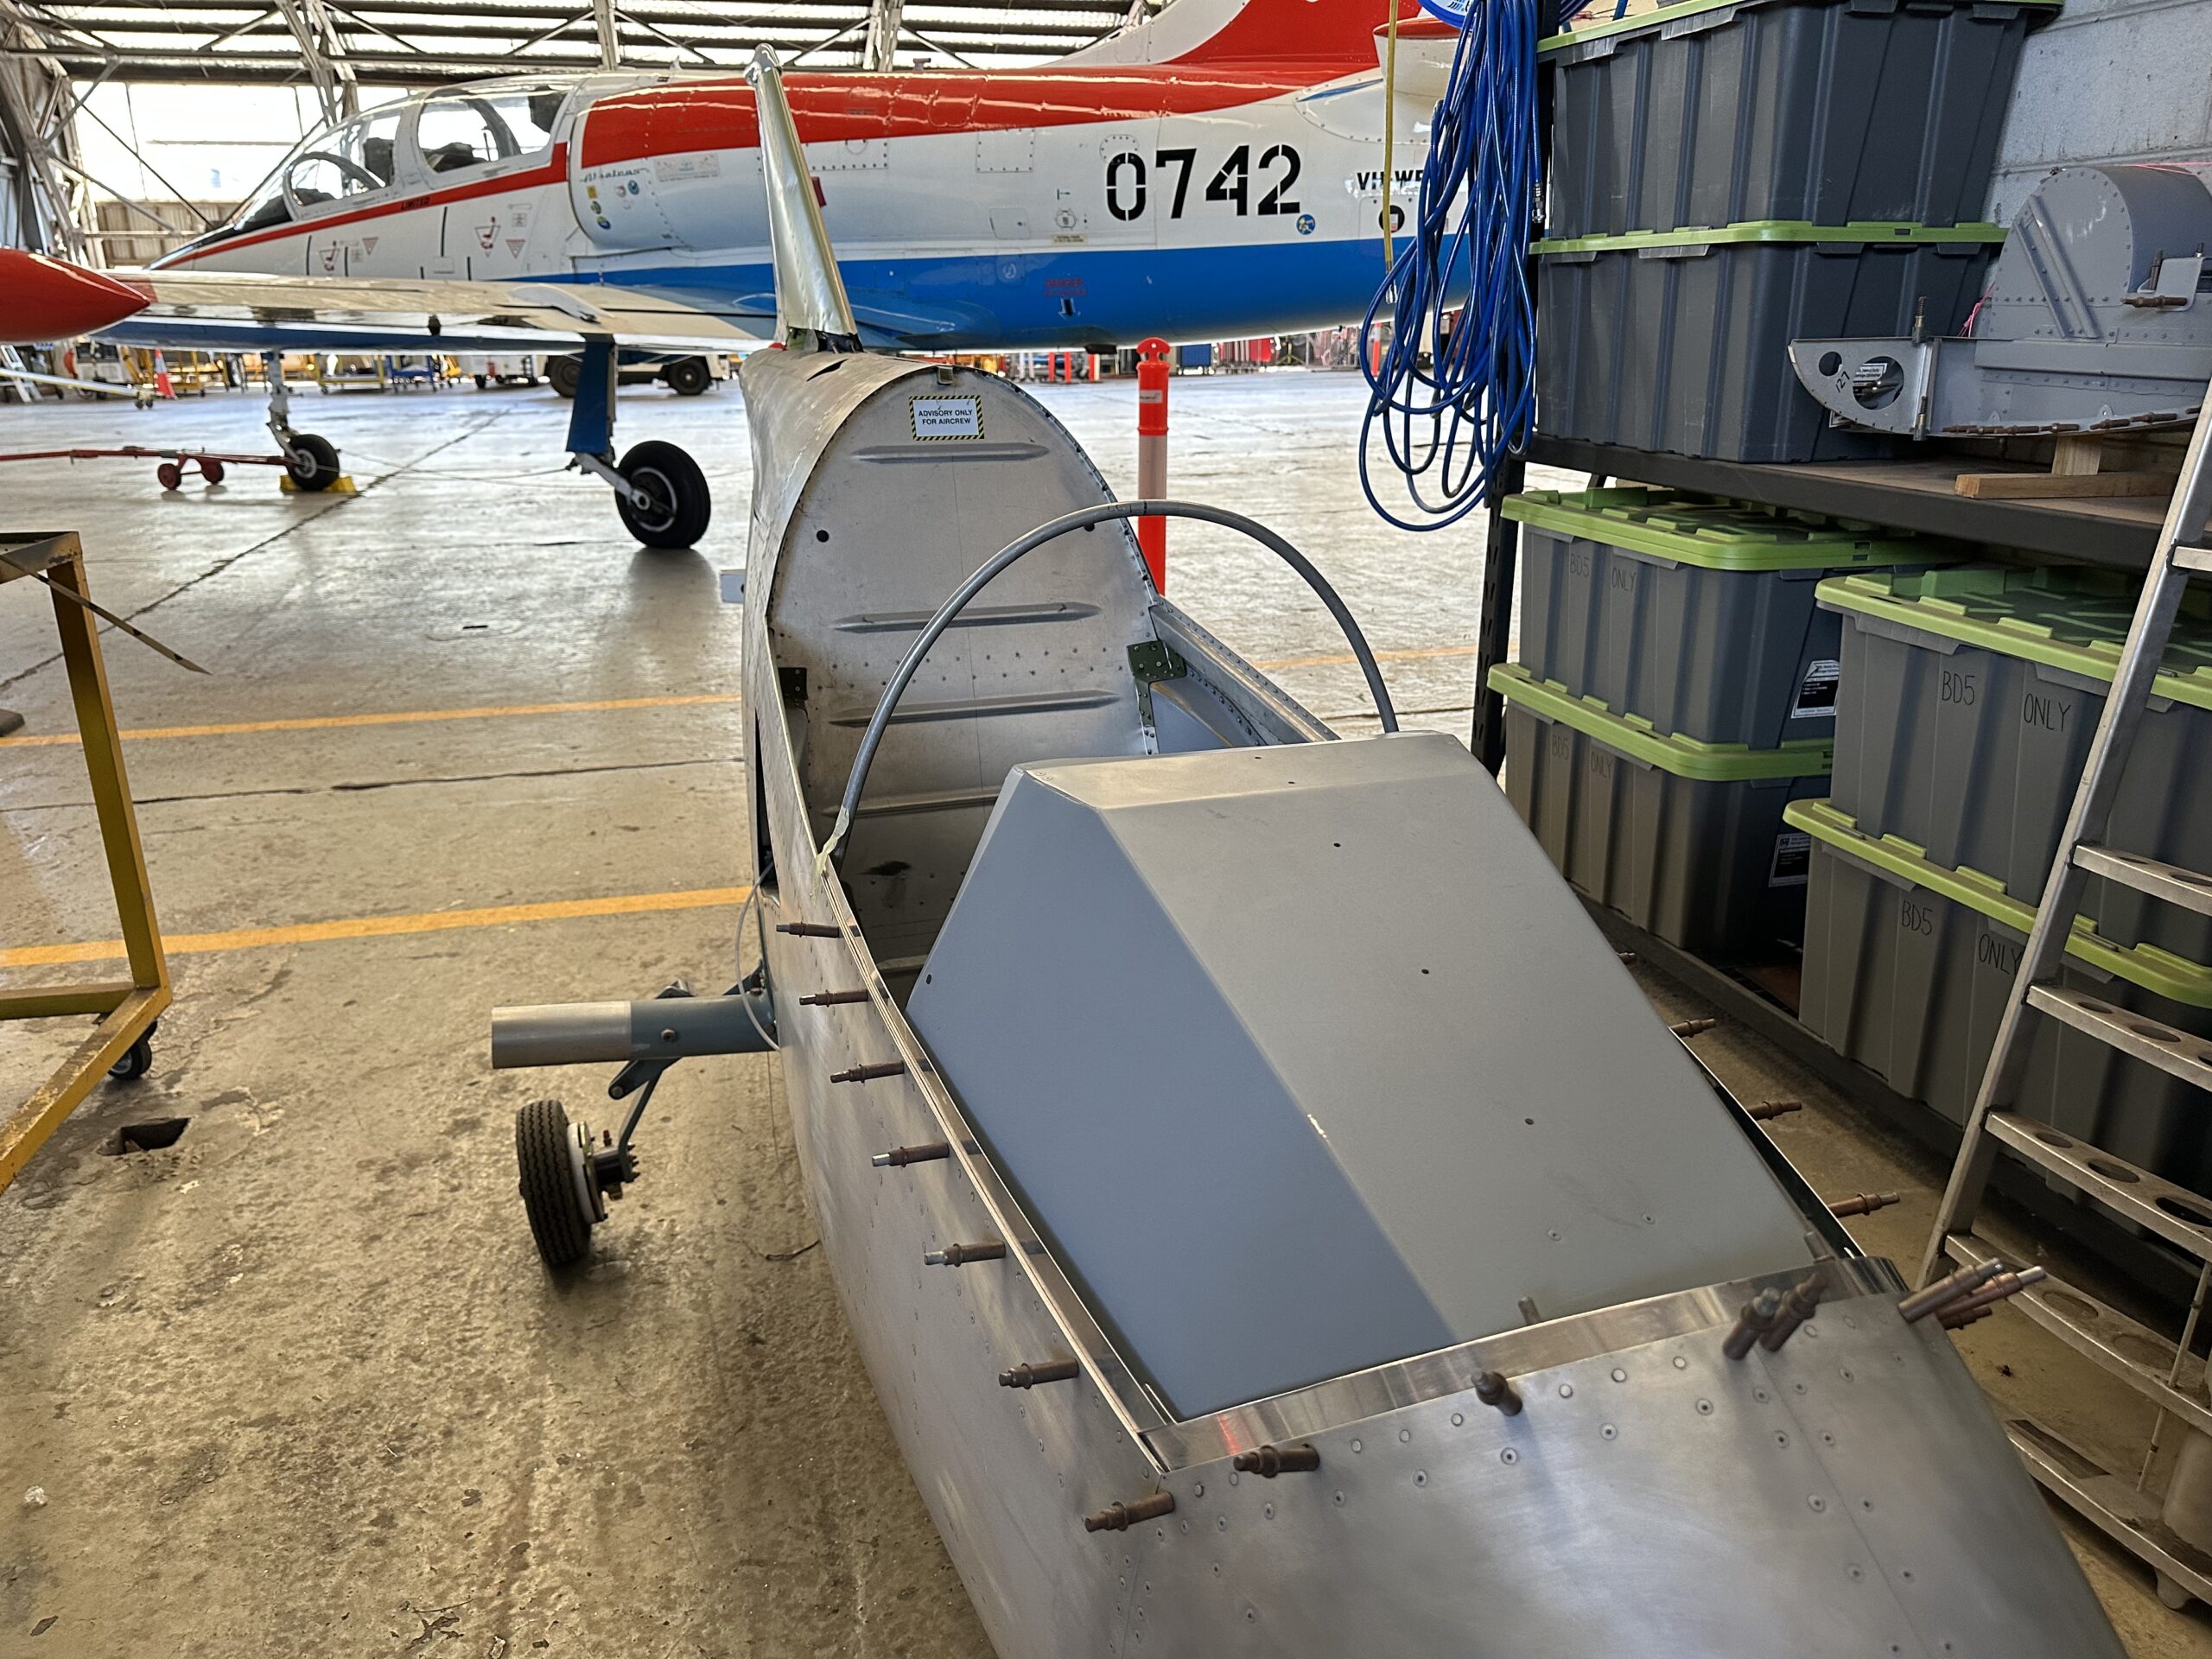
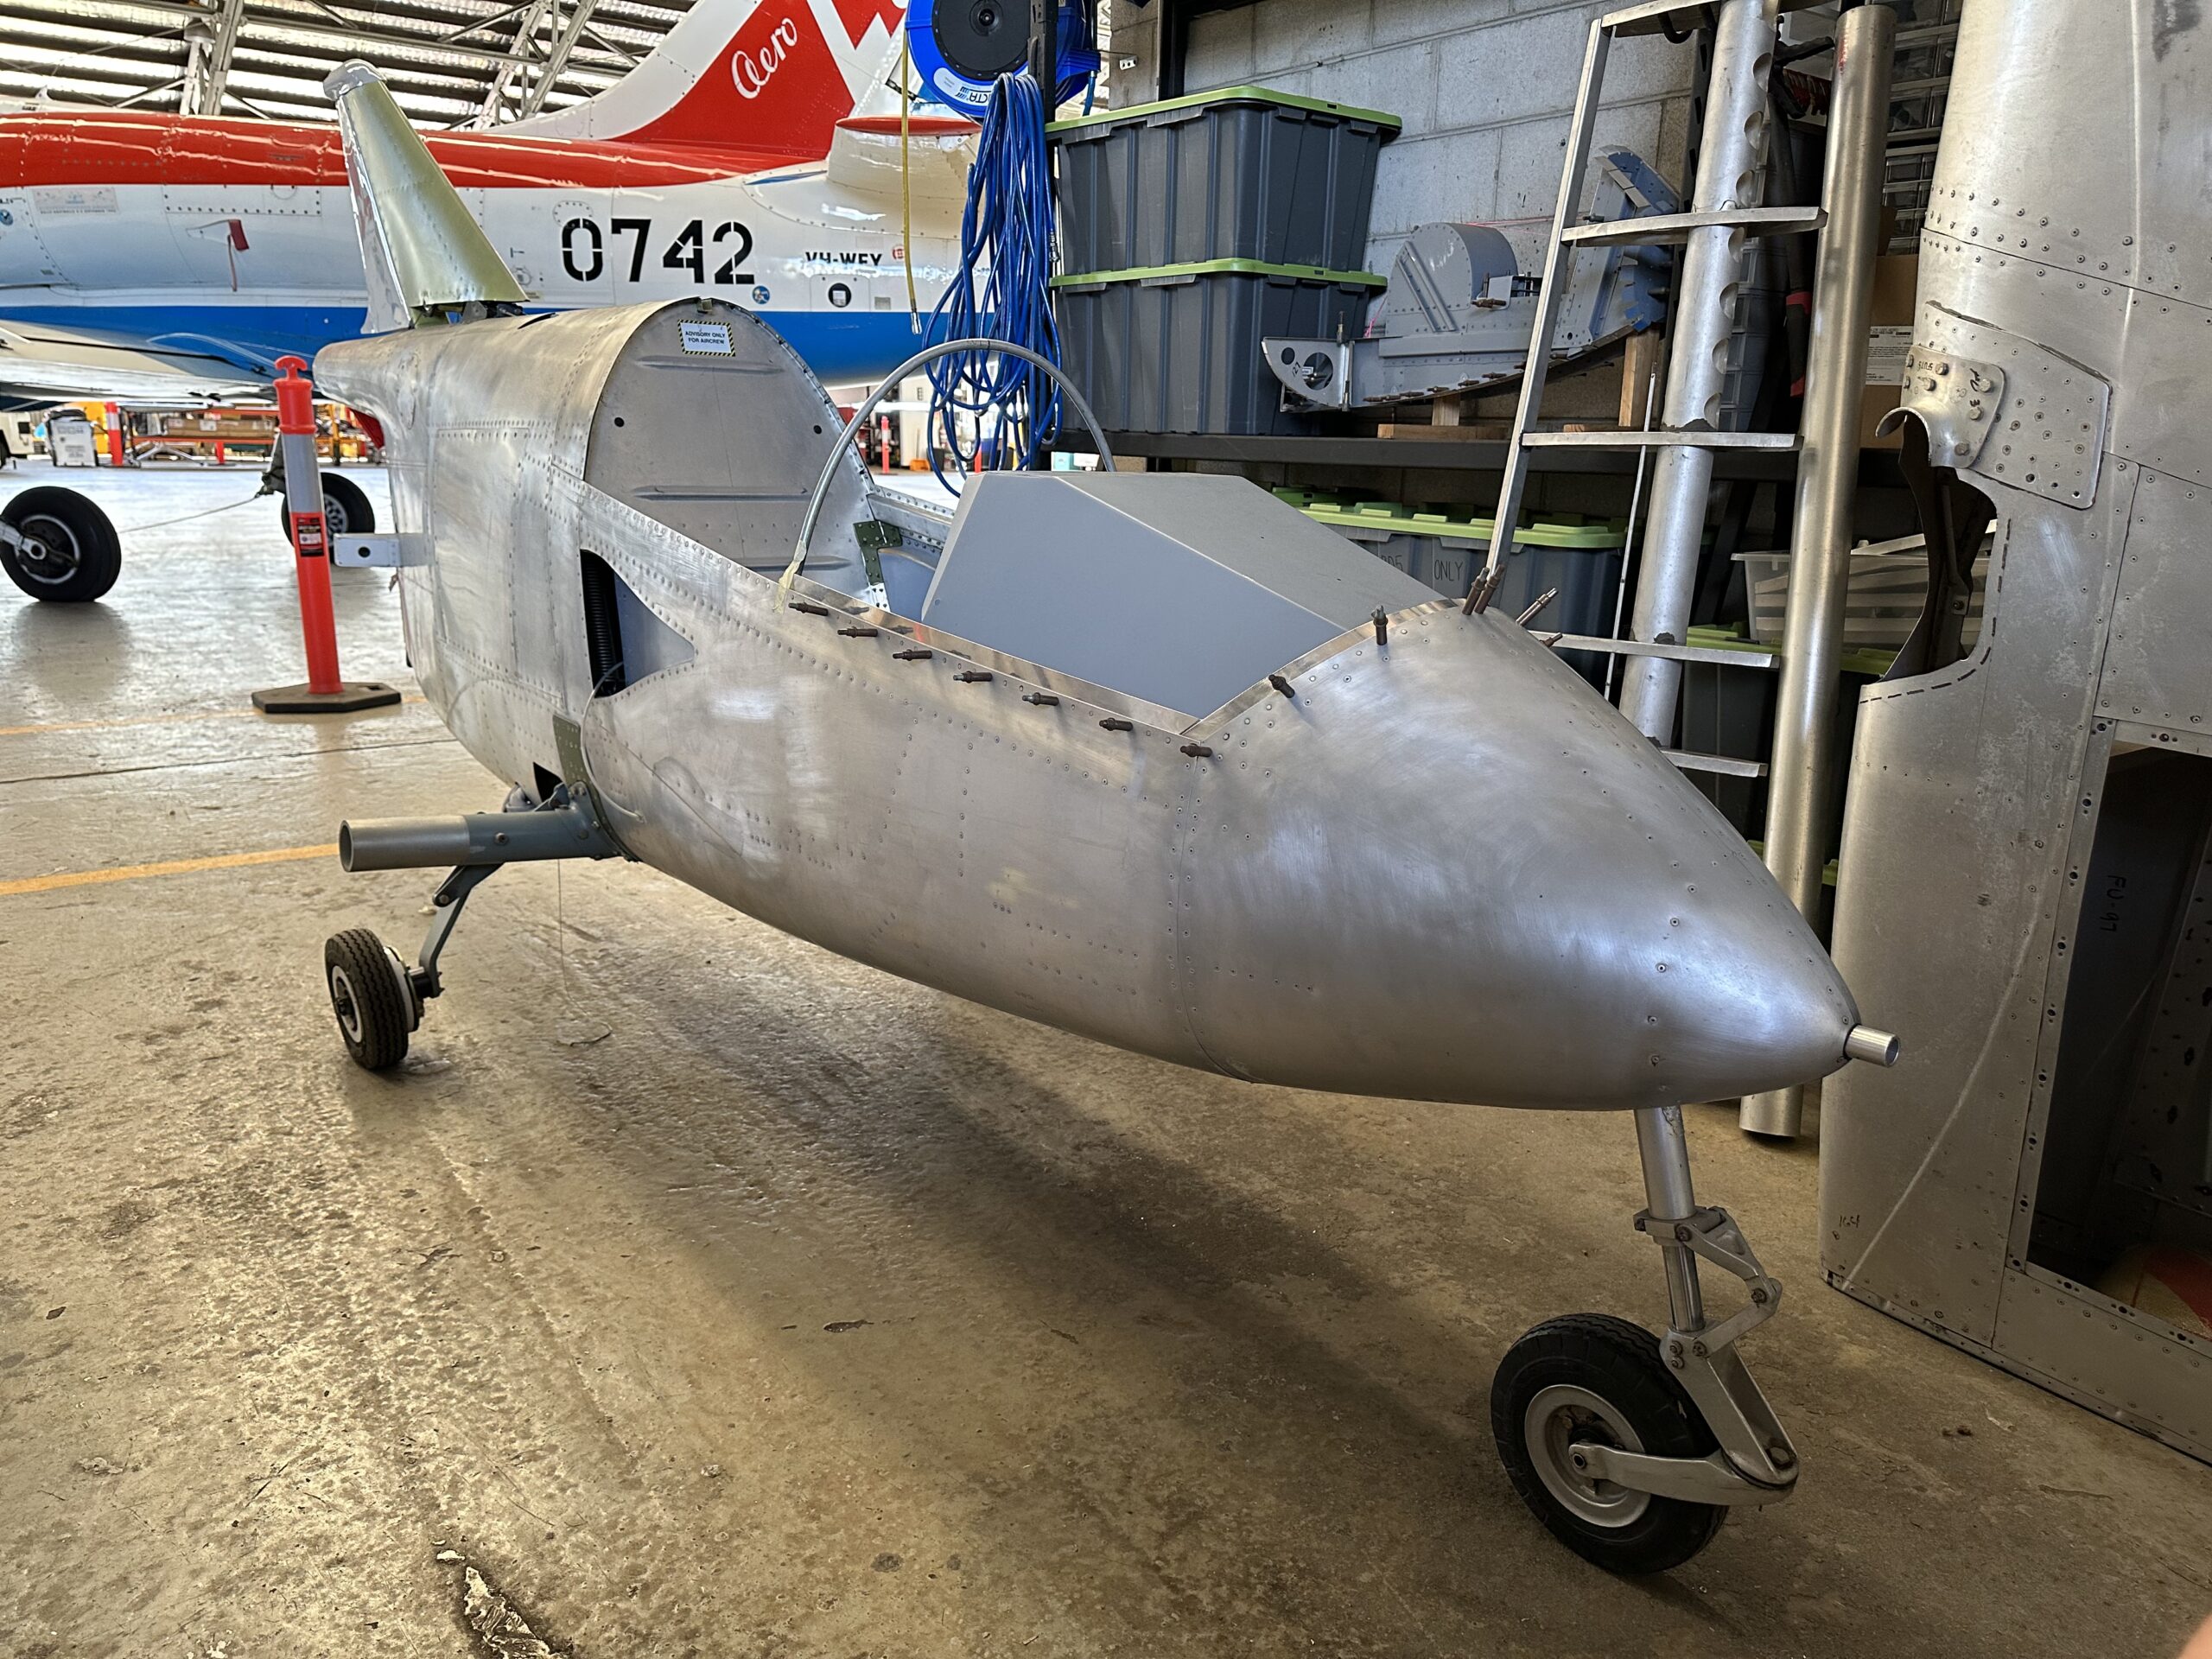
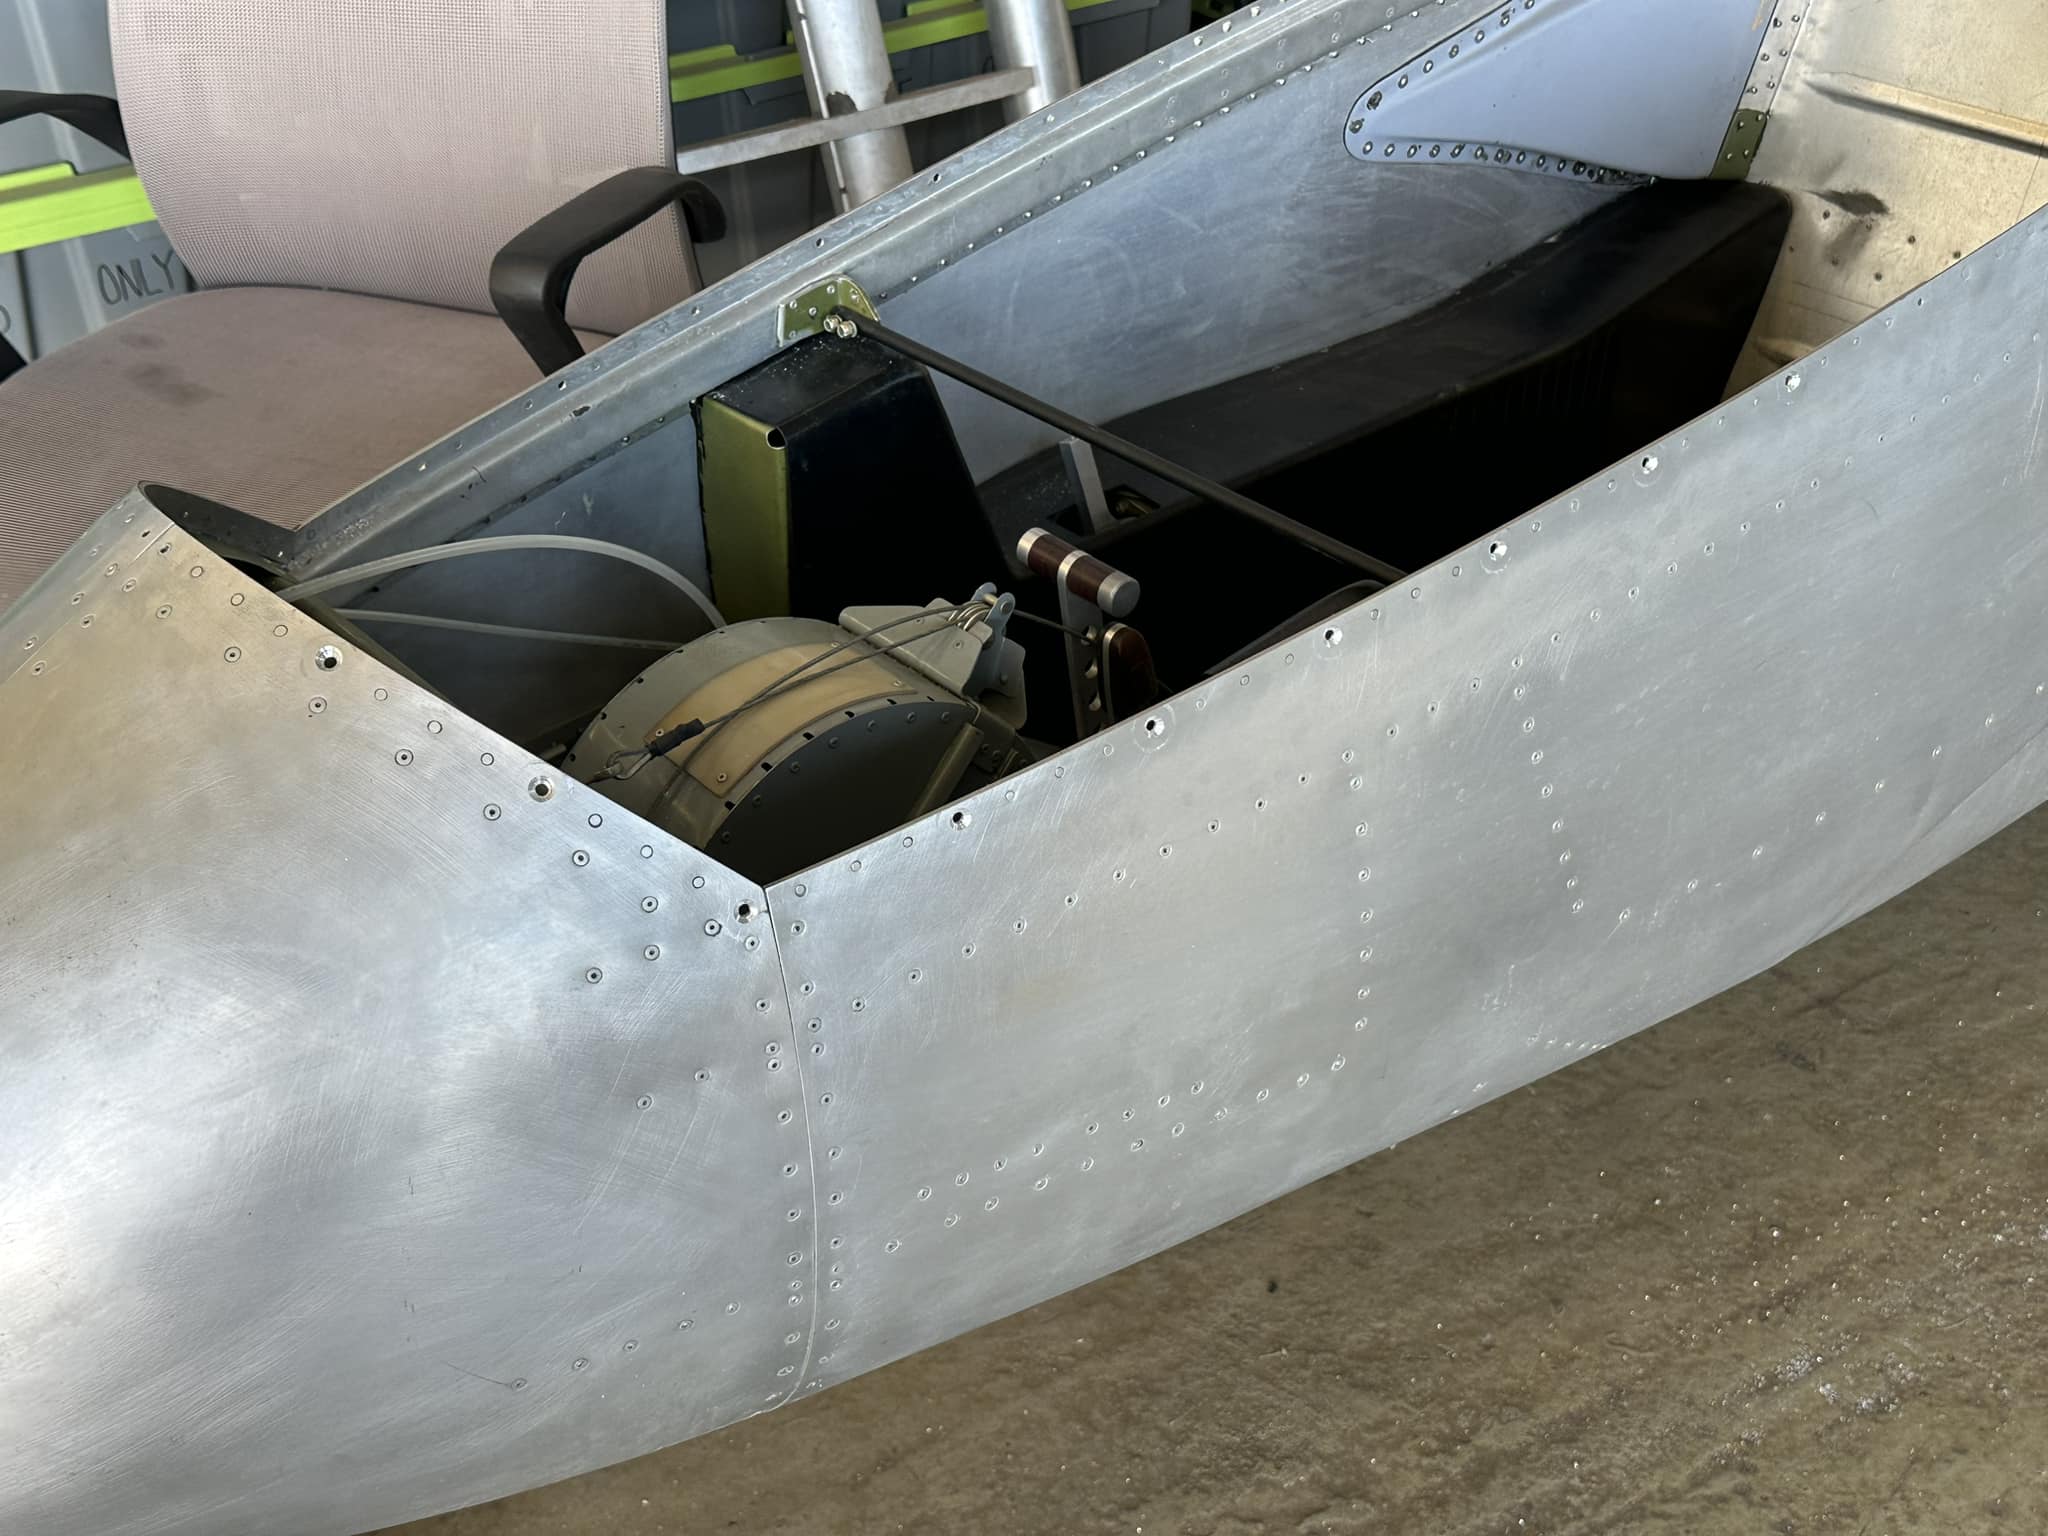
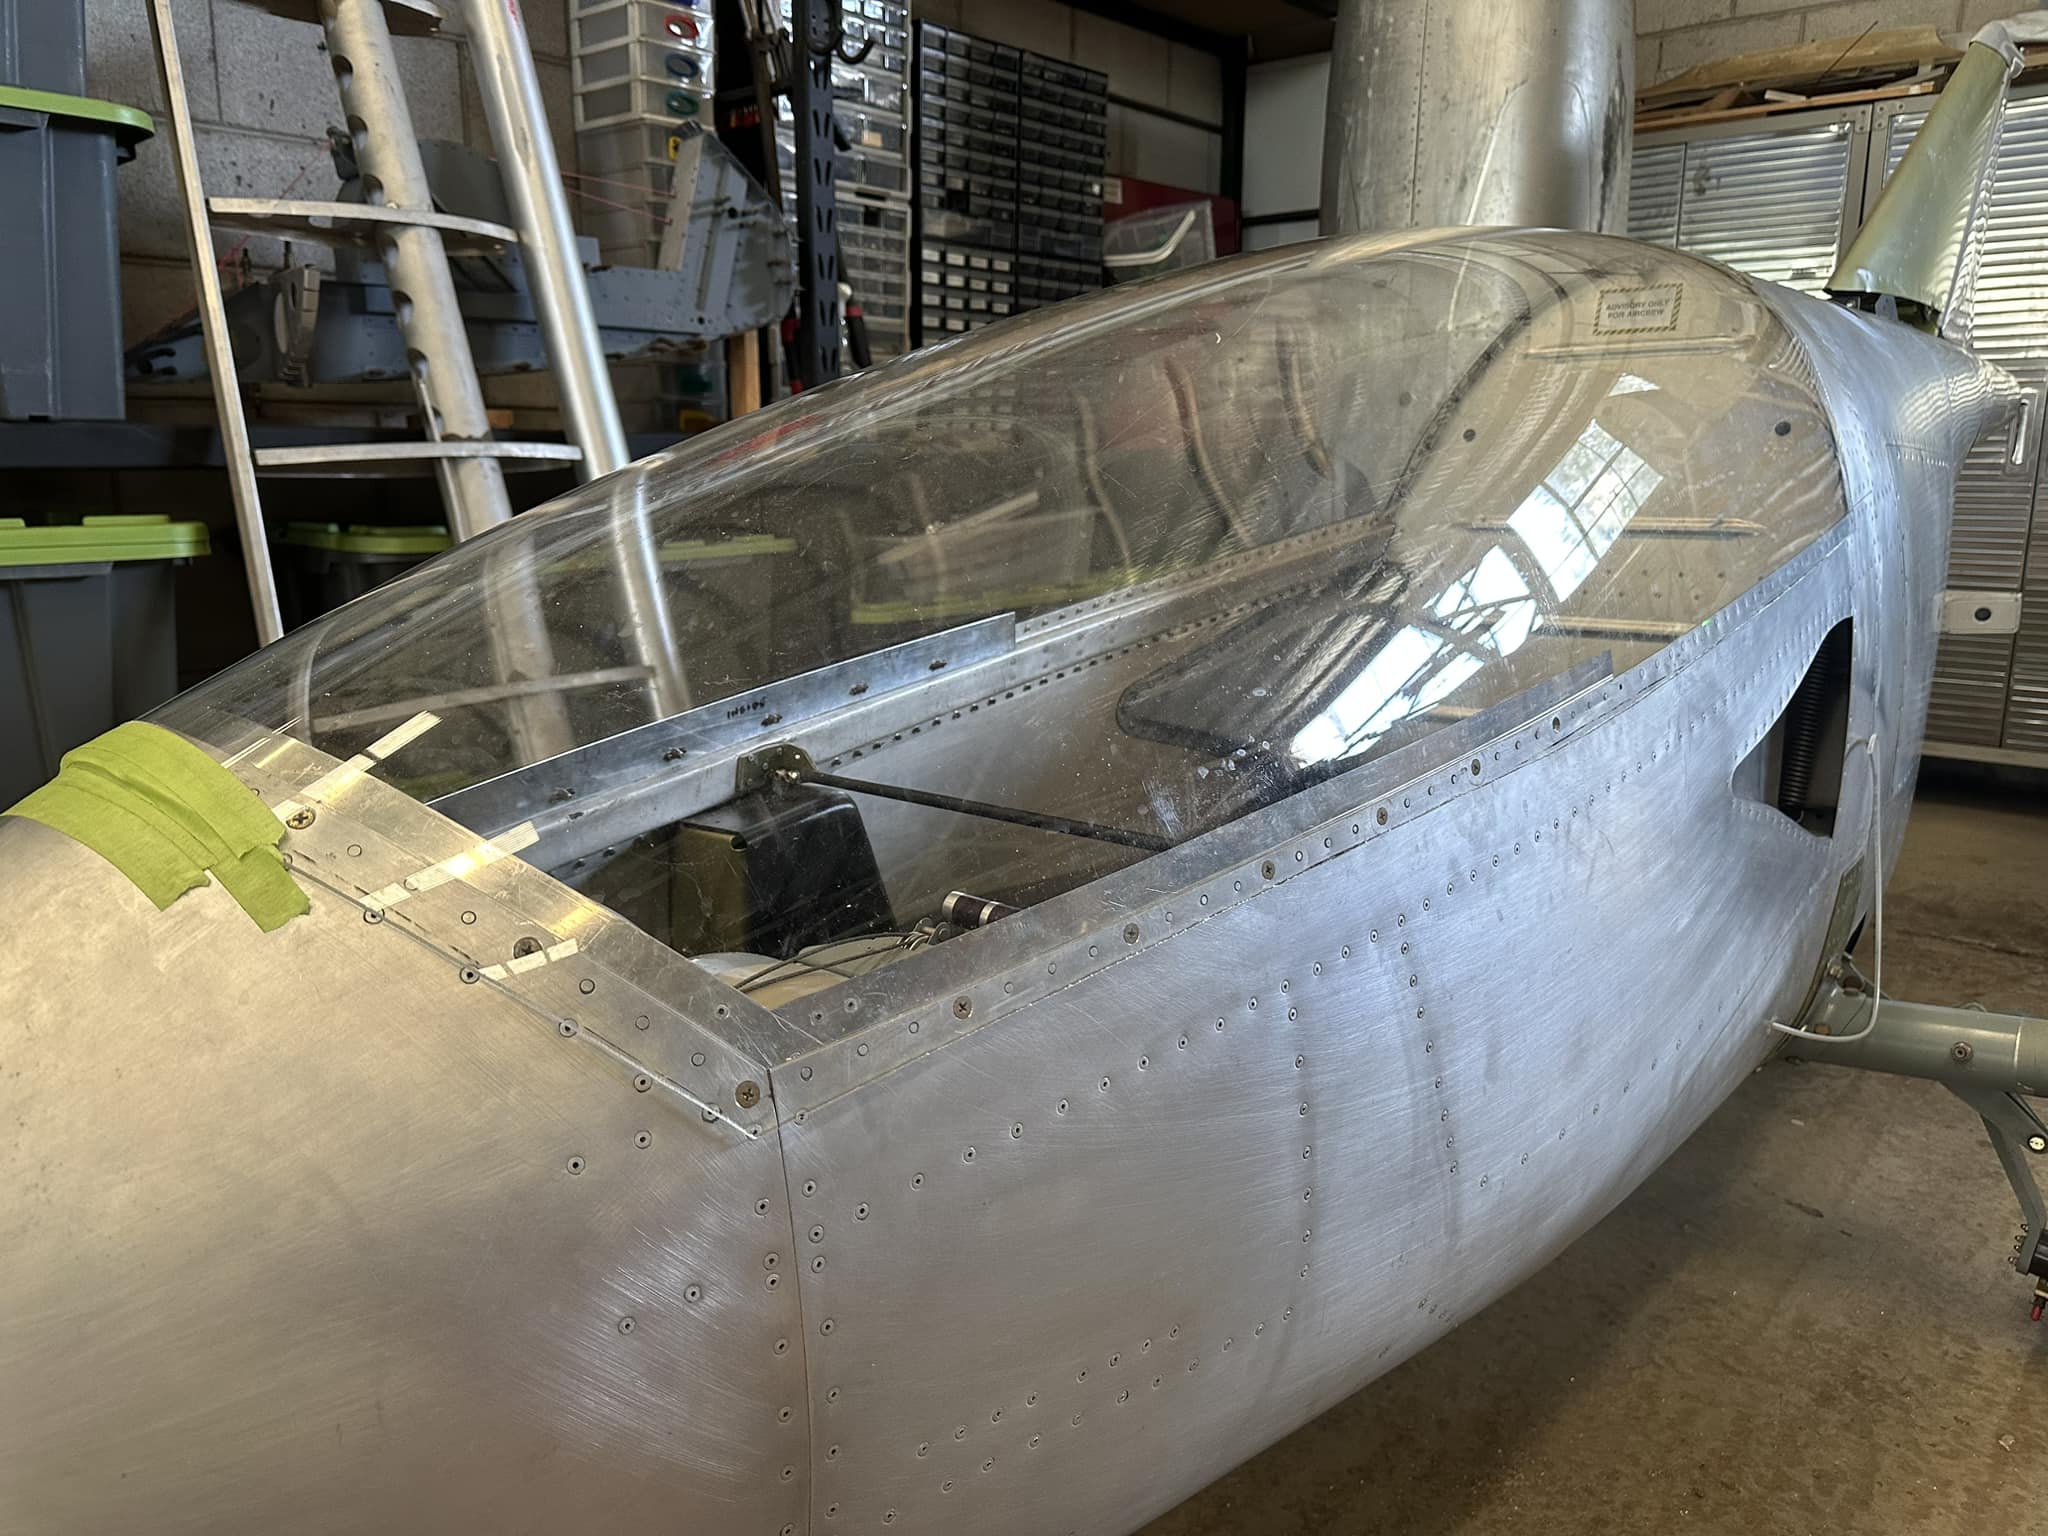
February 10, 2023 at 3:51 am #347KeymasterSome good old ‘Visual Progress’ never hurt any builder! Was great to get the forward canopy bow sat in place with the instrument cluster cover, giving a real feel as to how the finished aircraft will look!
-
This reply was modified 2 years, 5 months ago by
-
This reply was modified 2 years, 5 months ago by
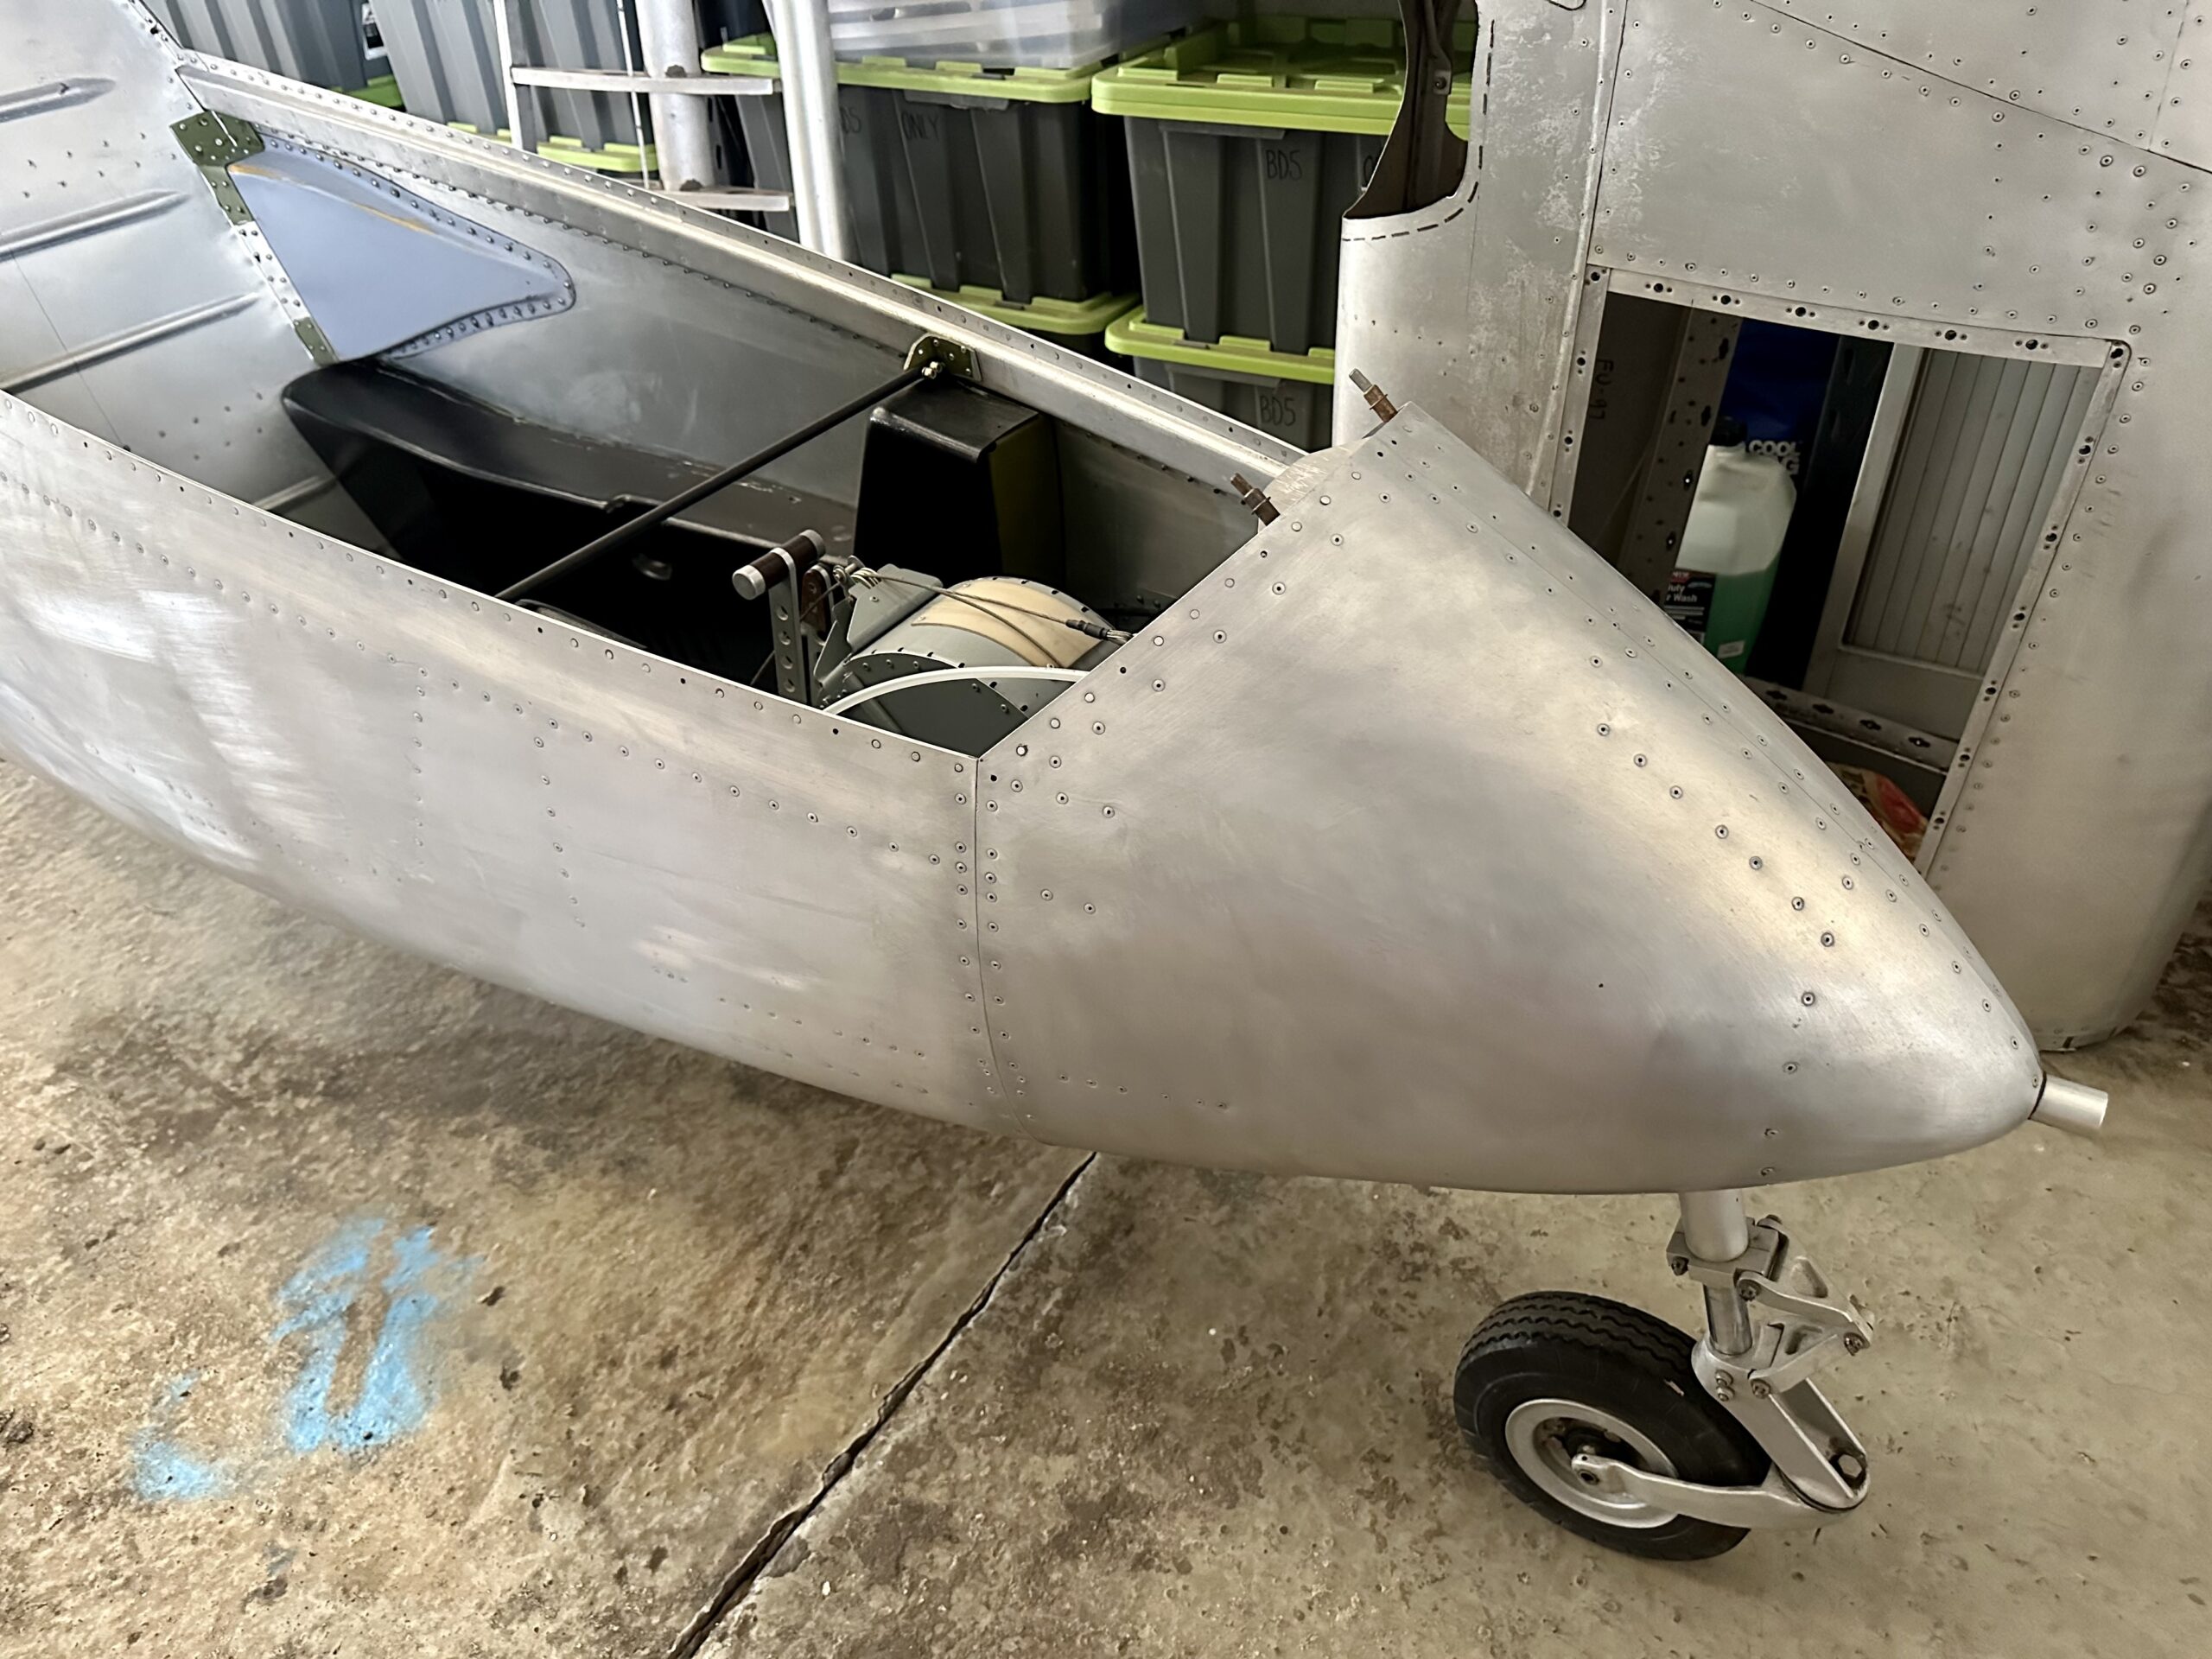
February 10, 2023 at 8:44 am #362KeymasterSome further pictures.
 February 11, 2023 at 10:00 am #392Keymaster
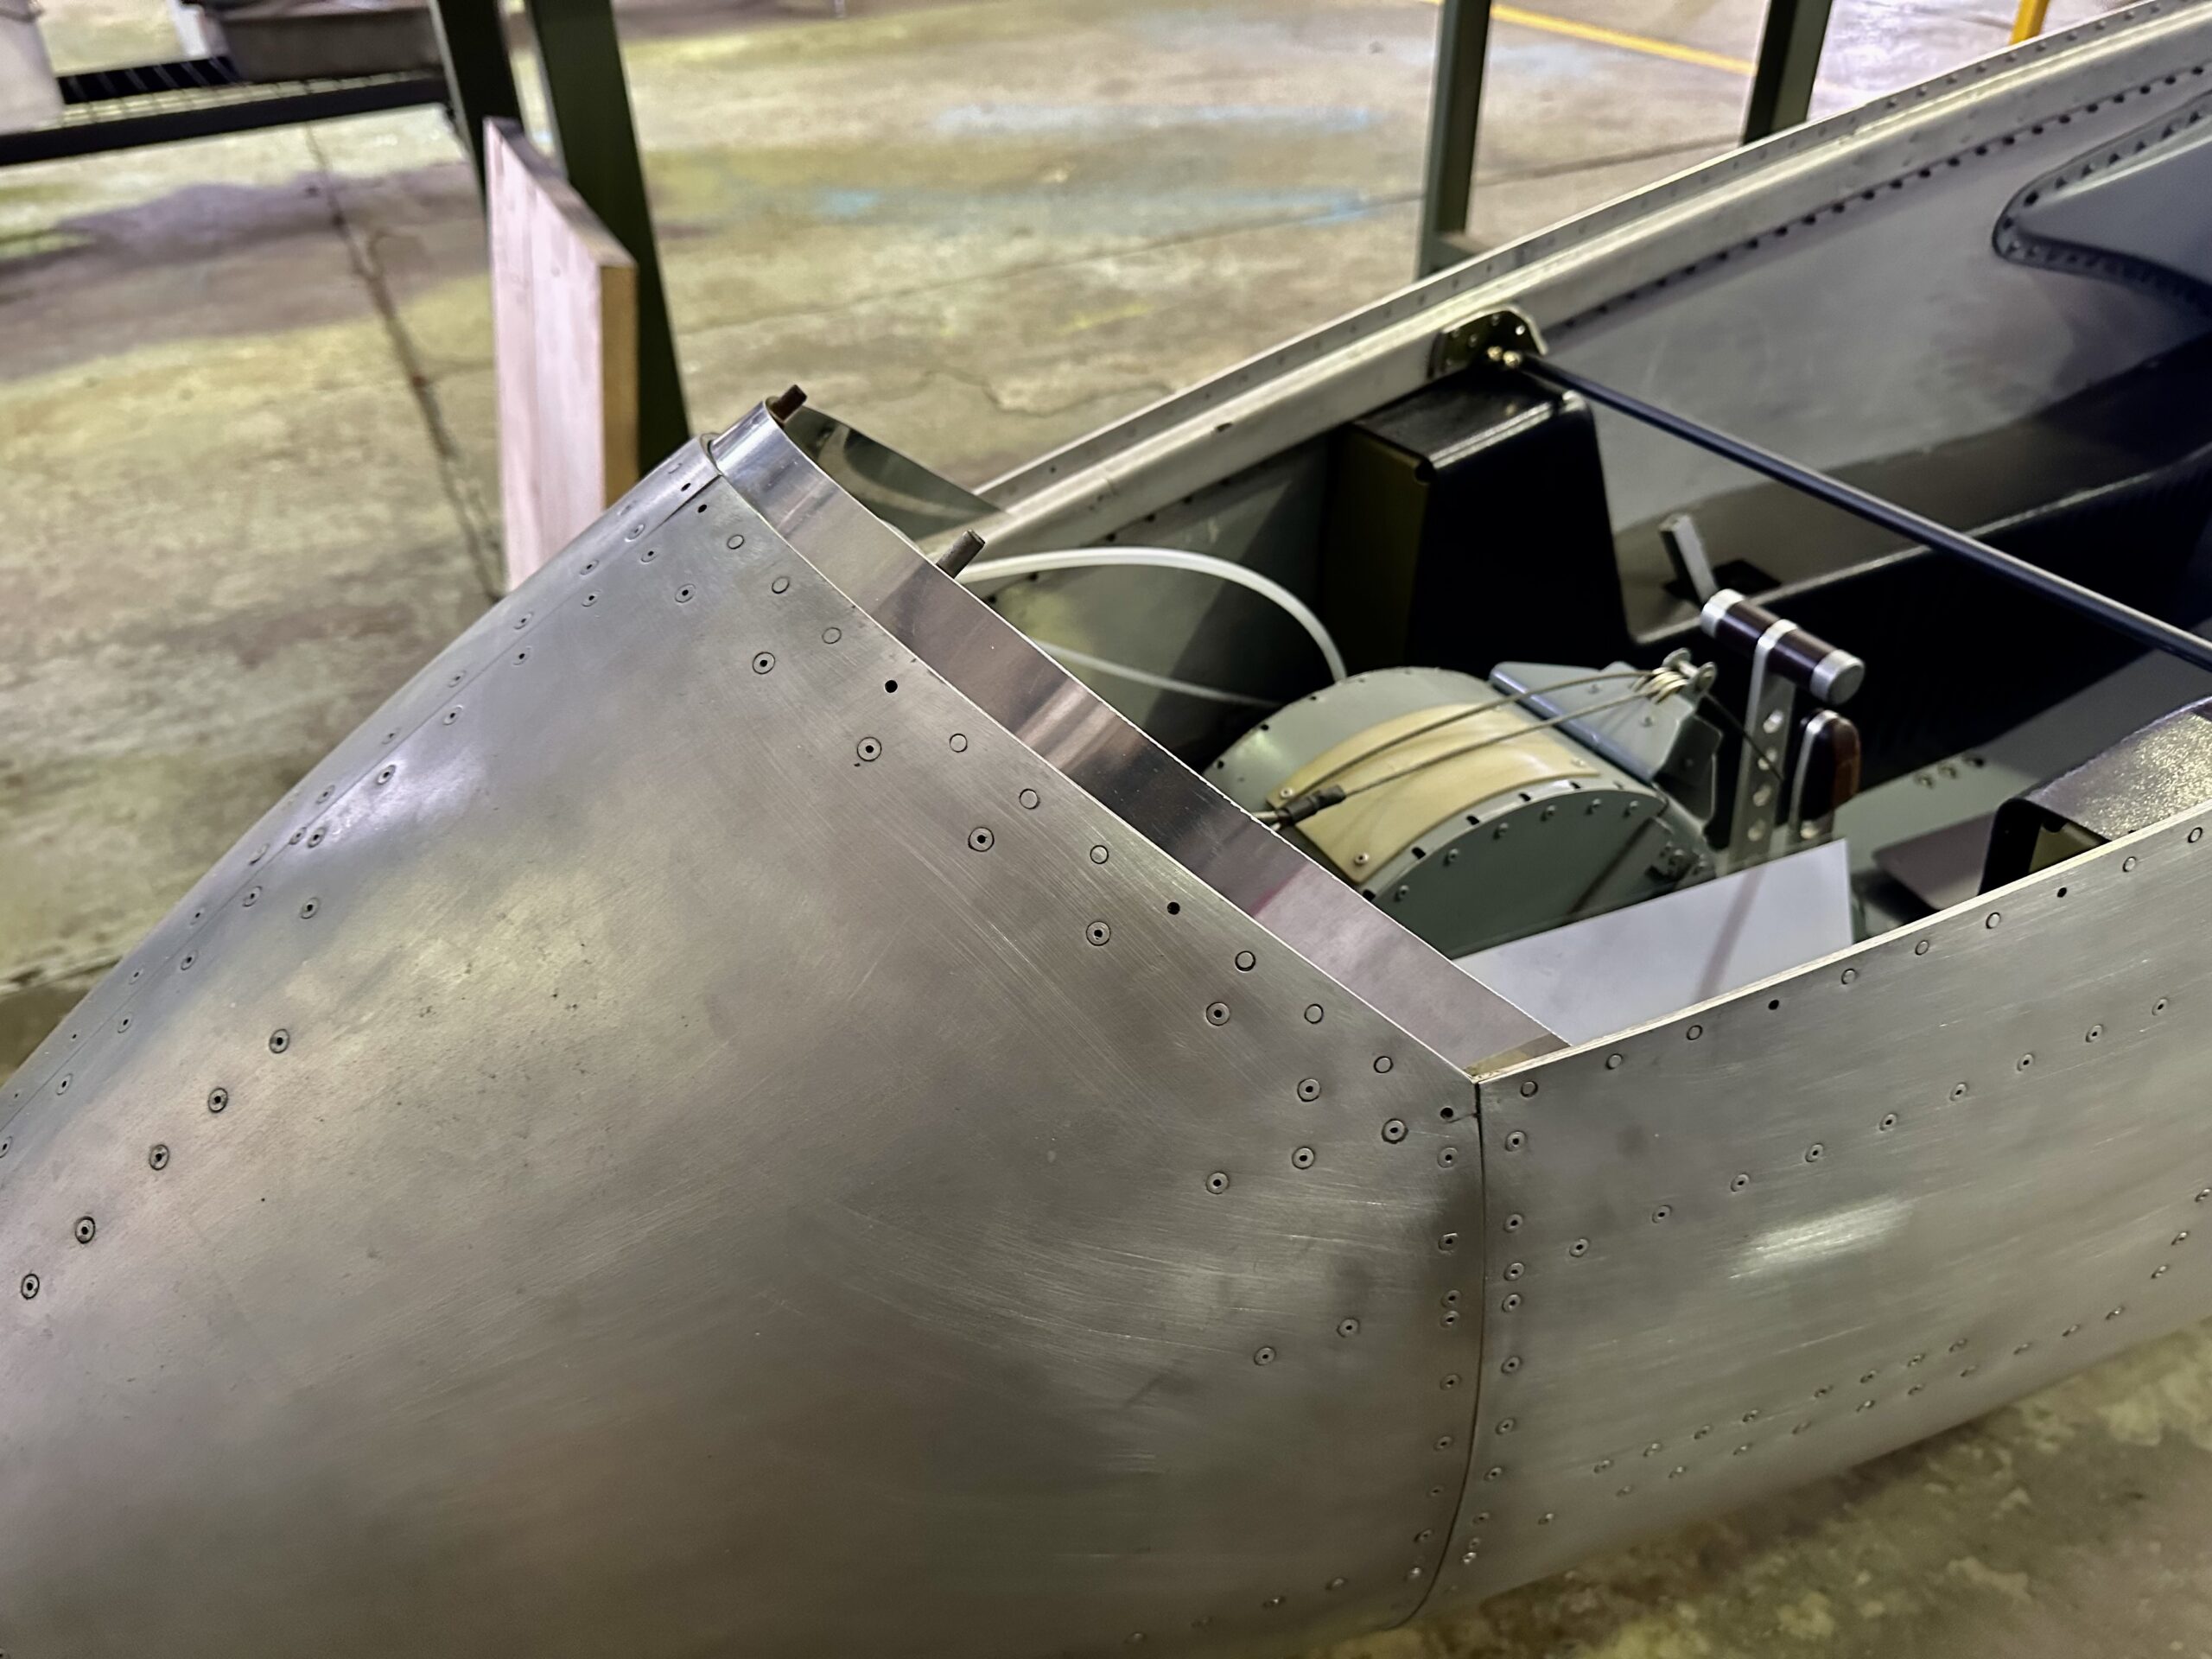
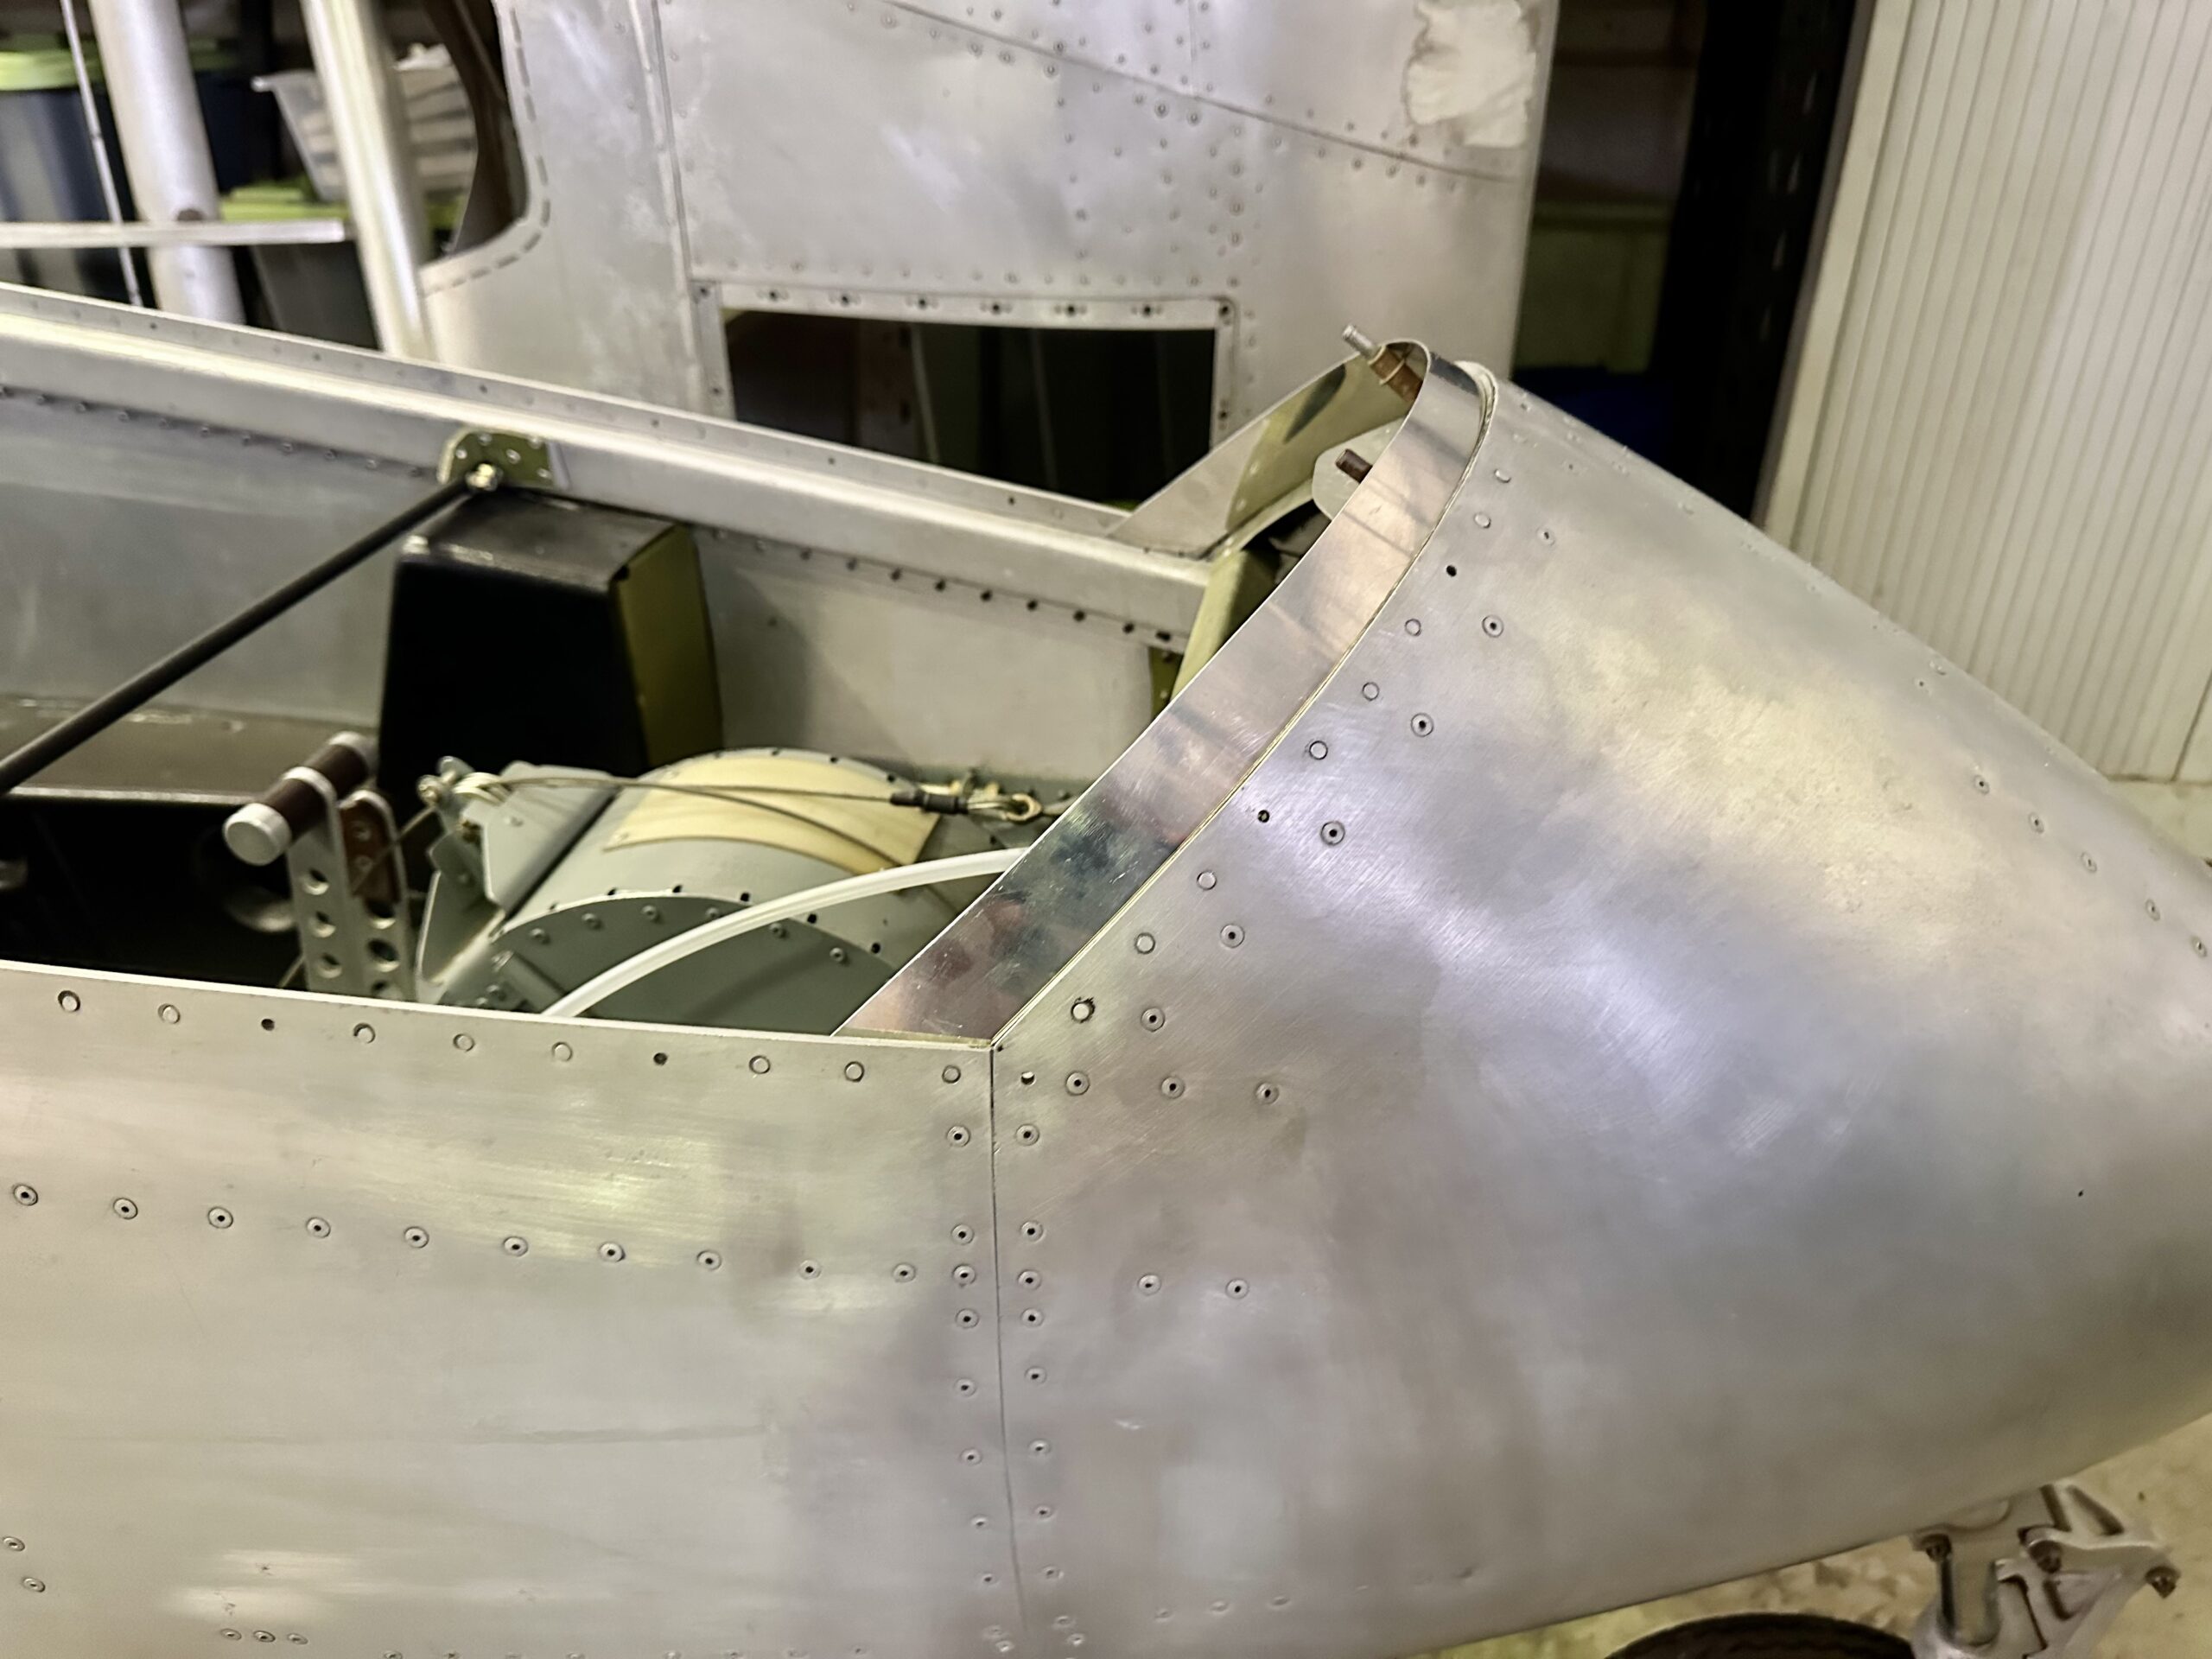
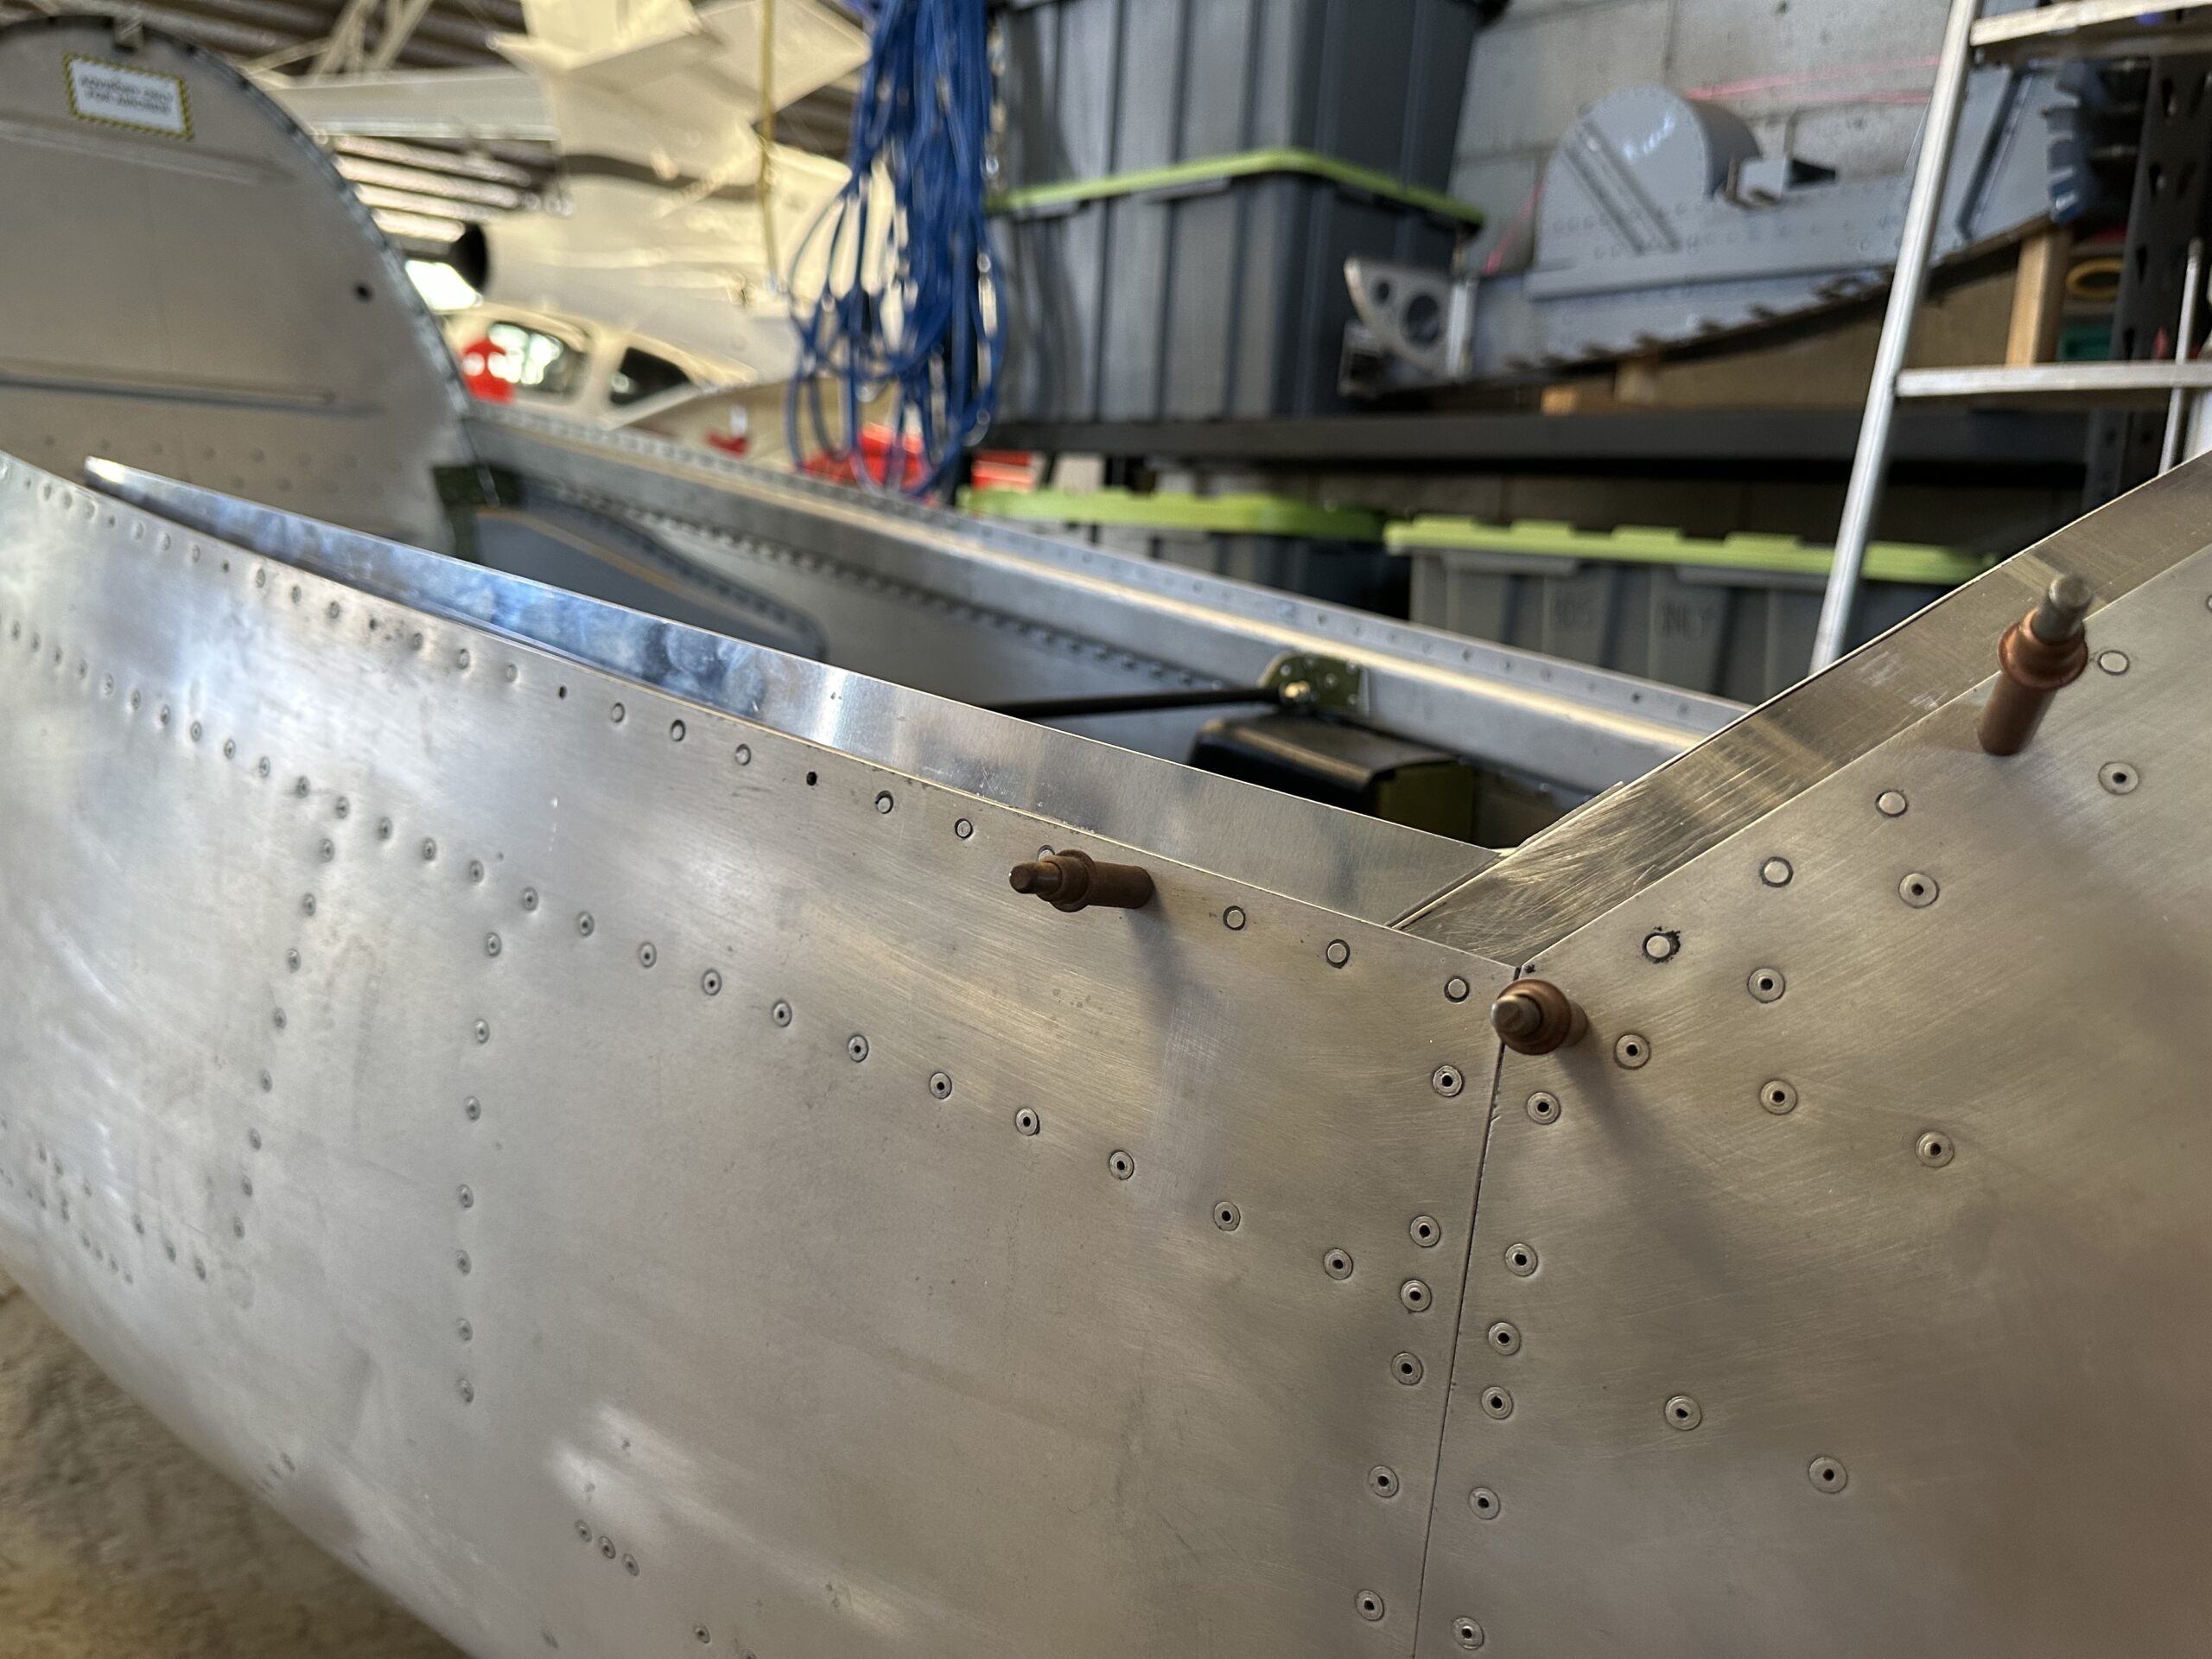
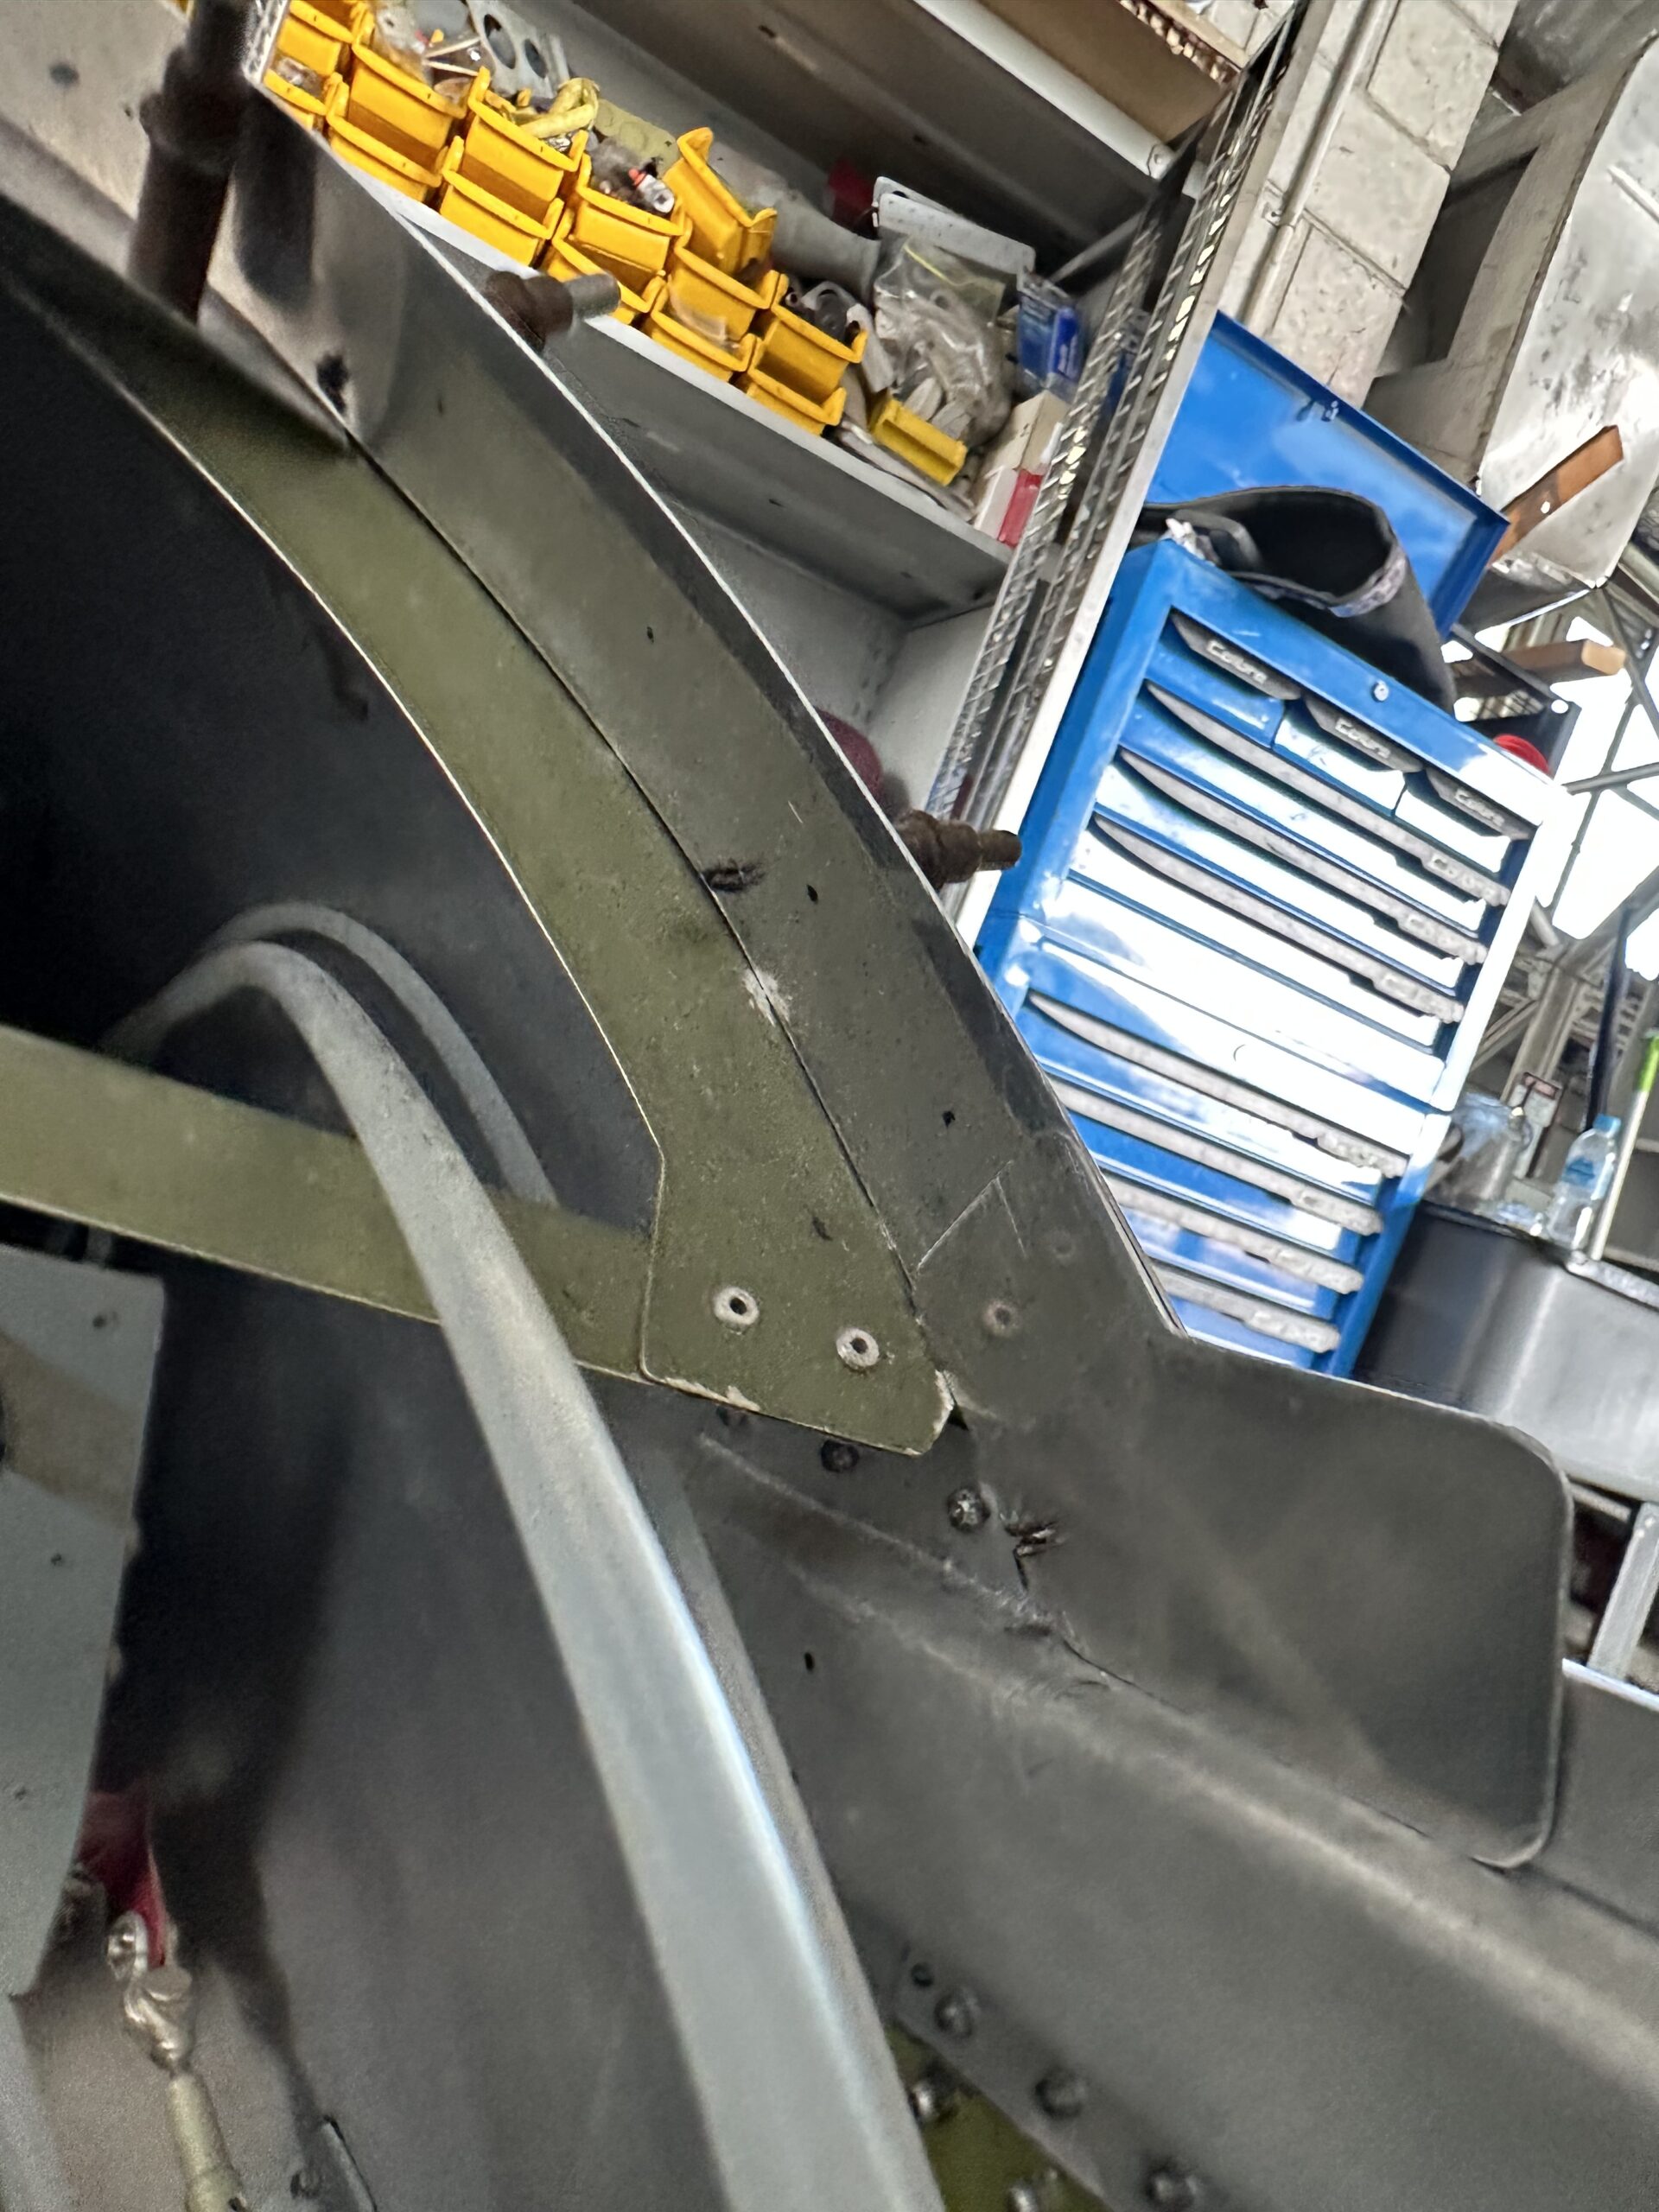
Another day in the workshop. I was not completely happy with the right hand side CC4 forward windscreen attachment flange, which was not sitting up fully flush with the fuselage side skin due to rivets not being fully flush between the two. After some filing and finishing the CC4 flange now sits beautifully flush with no gaps anywhere. I guess I could have looked past it, but figured I should get it perfect. I also remade the CC12 corner doublers and gave them just a little more length on the horizontal section.
-
This reply was modified 2 years, 5 months ago by
-
This reply was modified 2 years, 5 months ago by
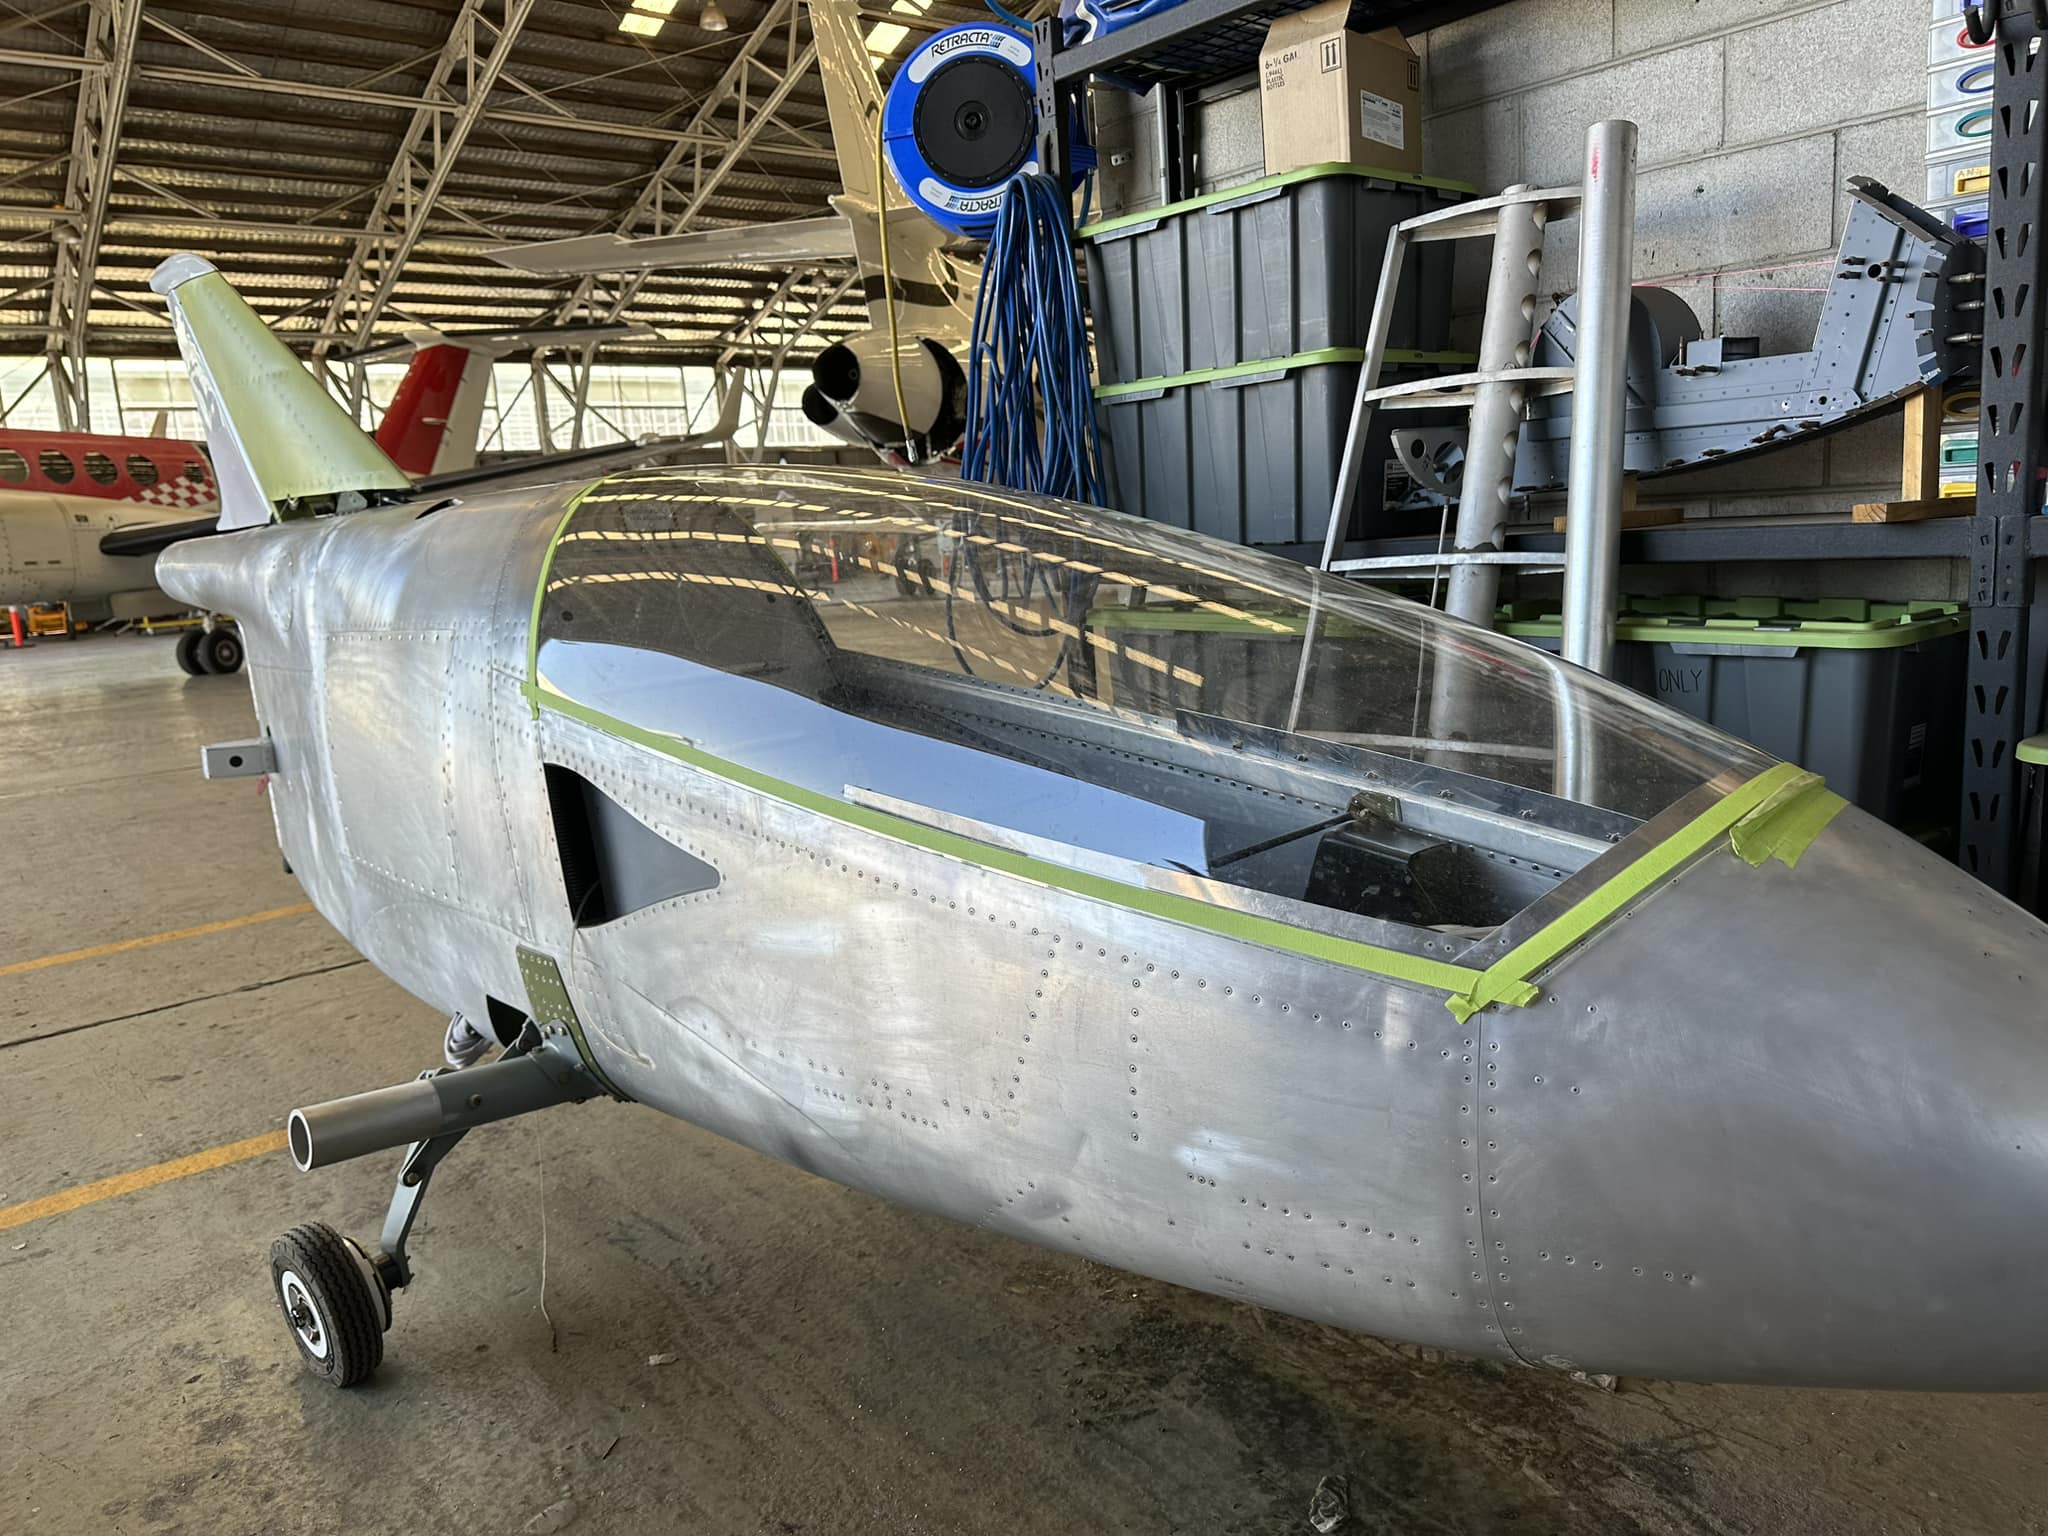
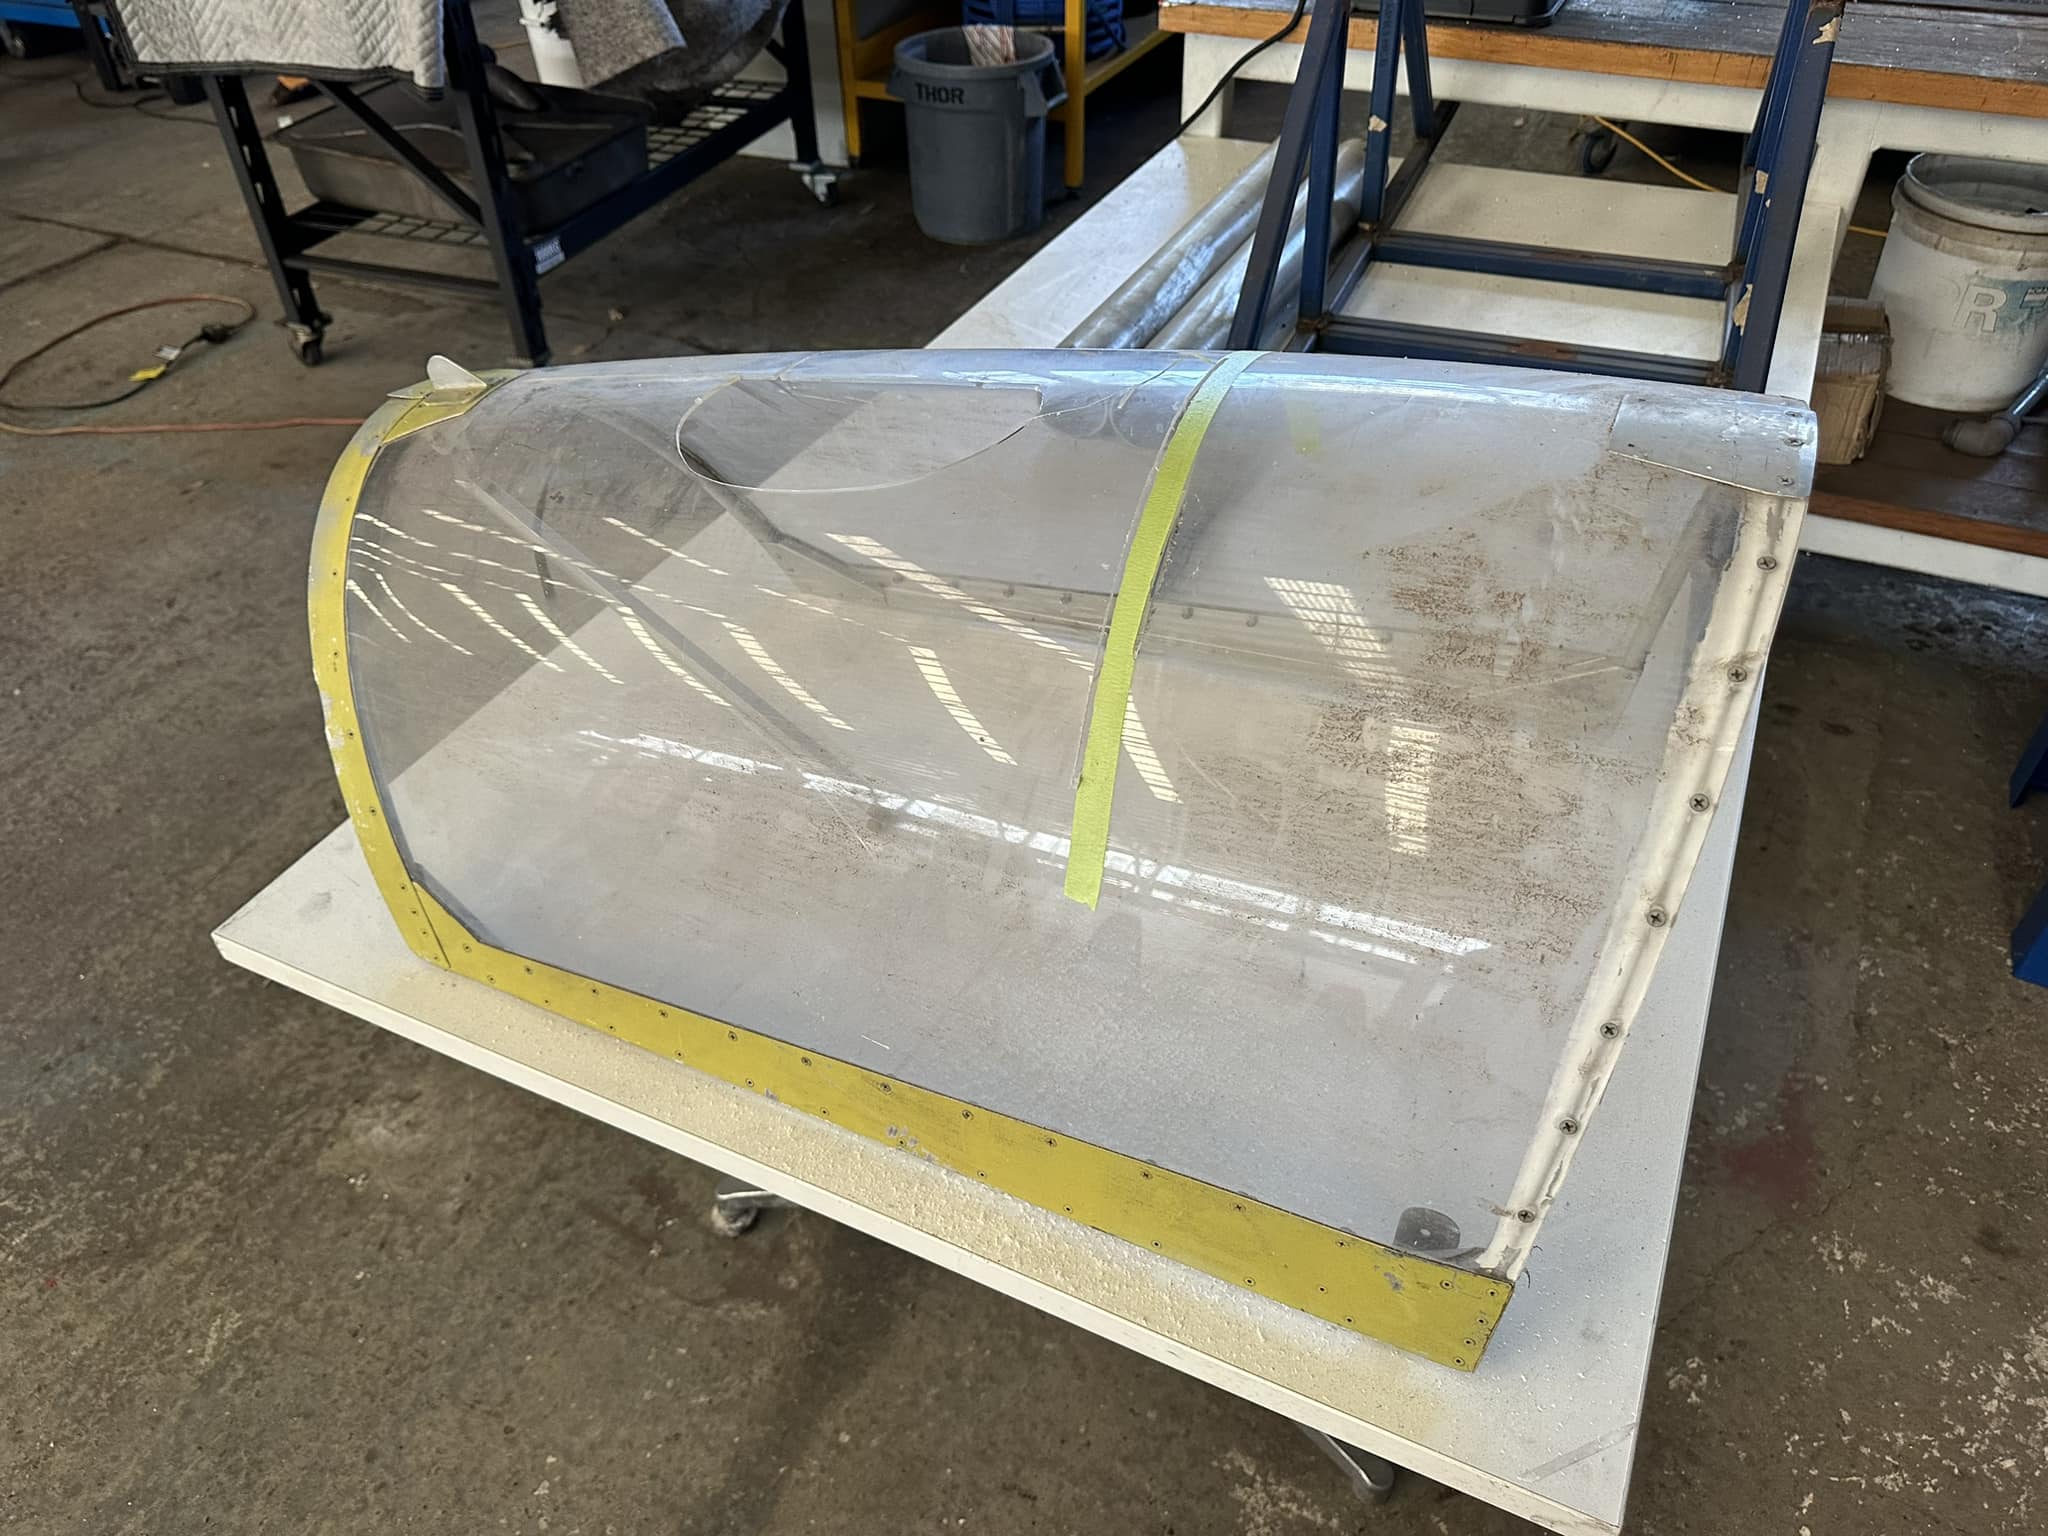
February 16, 2023 at 8:01 am #691KeymasterA 5:30am start in the workshop today, continuing with the forward windscreen mounting flanges, with all three flange parts now joined together and anchor nuts installed throughout. In addition, I have also been able to countersink all of the attachment screw locations.I had hoped to close the forward windscreen sheetmetal parts out earlier, however, I had to wait for the tooling I needed to arrive. With the new countersinking Microstop and drill bits on hand, I was able to flush rivet all of the anchor nuts and frame screws. The all came up quite neat and tidy which I was happy with. During lunch I went and purchased some more AlumiPrep in preparation for cleaning down the metal surfaces, which will then receive a coat of Alodine.Over the coming days, I will be making an effort to clean down sections and to alodine those areas, bit by bit until it is all done. Closing out the day today, I got my spare canopy out of the box and placed on the aircraft and secured it fore and aft with masking tape. I then took the aircraft outside where I gave it some hot Australian sun, to help shape the canopy to the airplane. Will be taking some more time to study the canopy cut and procedures.February 16, 2023 at 10:38 am #692Keymaster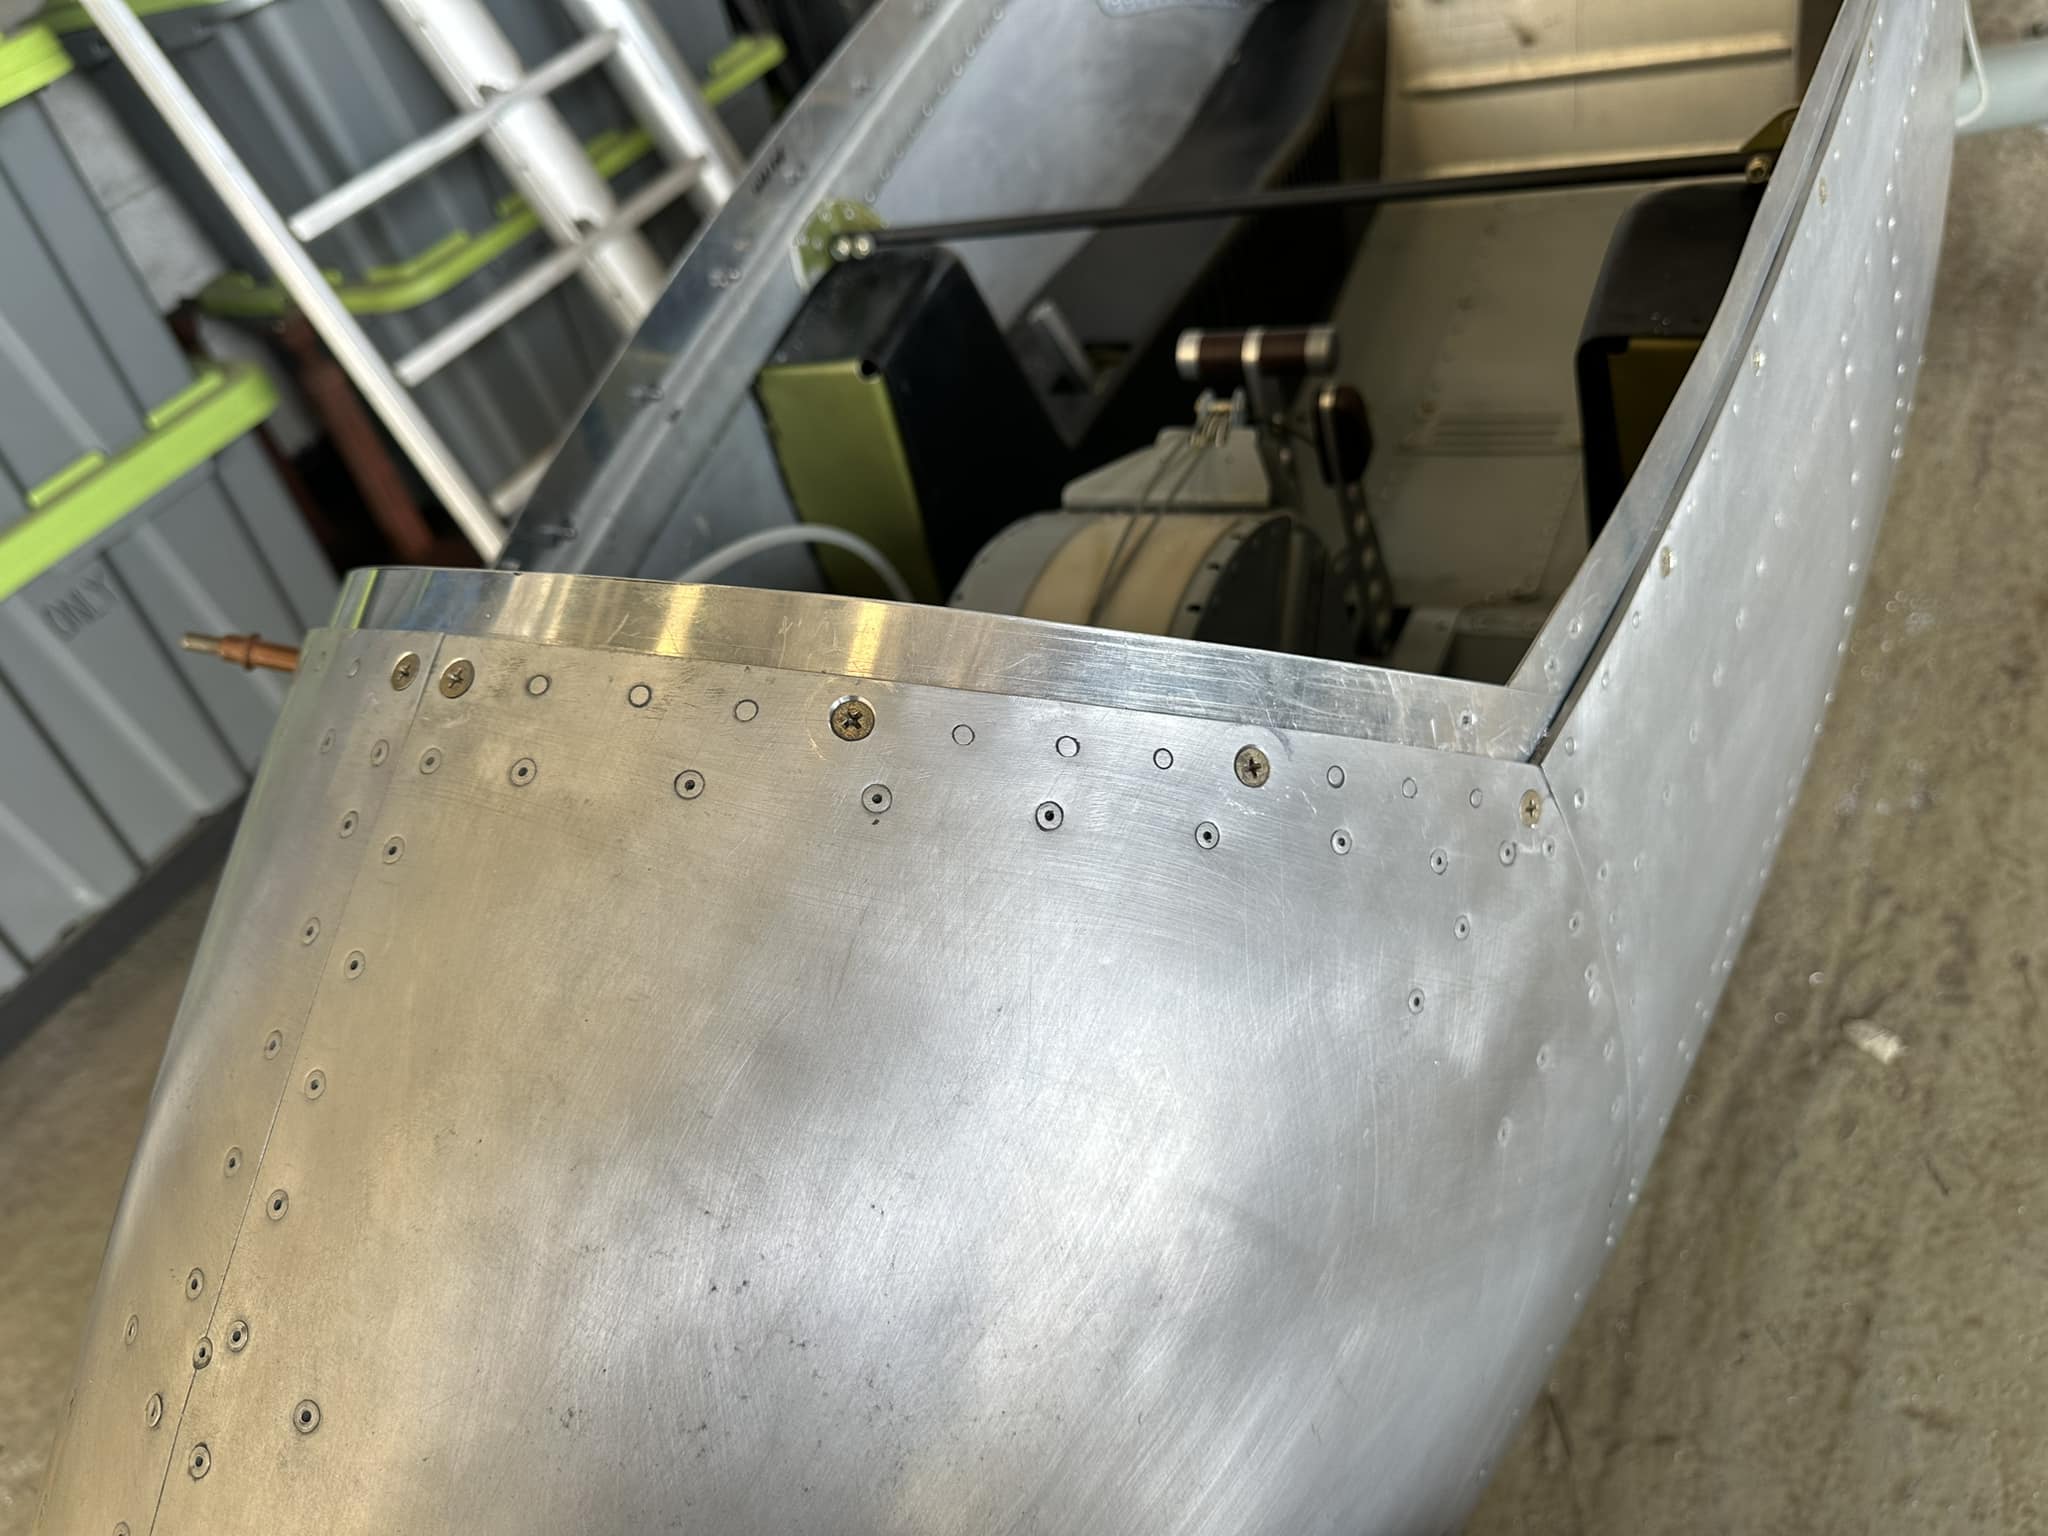

 February 17, 2023 at 8:20 am #729Keymaster
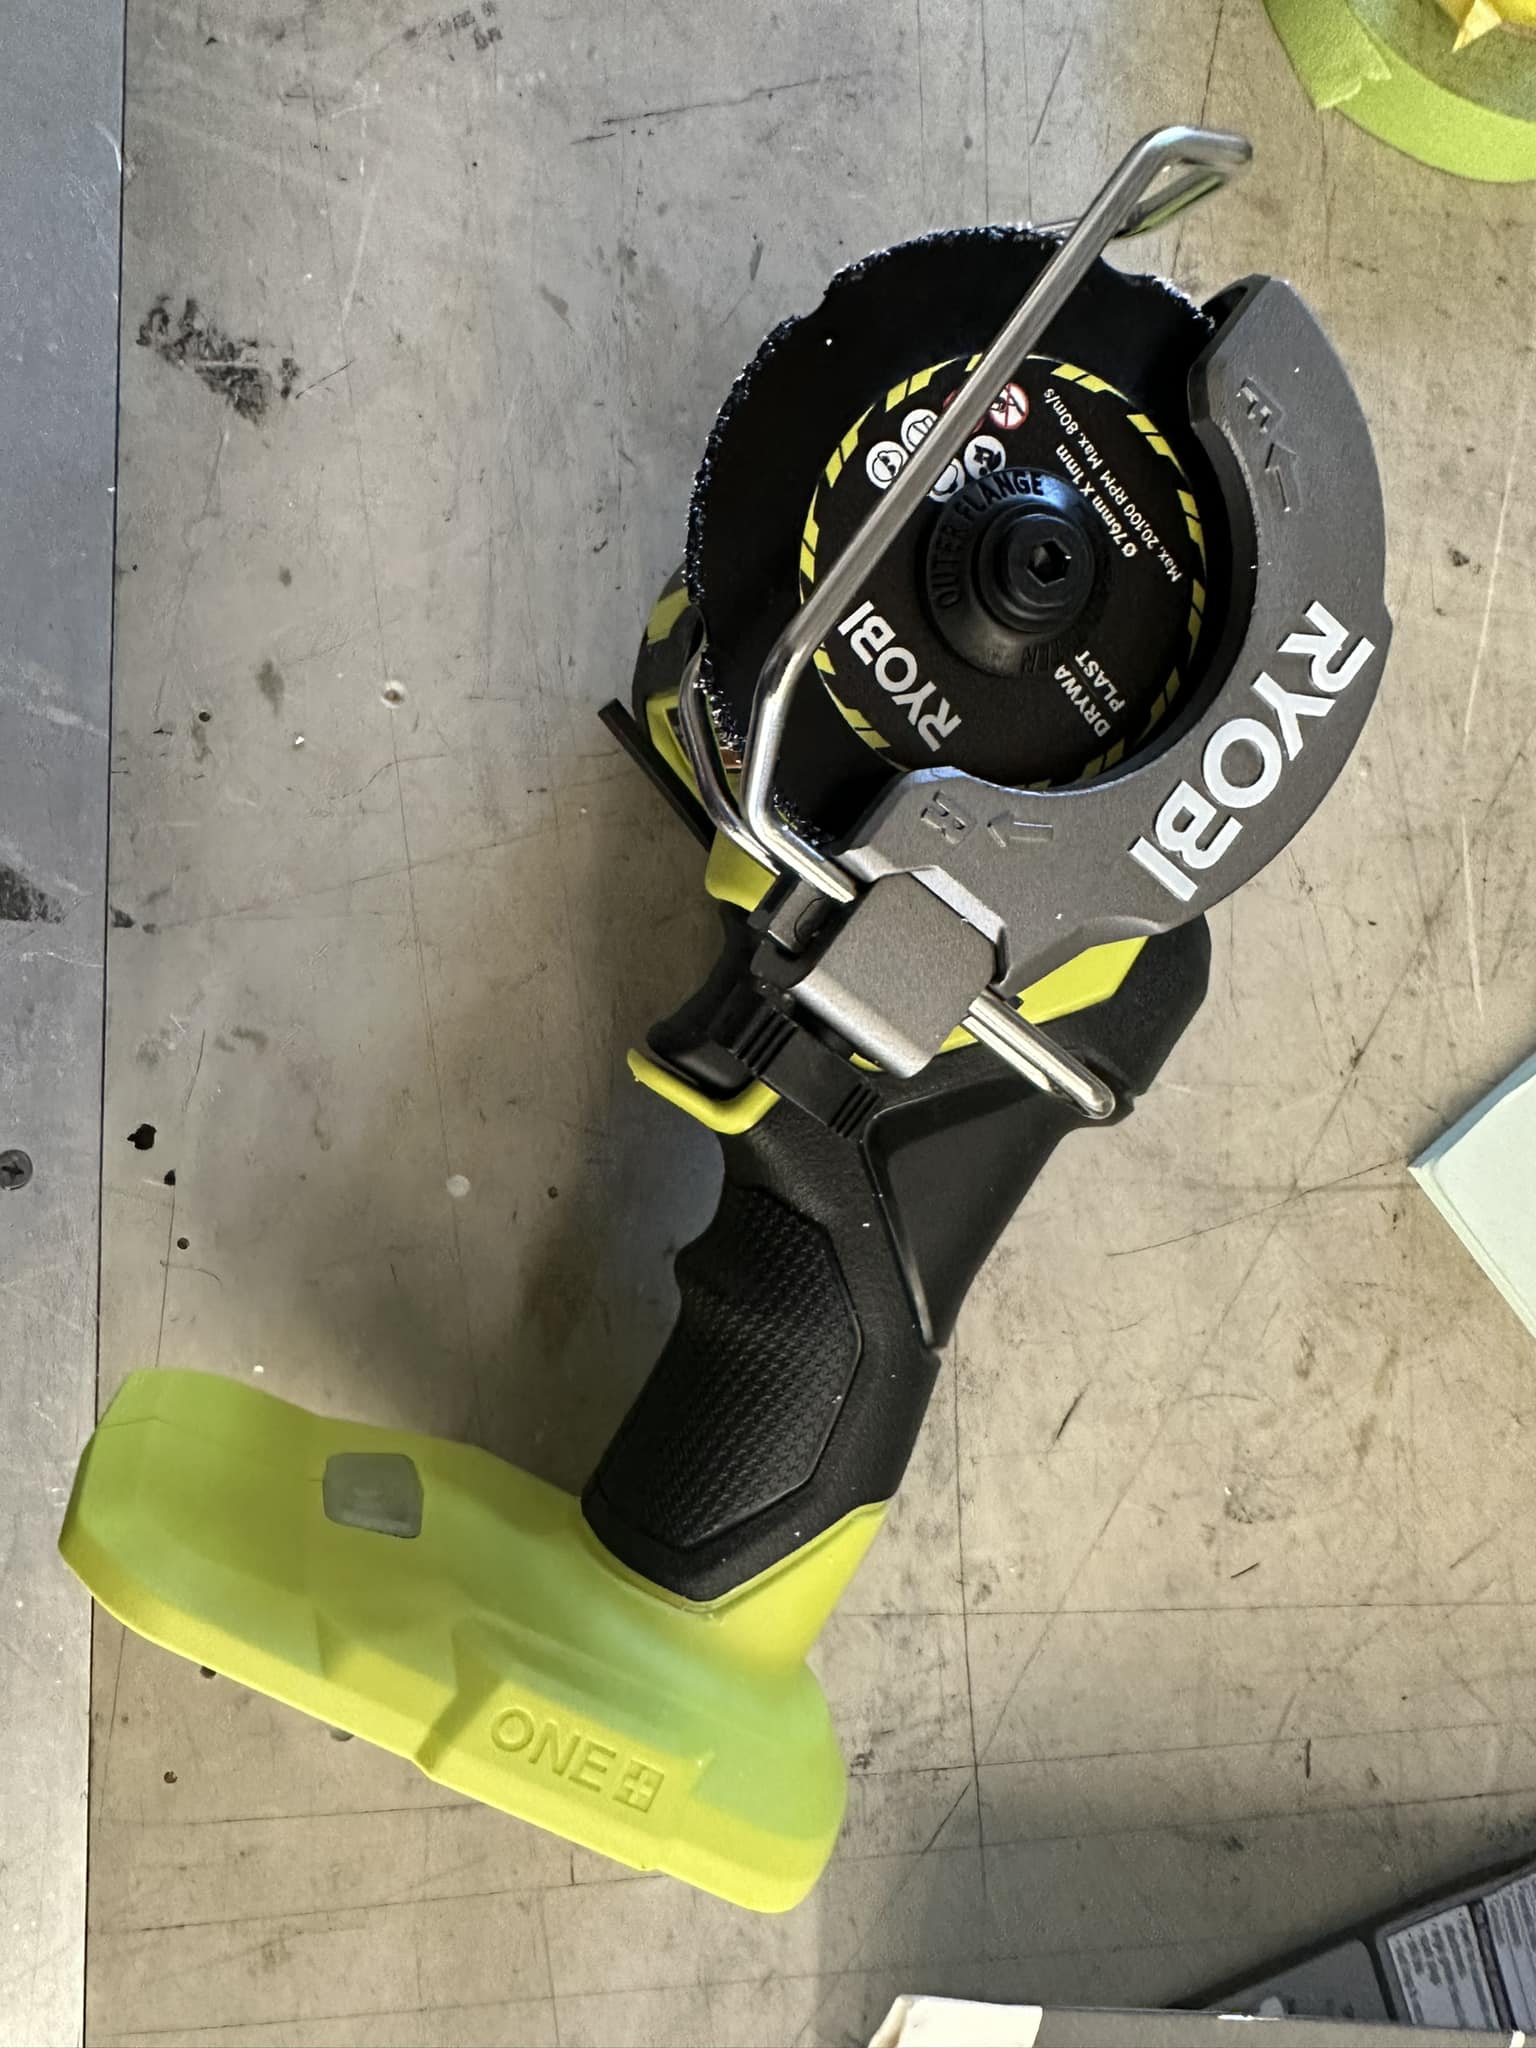
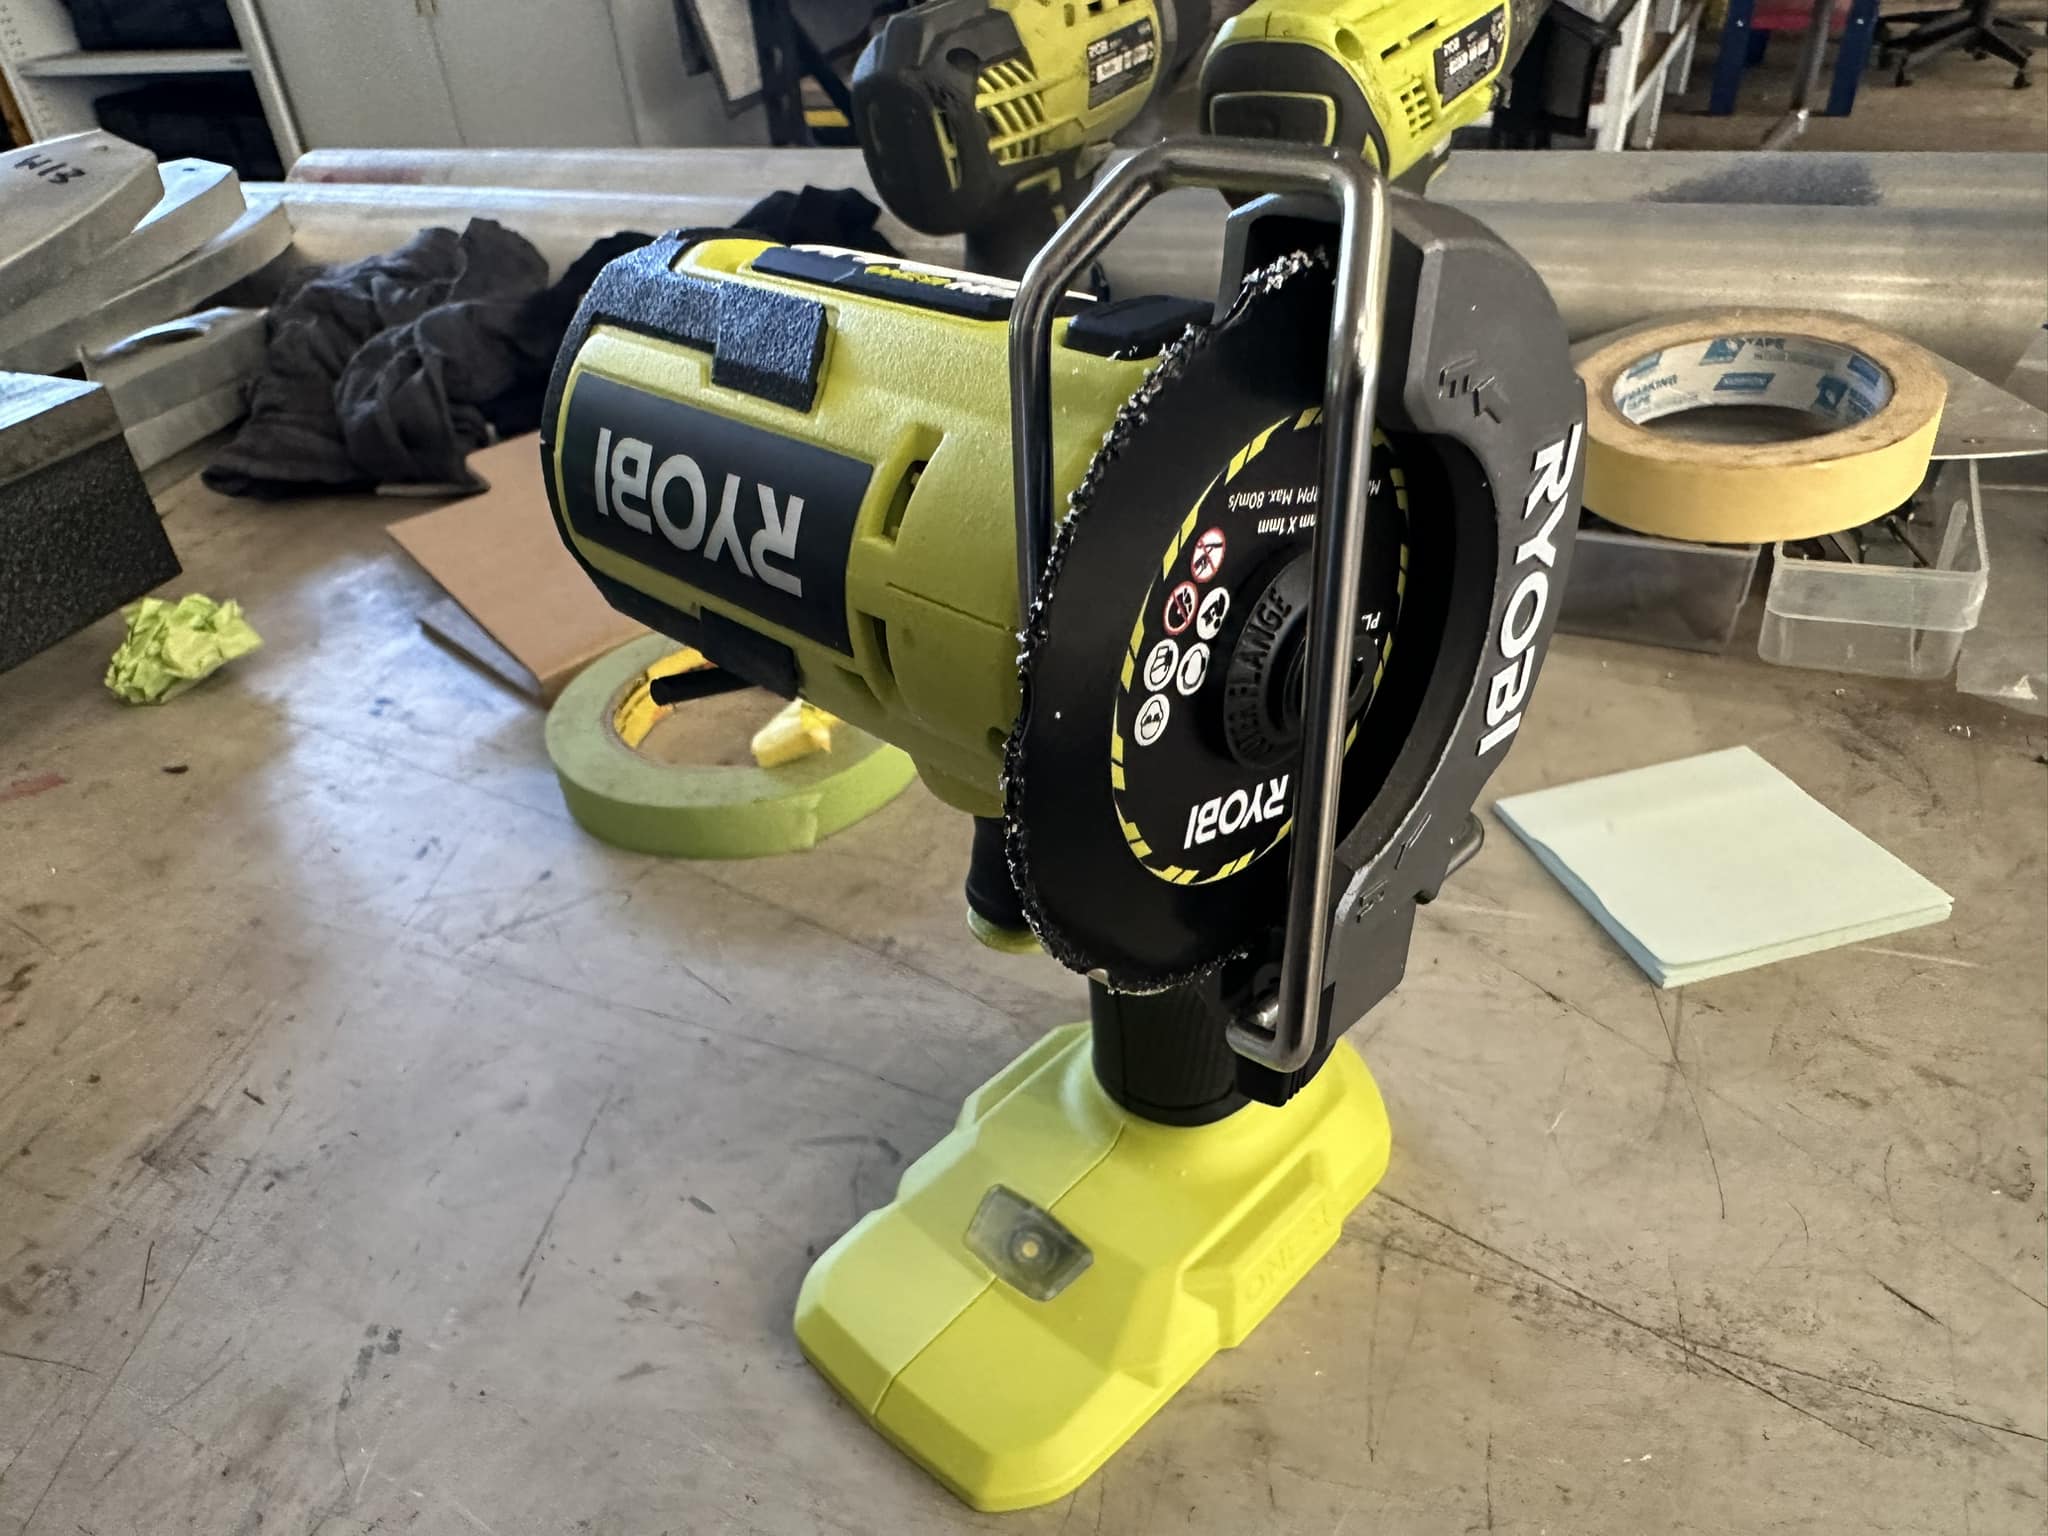
The time has arrived to cut the perspex canopy to fit my BD5J! In preparation, I have purchased a Ryobi Cordless Cut Off tool, which has a 4-inch cutting disc which makes light work of the perspex plastic. I also bought some extra-large 18v batteries, as I was concerned the cut my stop mid-pass and then it would not marry back up properly.
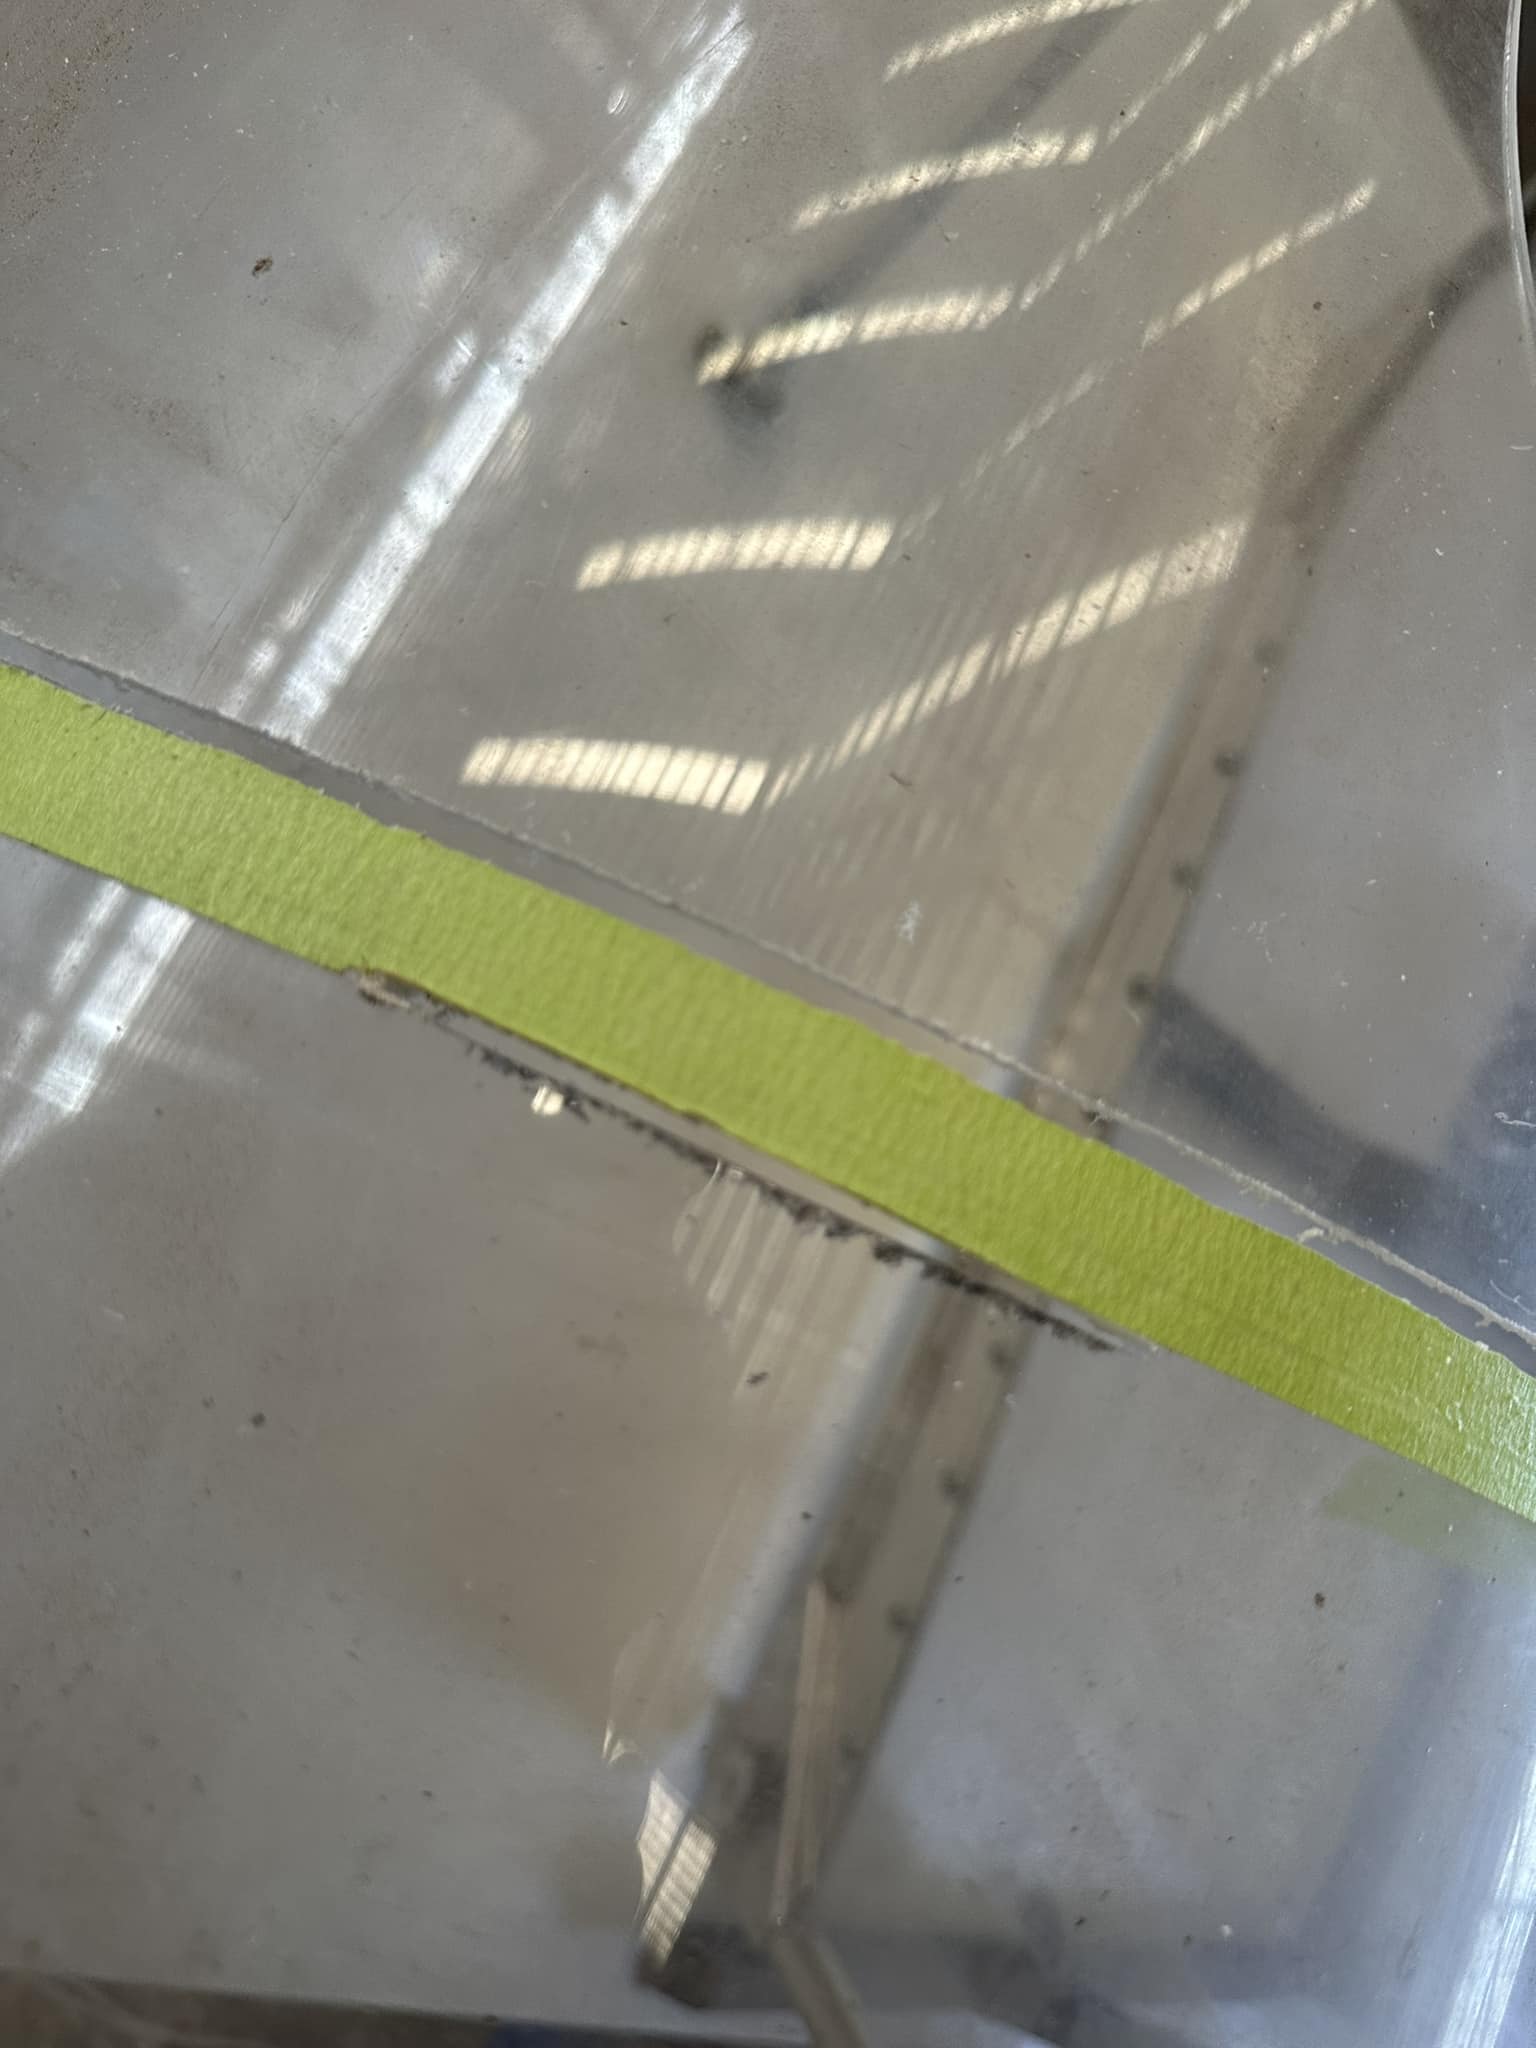
Being the cautious type, I decided to make some practice cuts on an old BD5 main canopy that I had acquired. I was able to adequately follow the masking tape line marking, with both the plastic and metal cutting discs working well. The plastic cutter left a larger cut gap of 4mm and the metal disc just 2.5mm.
Temperature in the hangar today in Sydney was approx 30 deg C, so everything was beautifully warm!
I have masked up the perspex on the BD5J and will take a run at cutting things tomorrow, now that I have the confidence to get into it!
 March 11, 2023 at 4:41 am #1028Keymaster
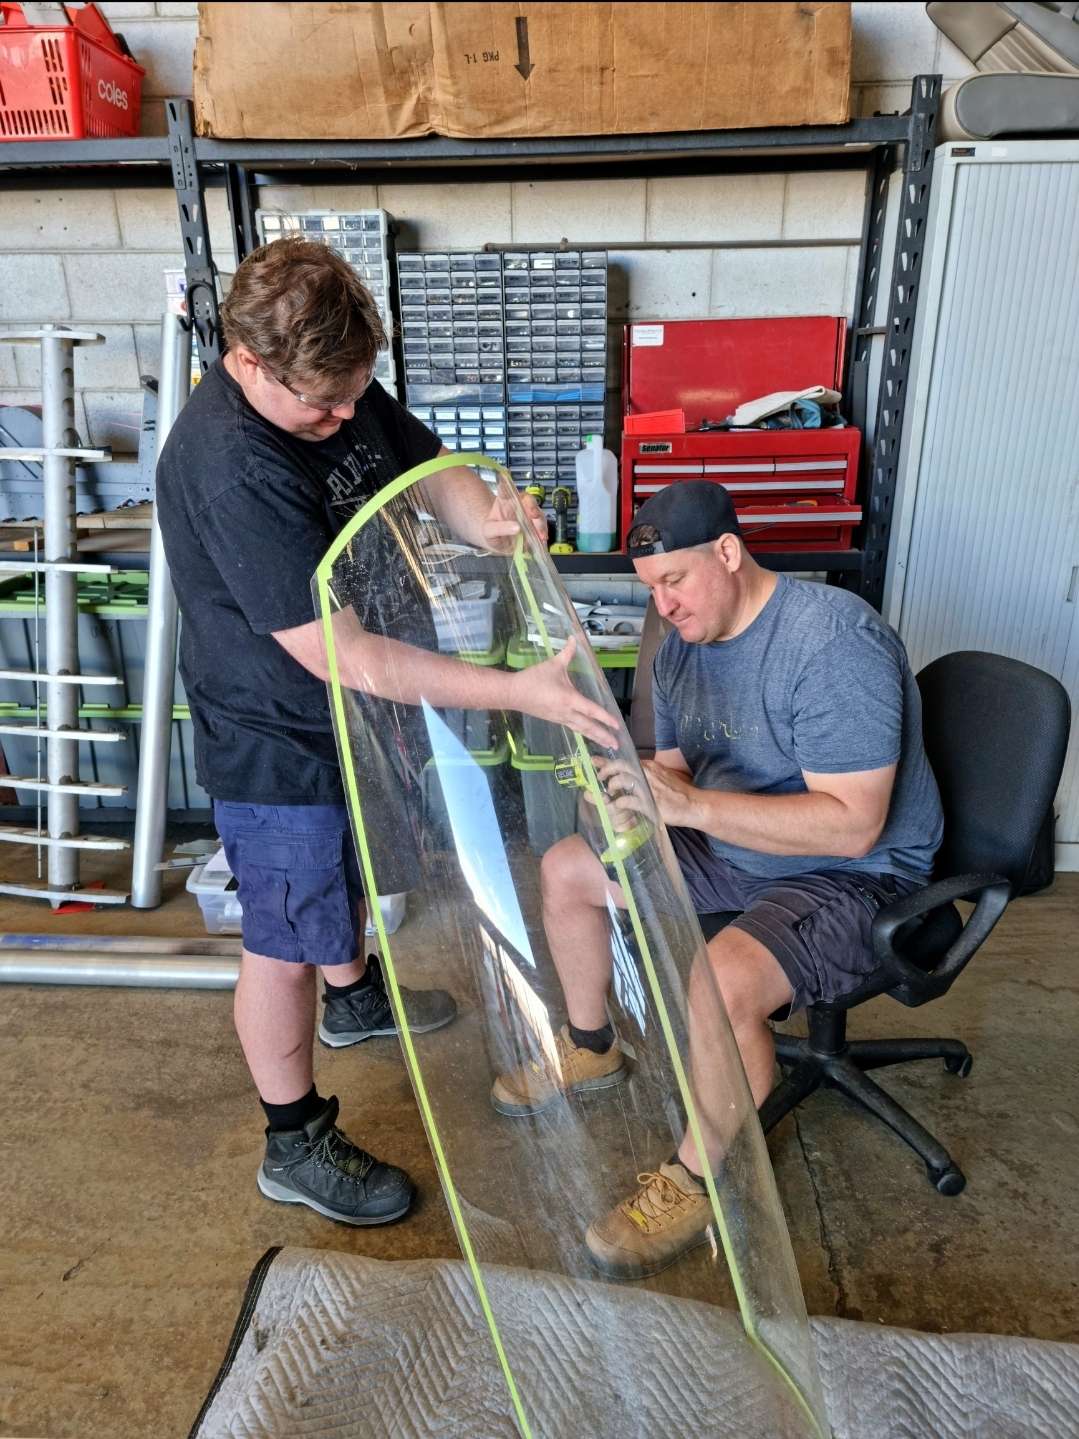
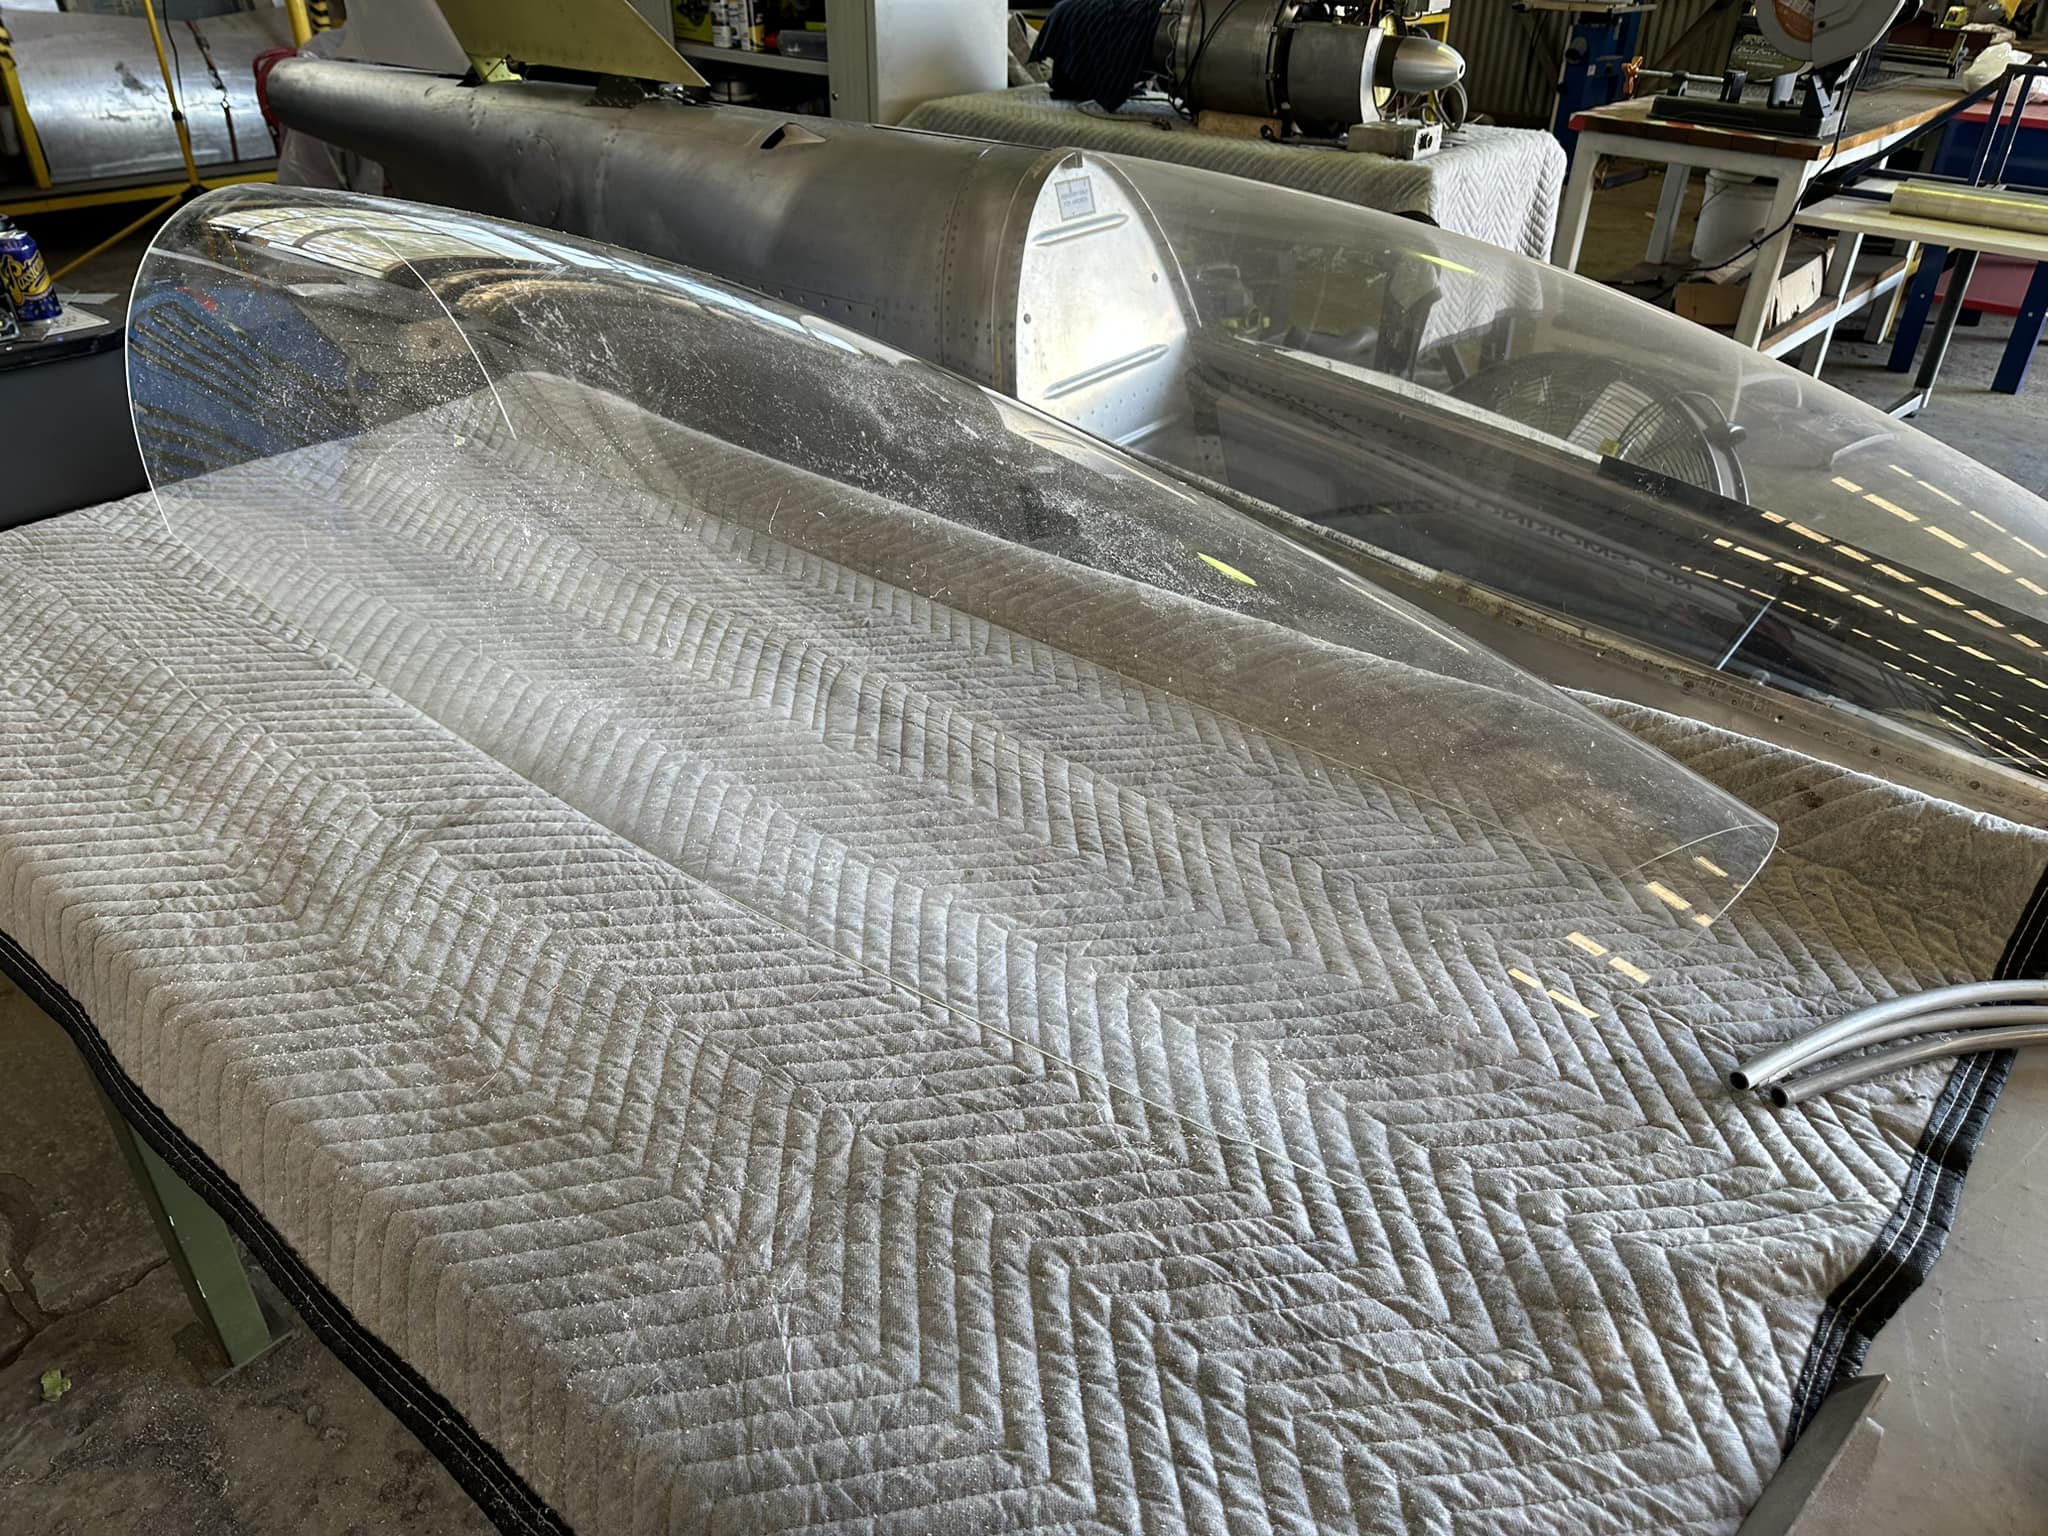
Managed to get a clear Saturday to get the canopy perspex cut. To assist, I invited a couple of mates to come give me a hand, and between the three of us, we managed to successfully cut the perspex without destroying it.

We took things slowly and gently cut our way around the perimeter of the canopy using the Ryobi 4″ cut off saw with a 1mm fibre cut off wheel, with my two friends helping keep the perspex supported.
The temperature was around 30degC so the perspex was quite warm and pliable.
The photos don’t really convey the time and effort it took to work our way around the edges. The reason for this, was that we could not make long cuts, as the cut-off disc would heat the perspex up too much and begin to bog down. Further, as the cut ran along a curved path, the trailing side of the disc would kick-out, so we found the best method was to make 4 inch cuts and then make a 90deg intersecting cut to remove the unwanted perspex. This obviously made things go a little slower, but gave us a cleaner overall cut.
Once the canopy perimeter was cut entirely, we then spent an hour filing the edges smooth and de-burring edges.
The next stage will be to spend time refining the canopy to fuselage fit, which will require a few hours of filing and sanding to get everything matched perfectly. To do this however, we need to temporarily attach a number of support flanges around cockpit sides so that we can fit the entire perspex as a single unit. This is largely because we do not have the main canopy frame installed on the fuselage at this time.
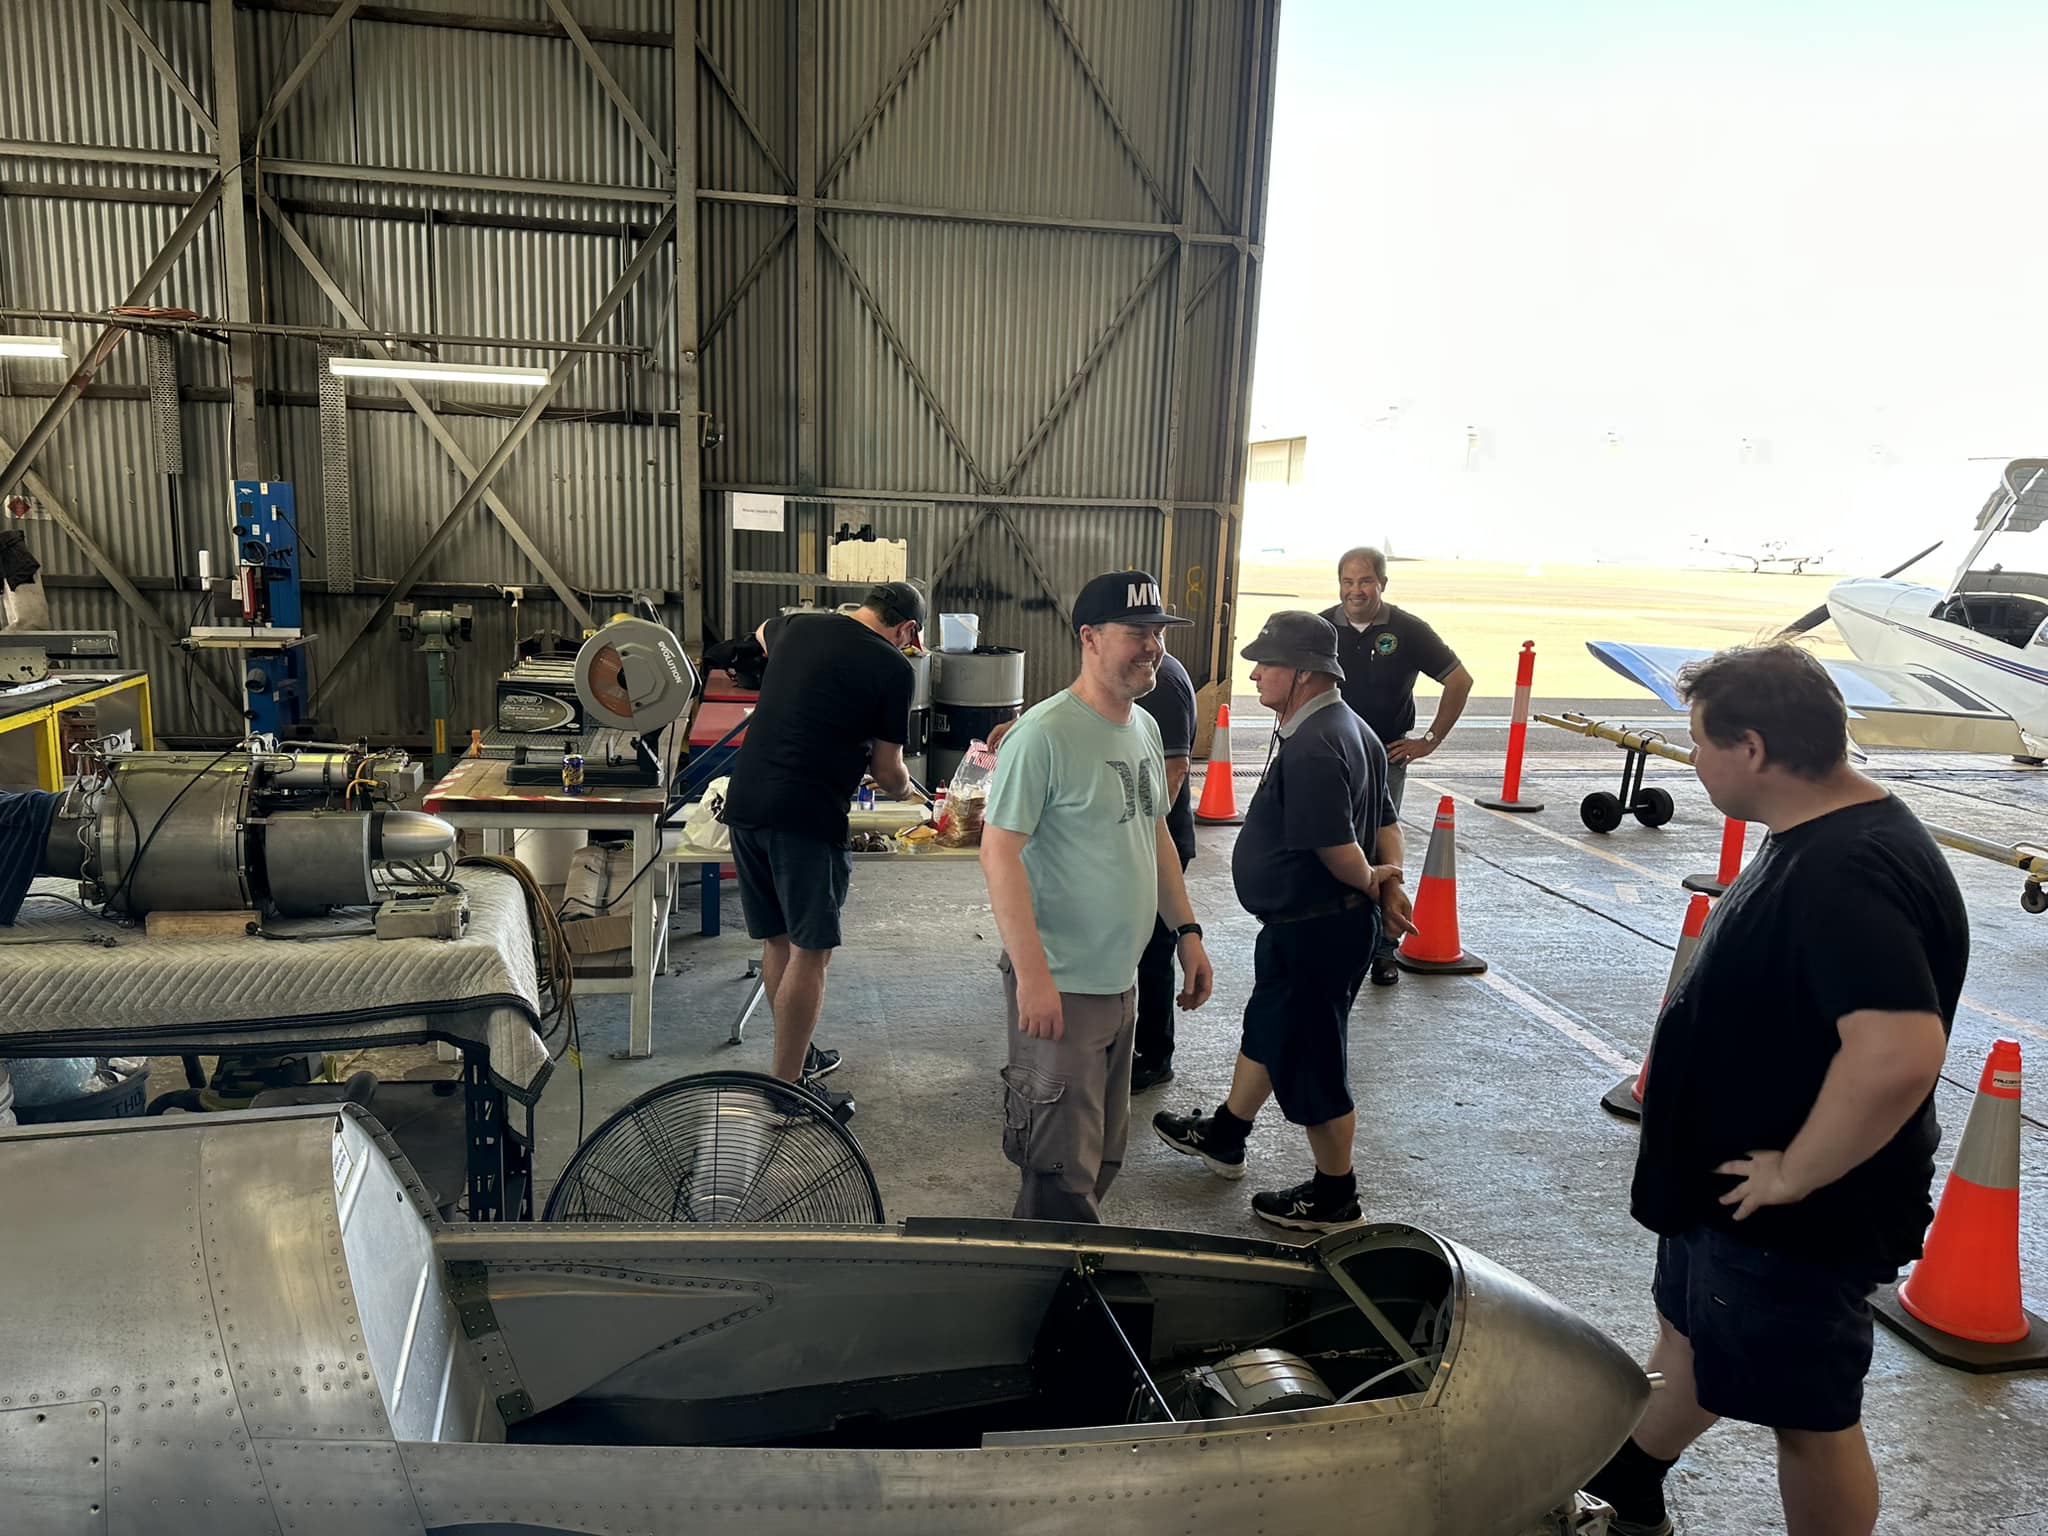
The day ended with a small get-together of sport aircraft builders and pilots who all have an interest in the mighty BD5, with a BBQ and Sausage Sizzle for everyone to enjoy.
Looking forward to getting back into things next weekend!
-
This topic was modified 2 years, 5 months ago by
-
AuthorPosts
- You must be logged in to reply to this topic.