Forum Replies Created
-
AuthorPosts
-
Benjamin Morgan
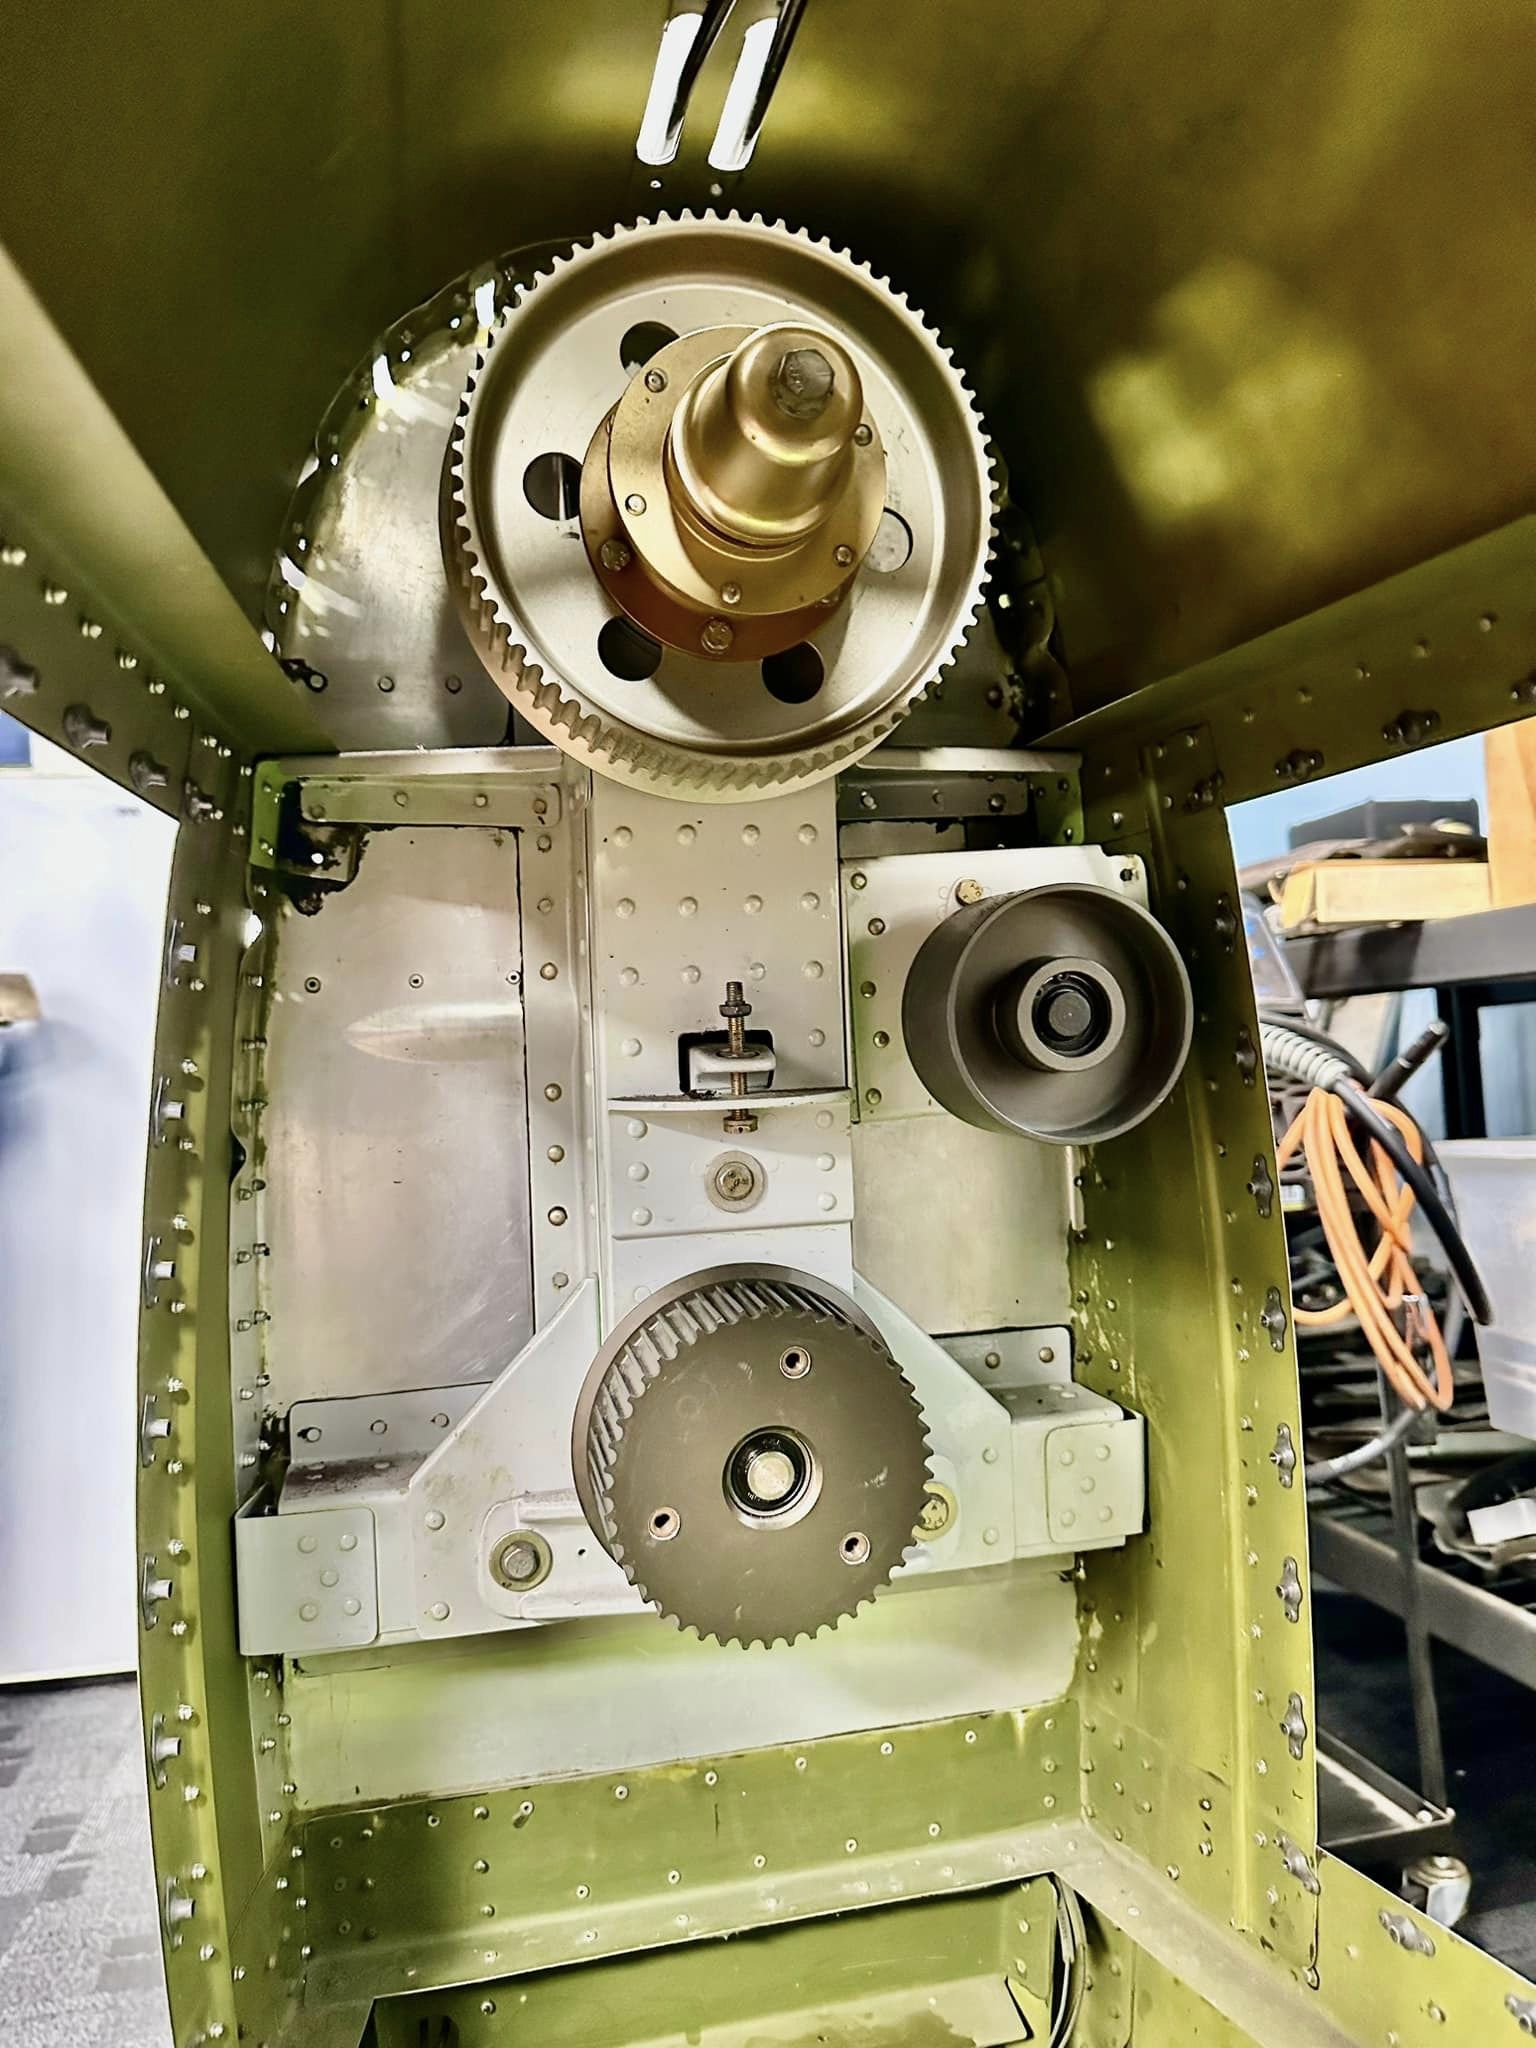
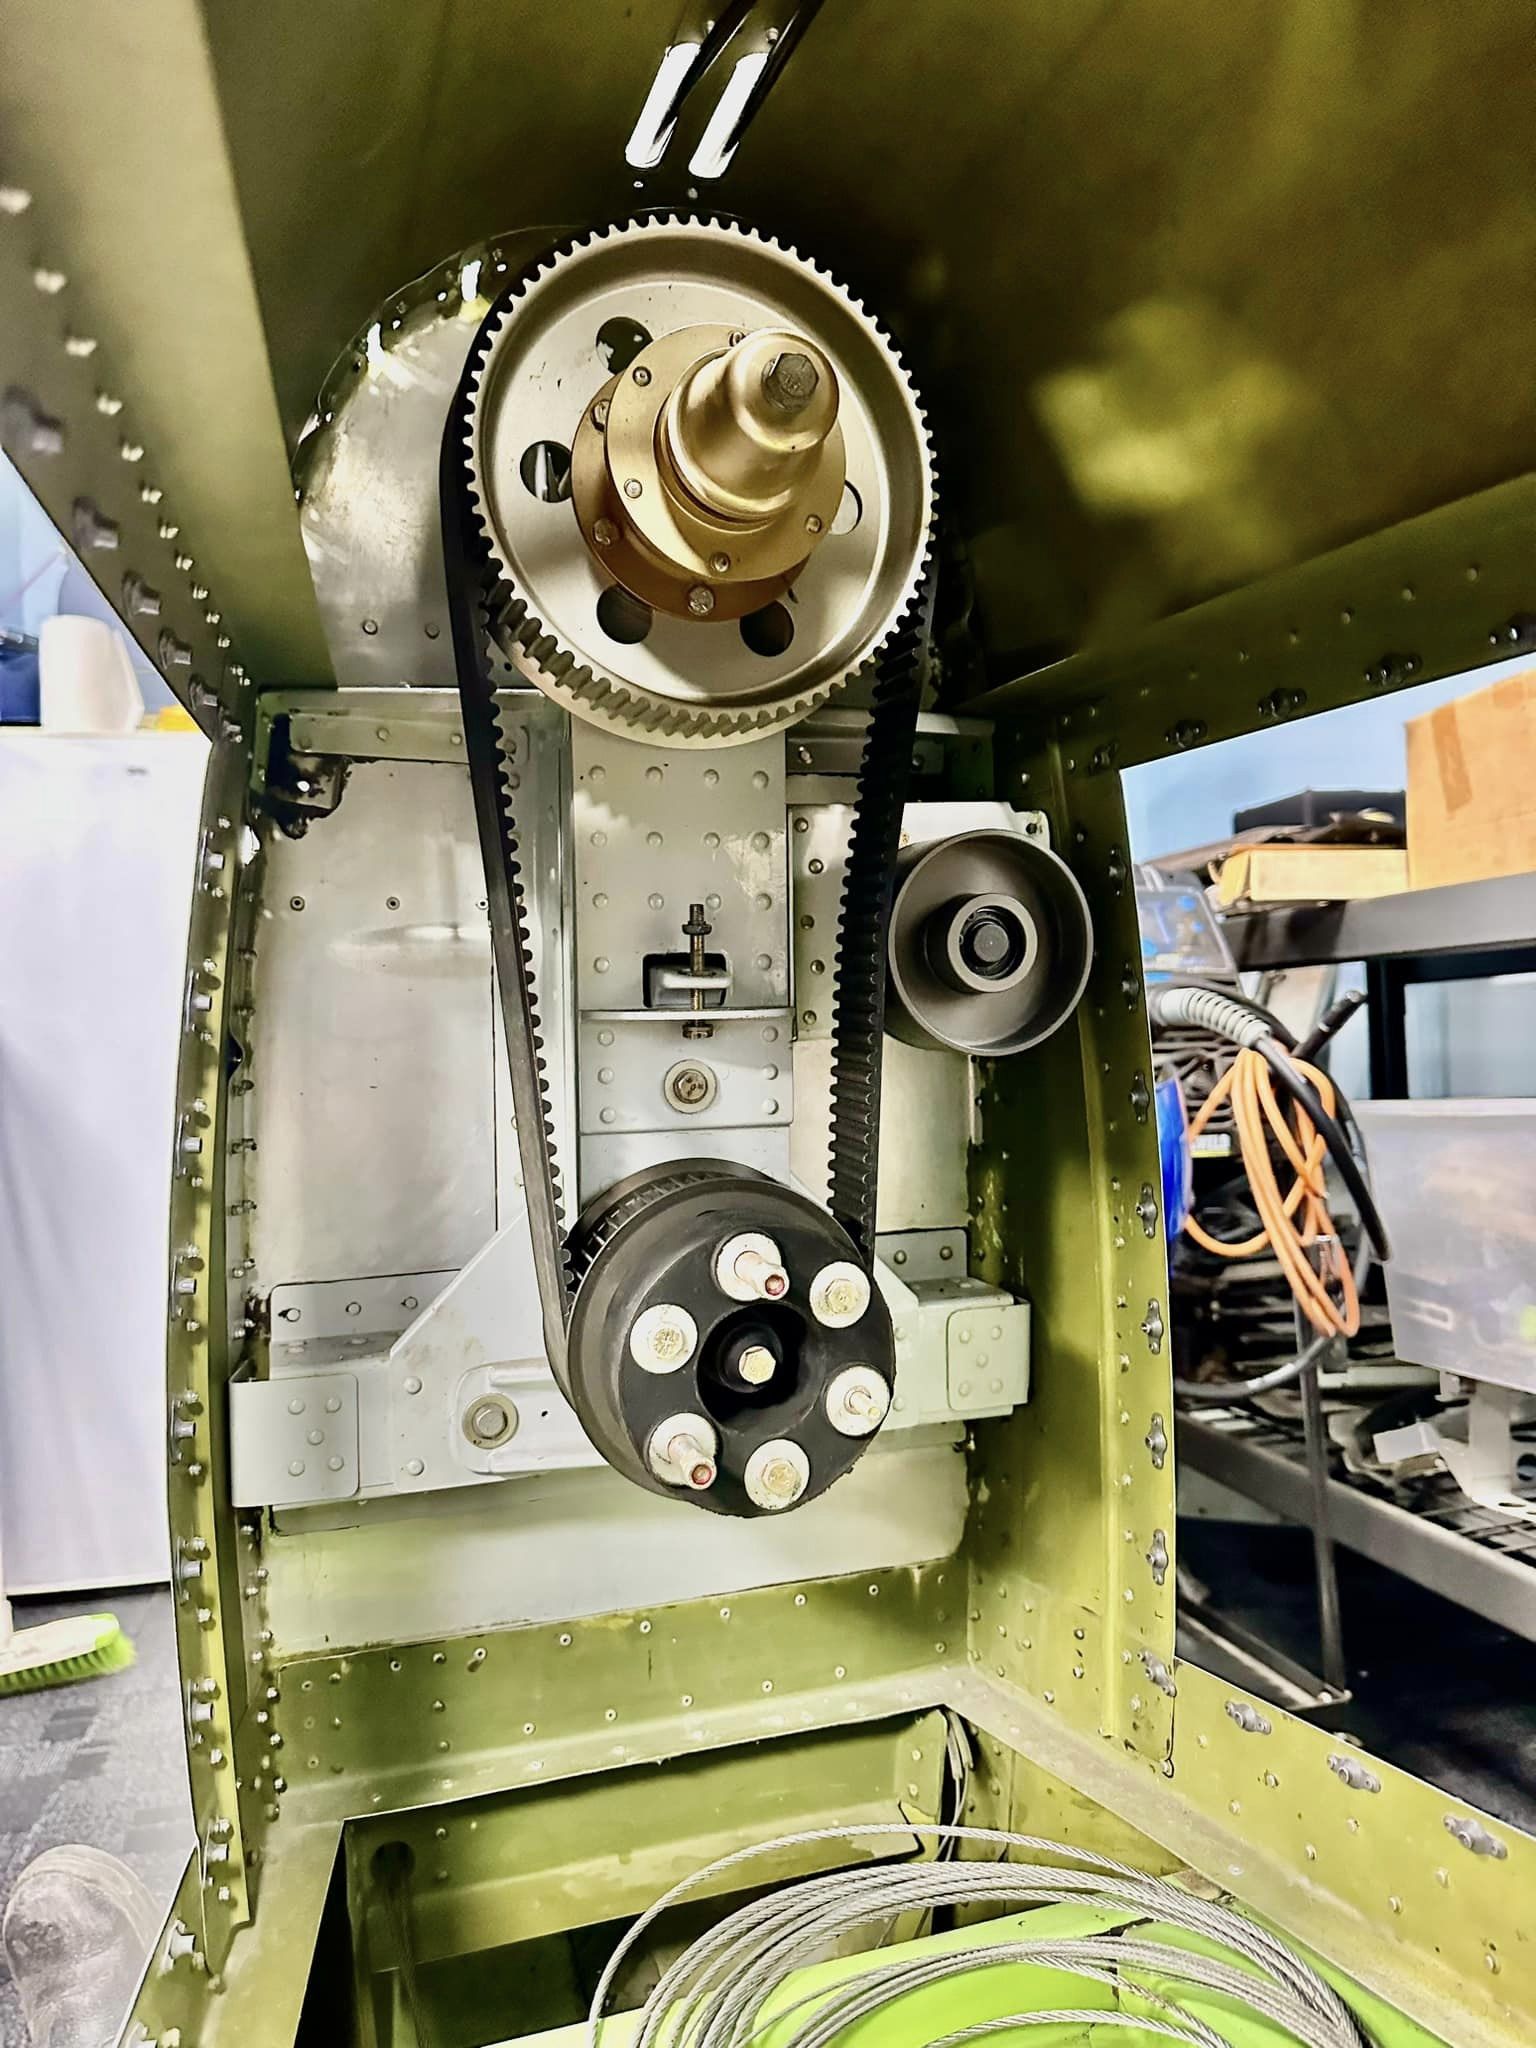
KeymasterNeed to study the drive system plans to understand how to remove the clutch and sprocket from the drive-shaft.
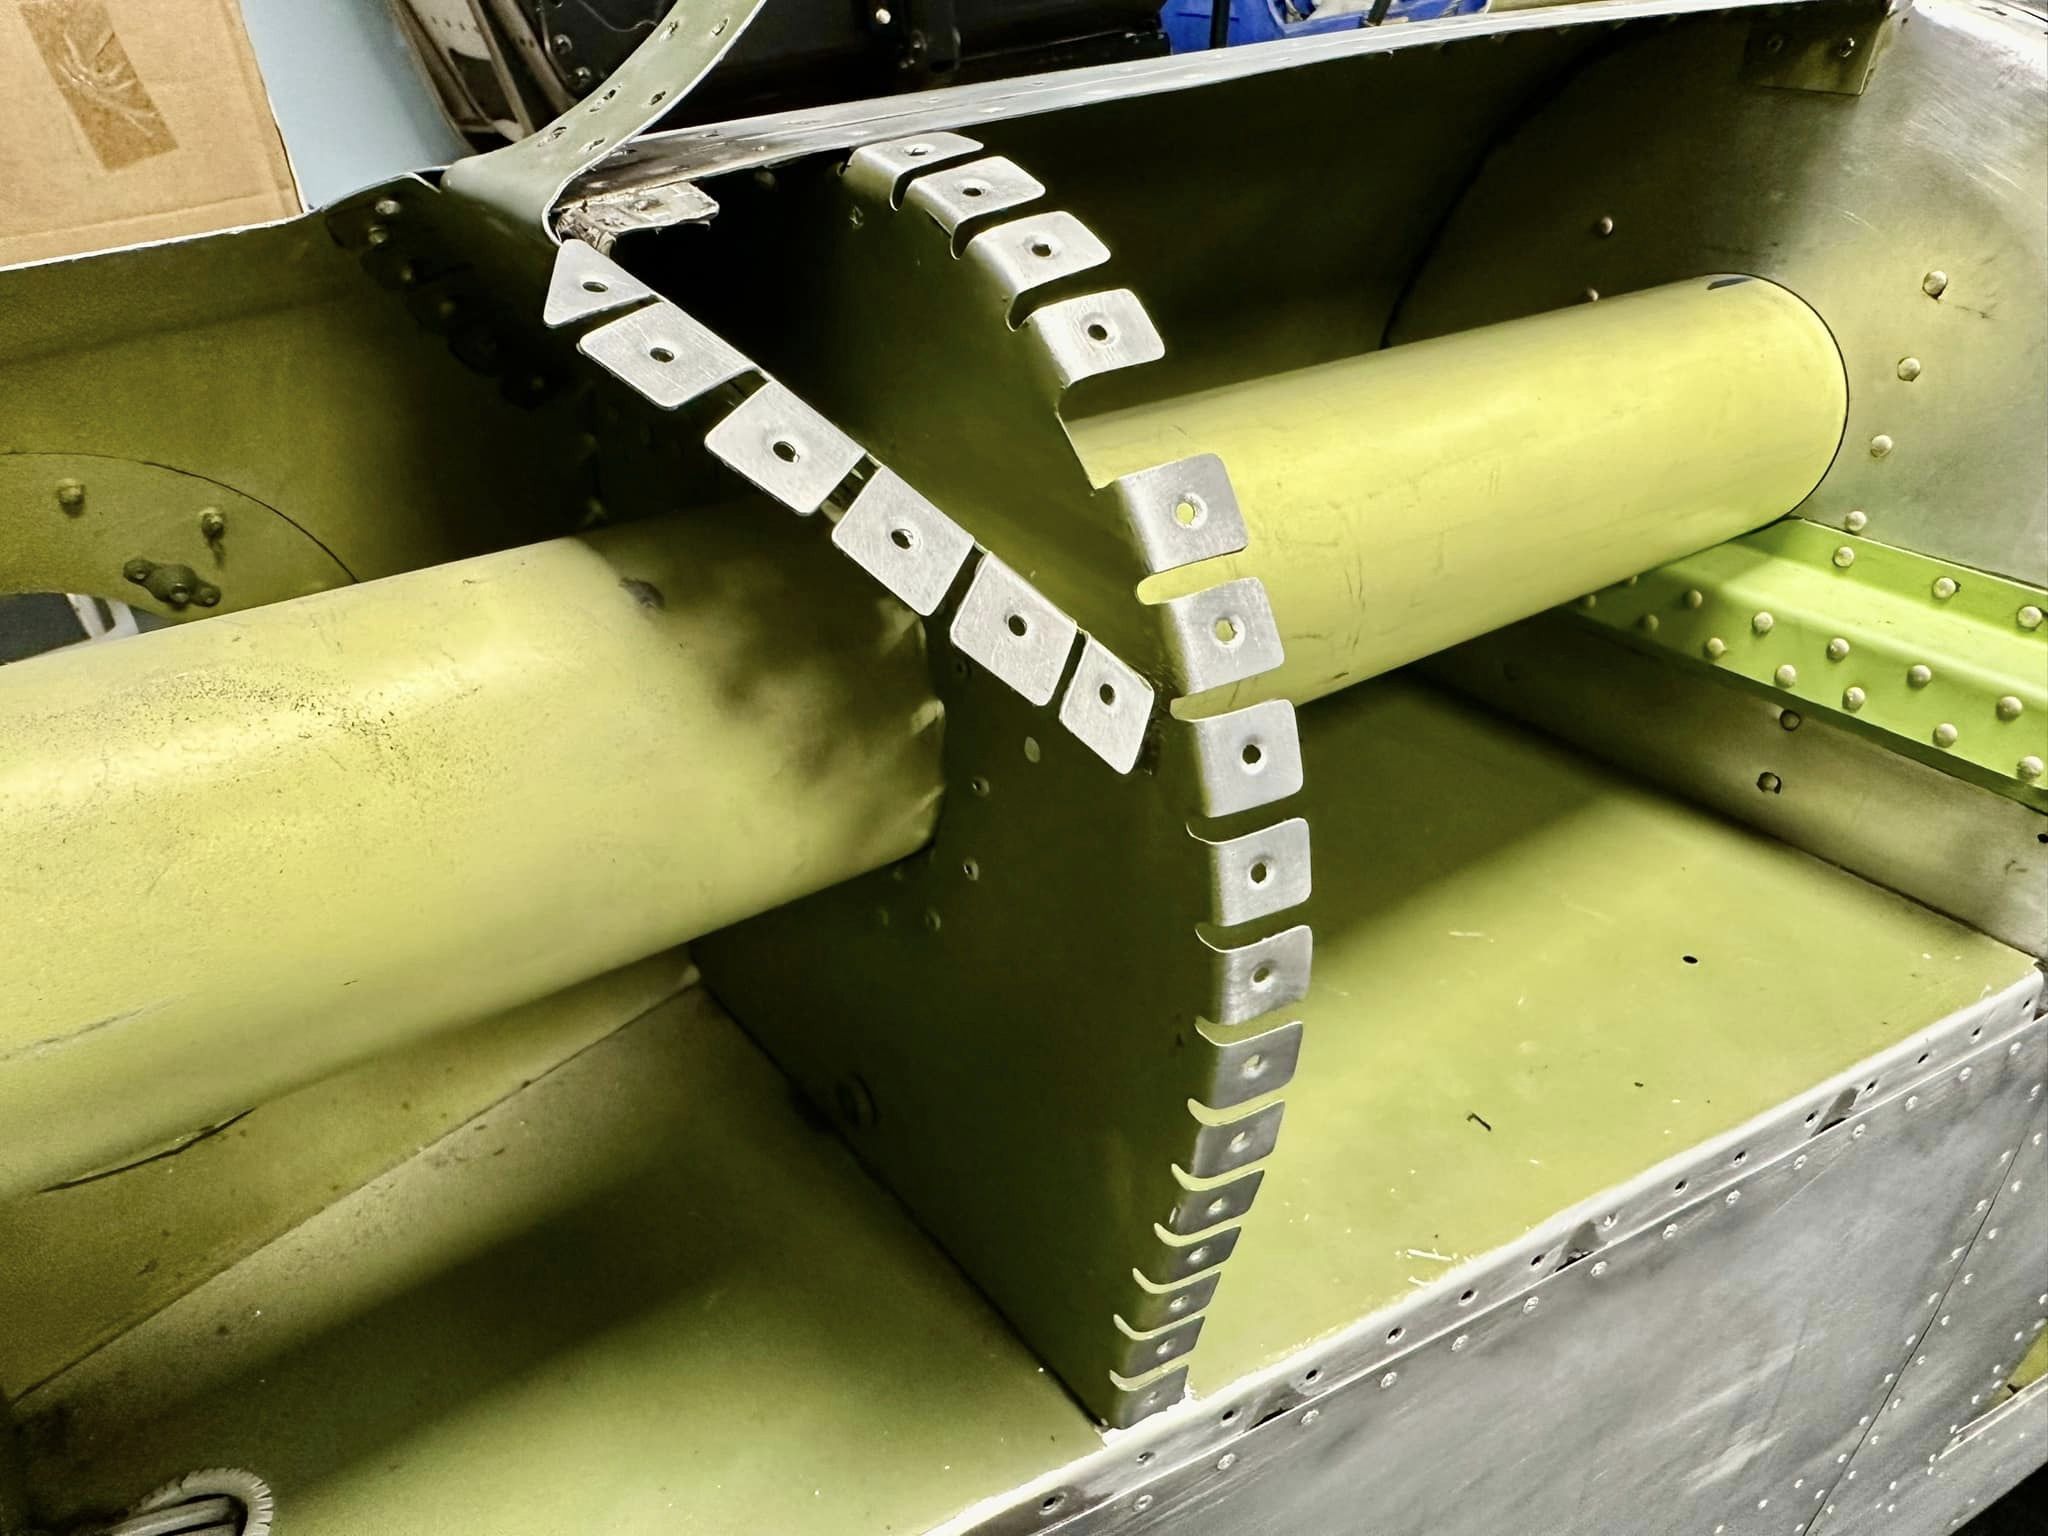
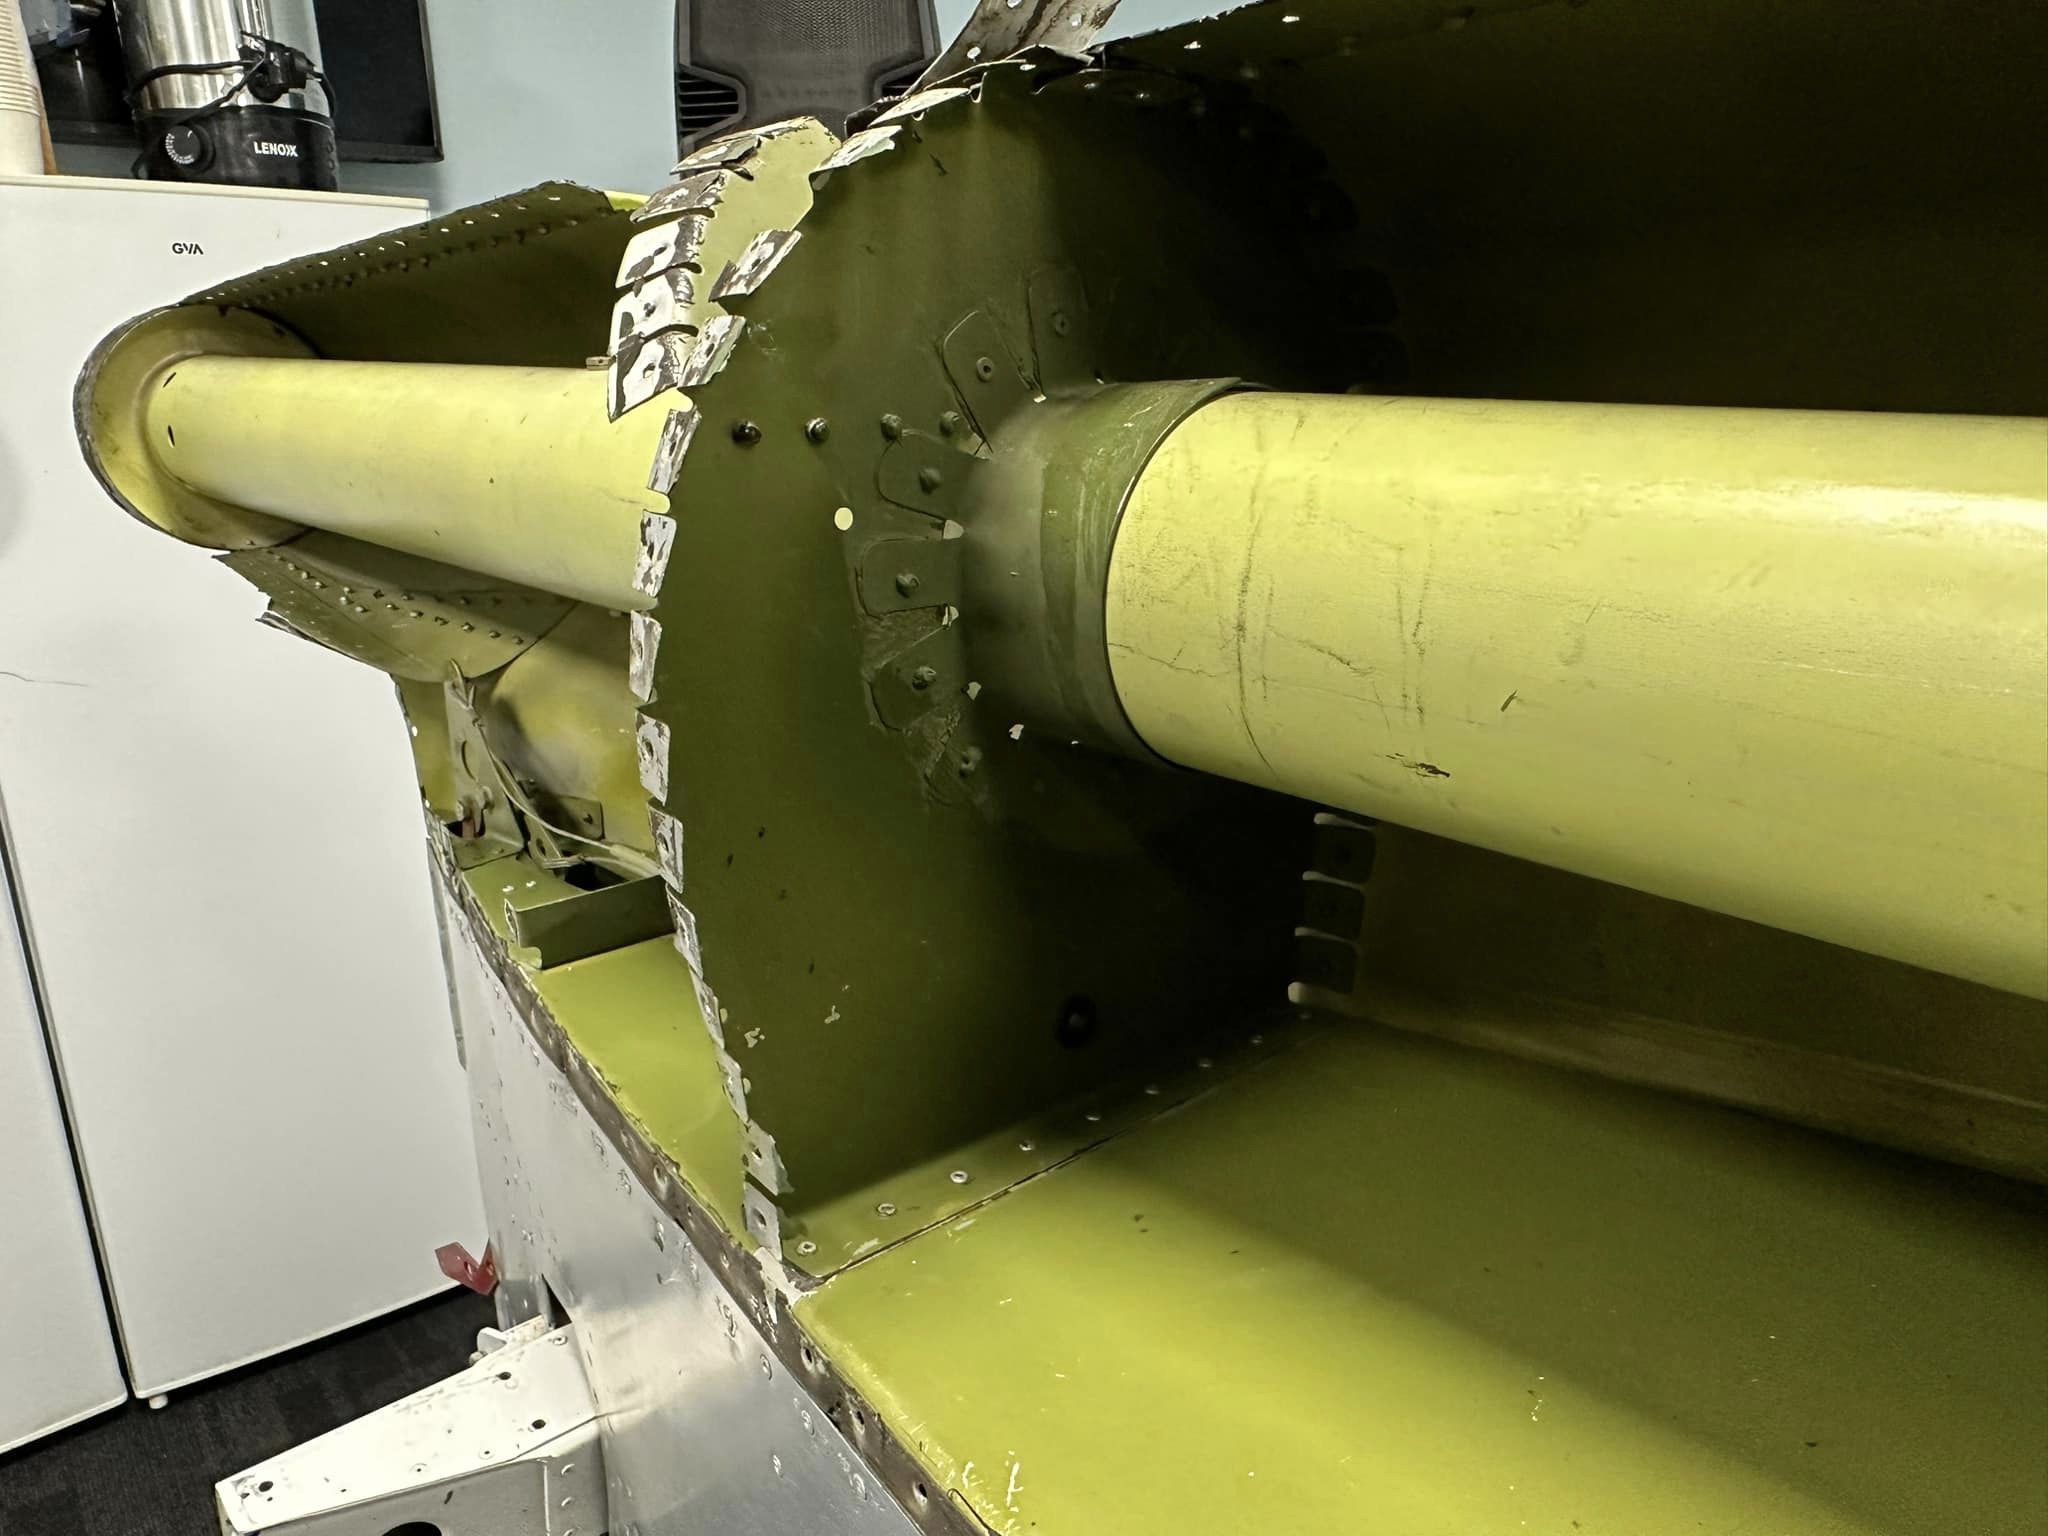
KeymasterDisassembly of the drive-shaft assemblies has been started. Everything needs to be removed in preparation for the jet engine mounting modifications.
 Keymaster
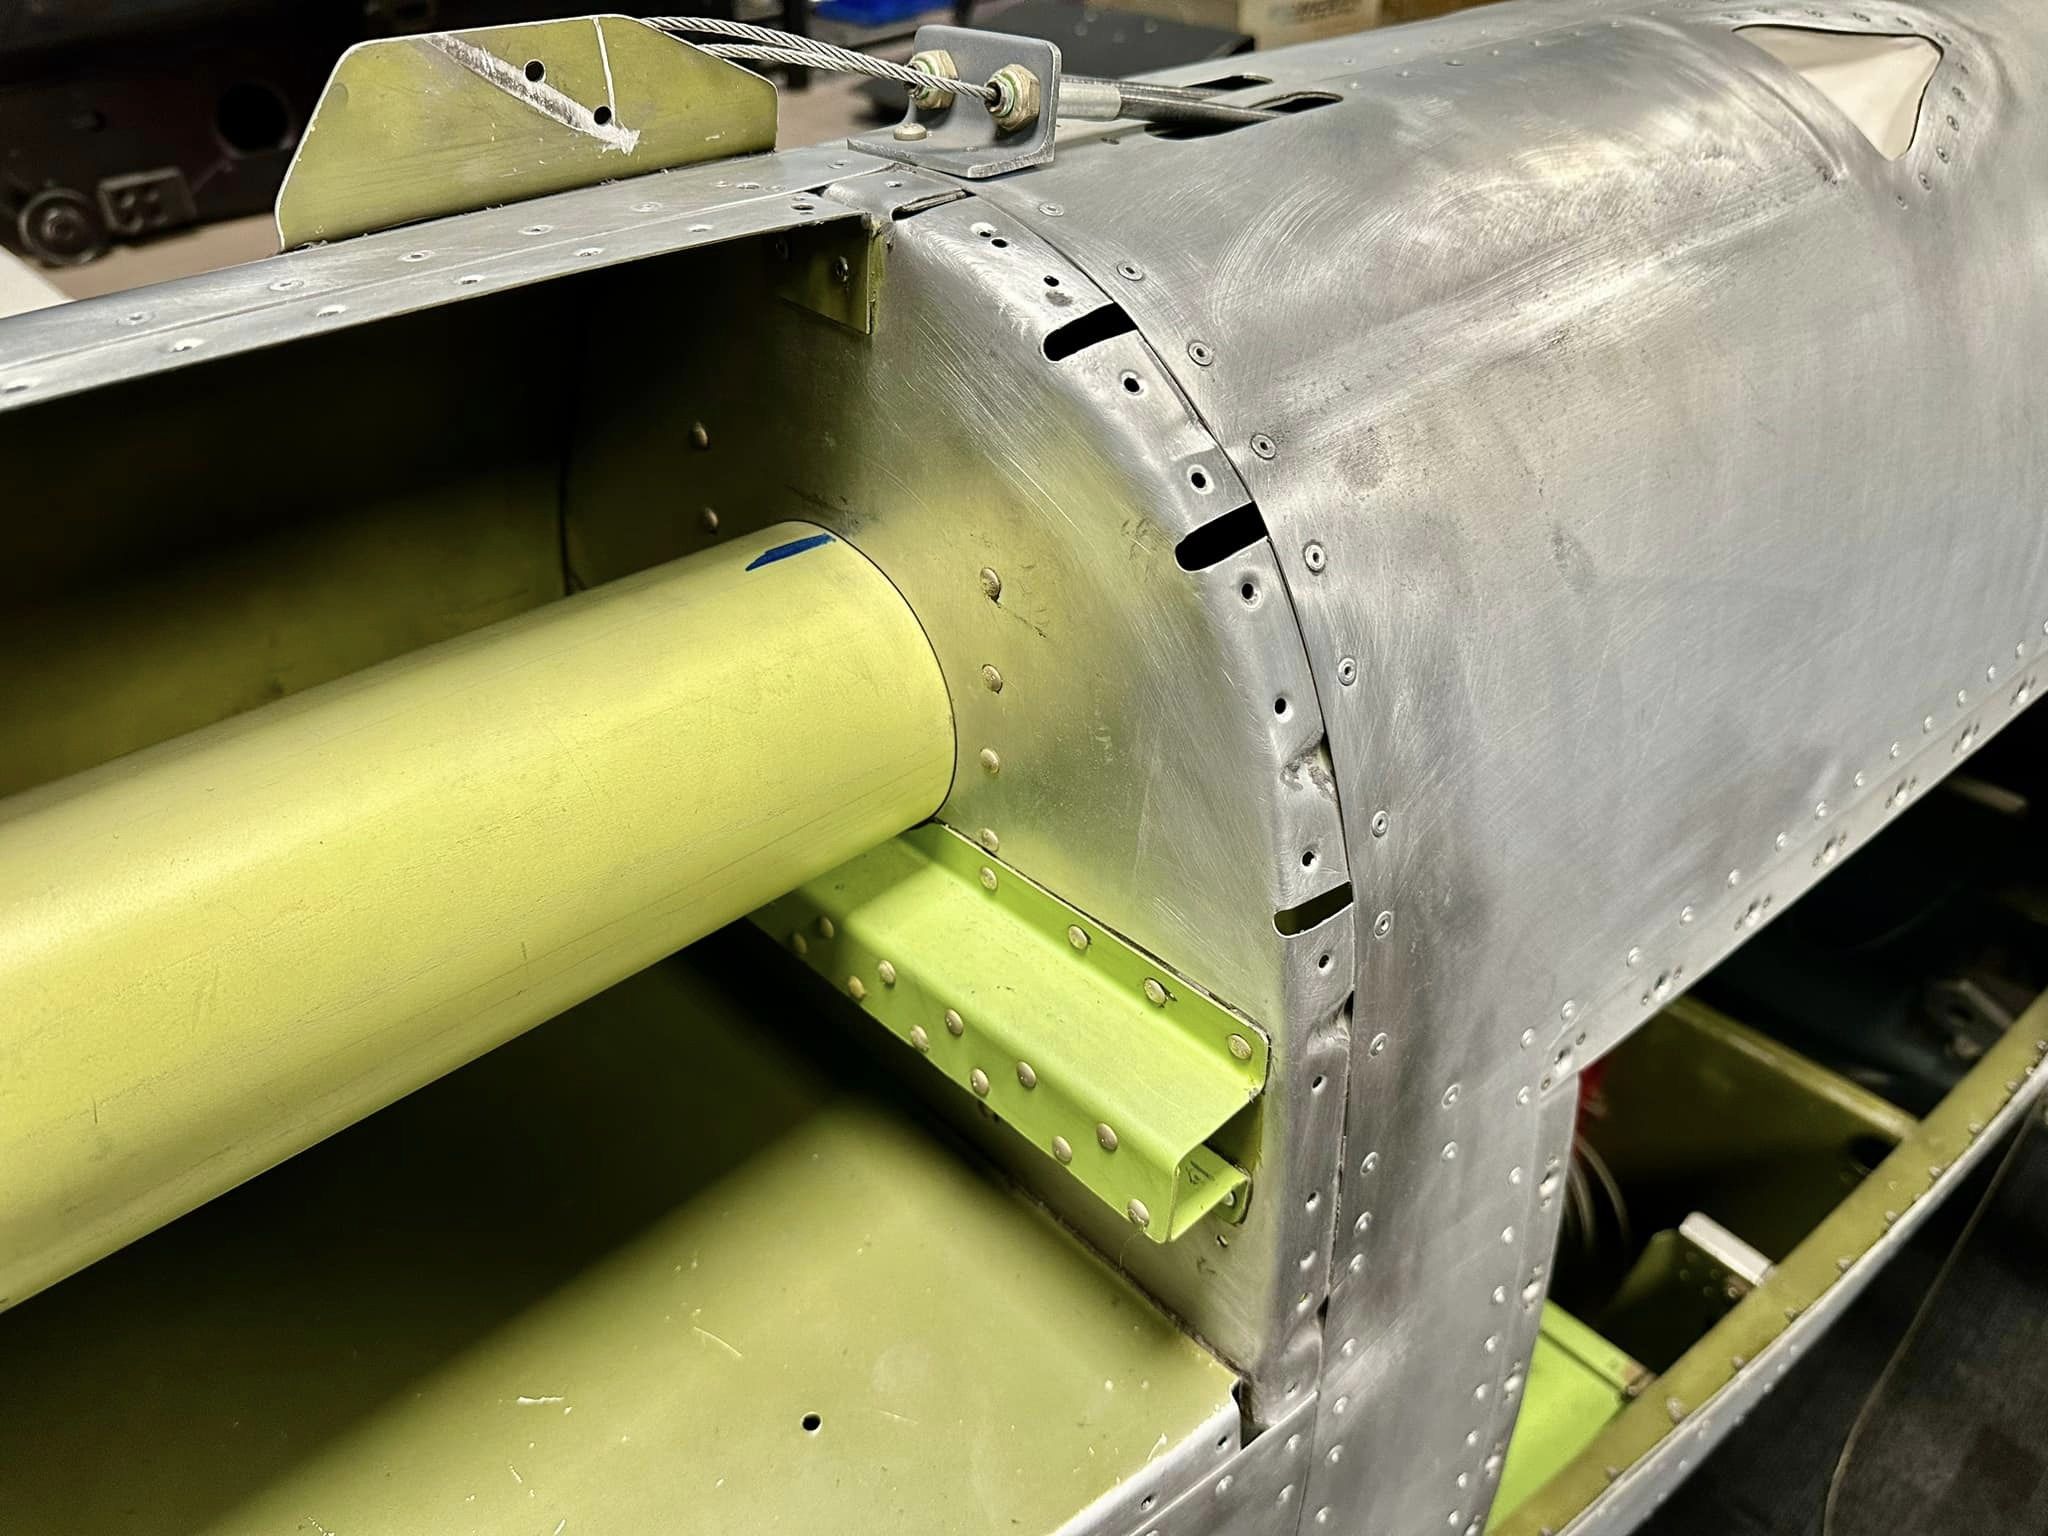
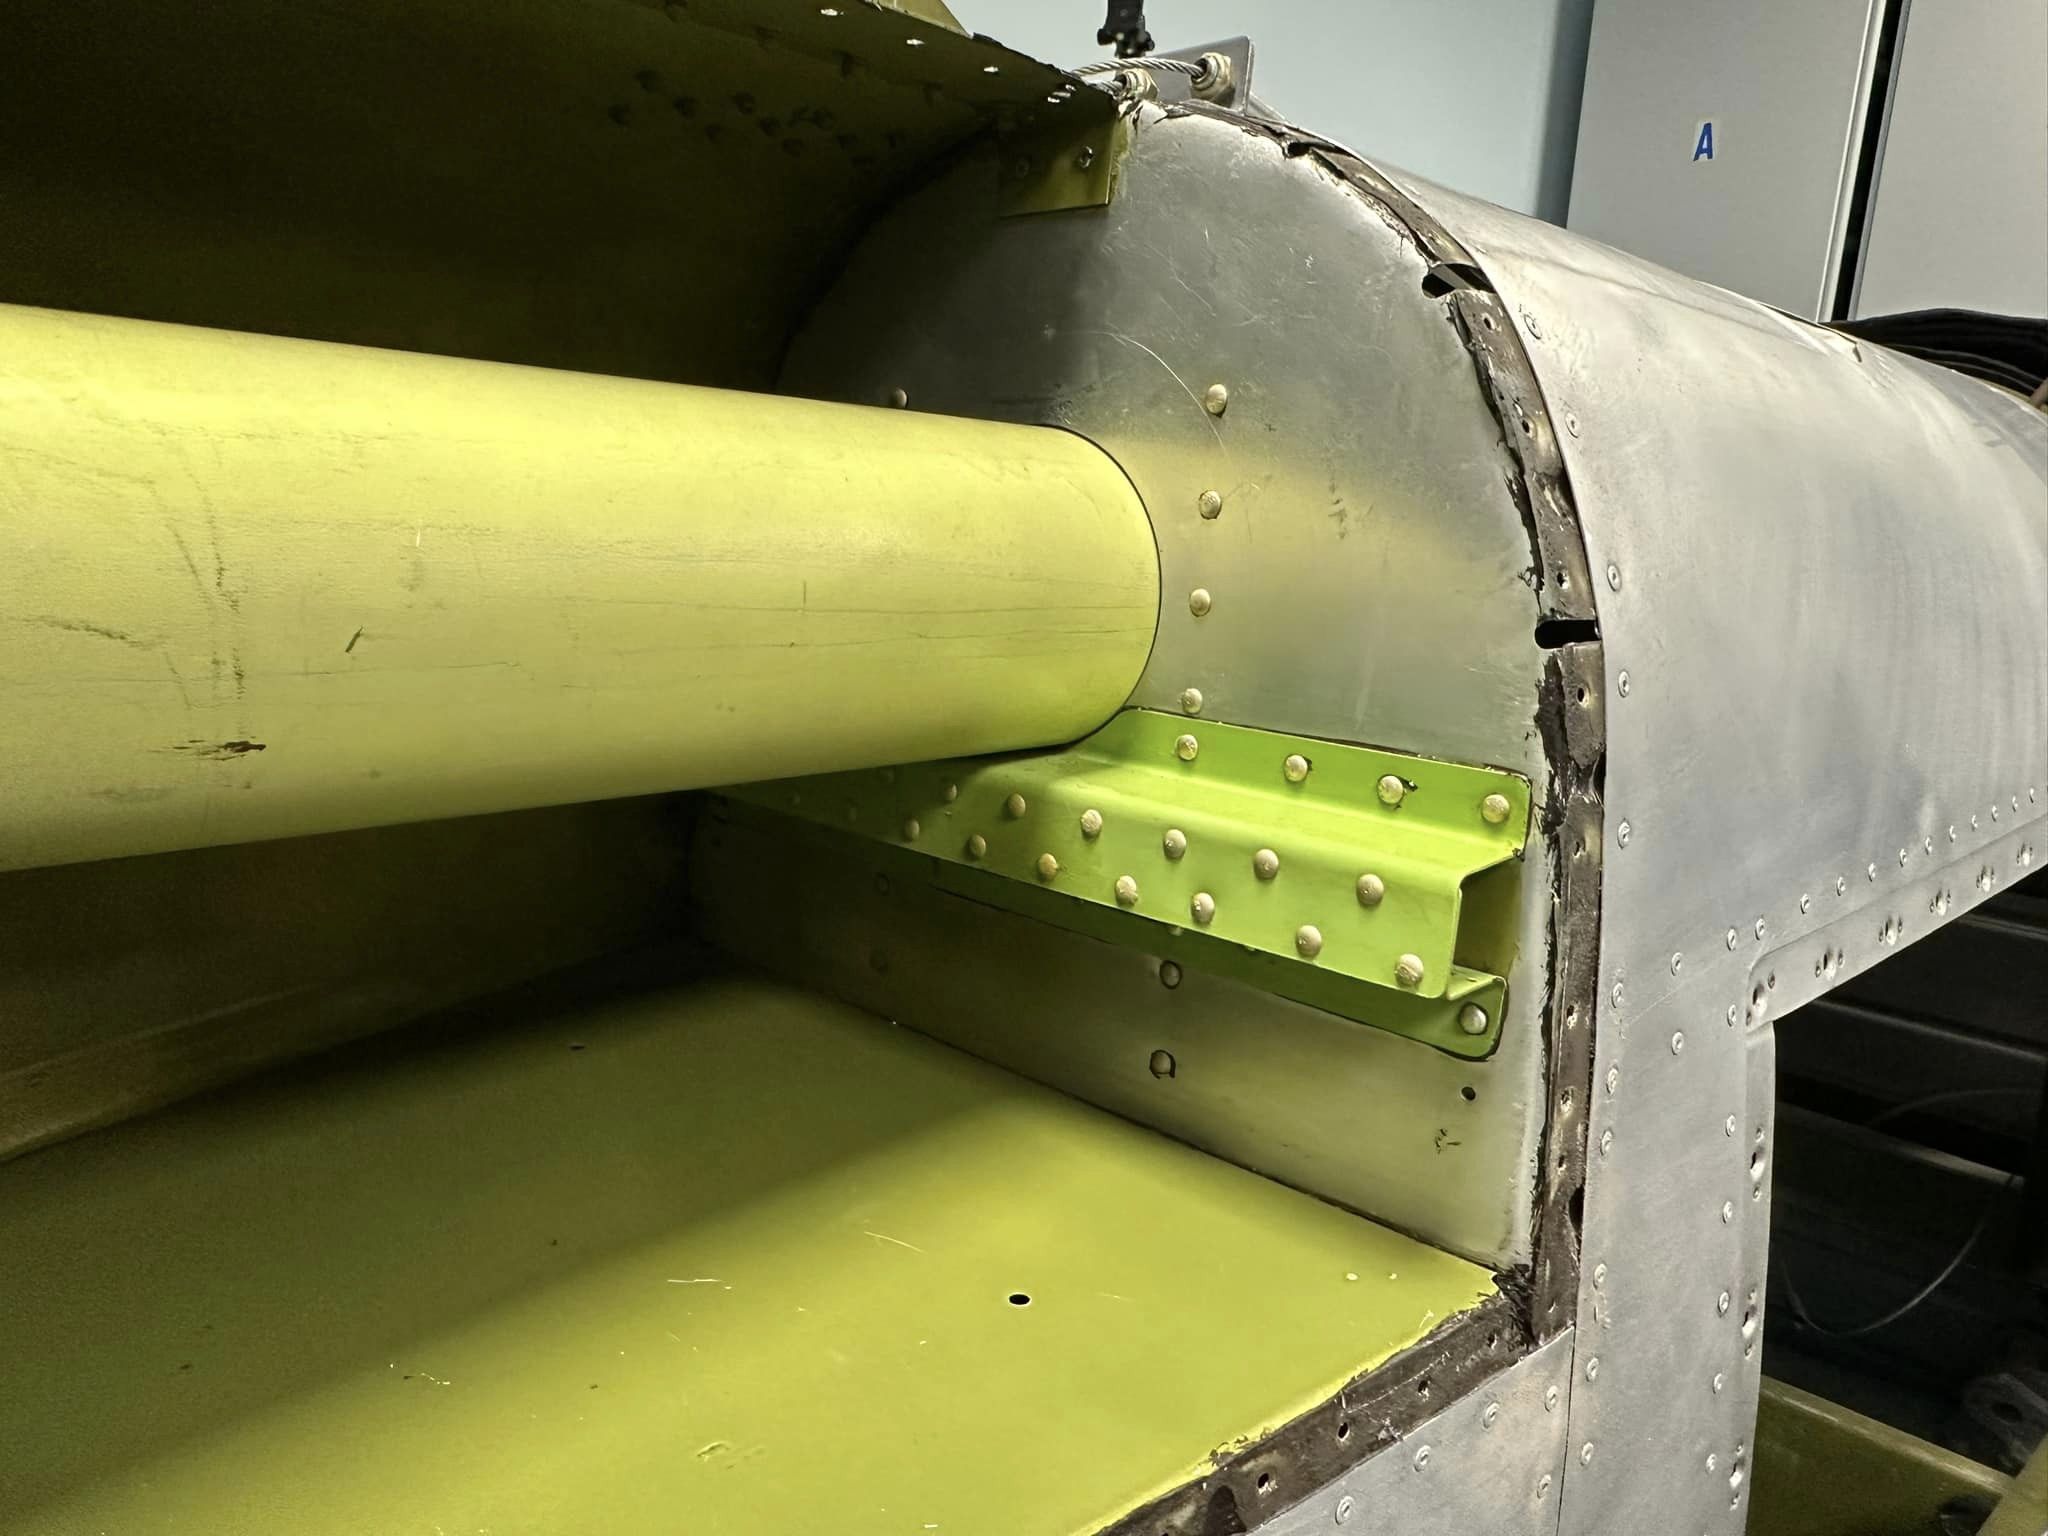
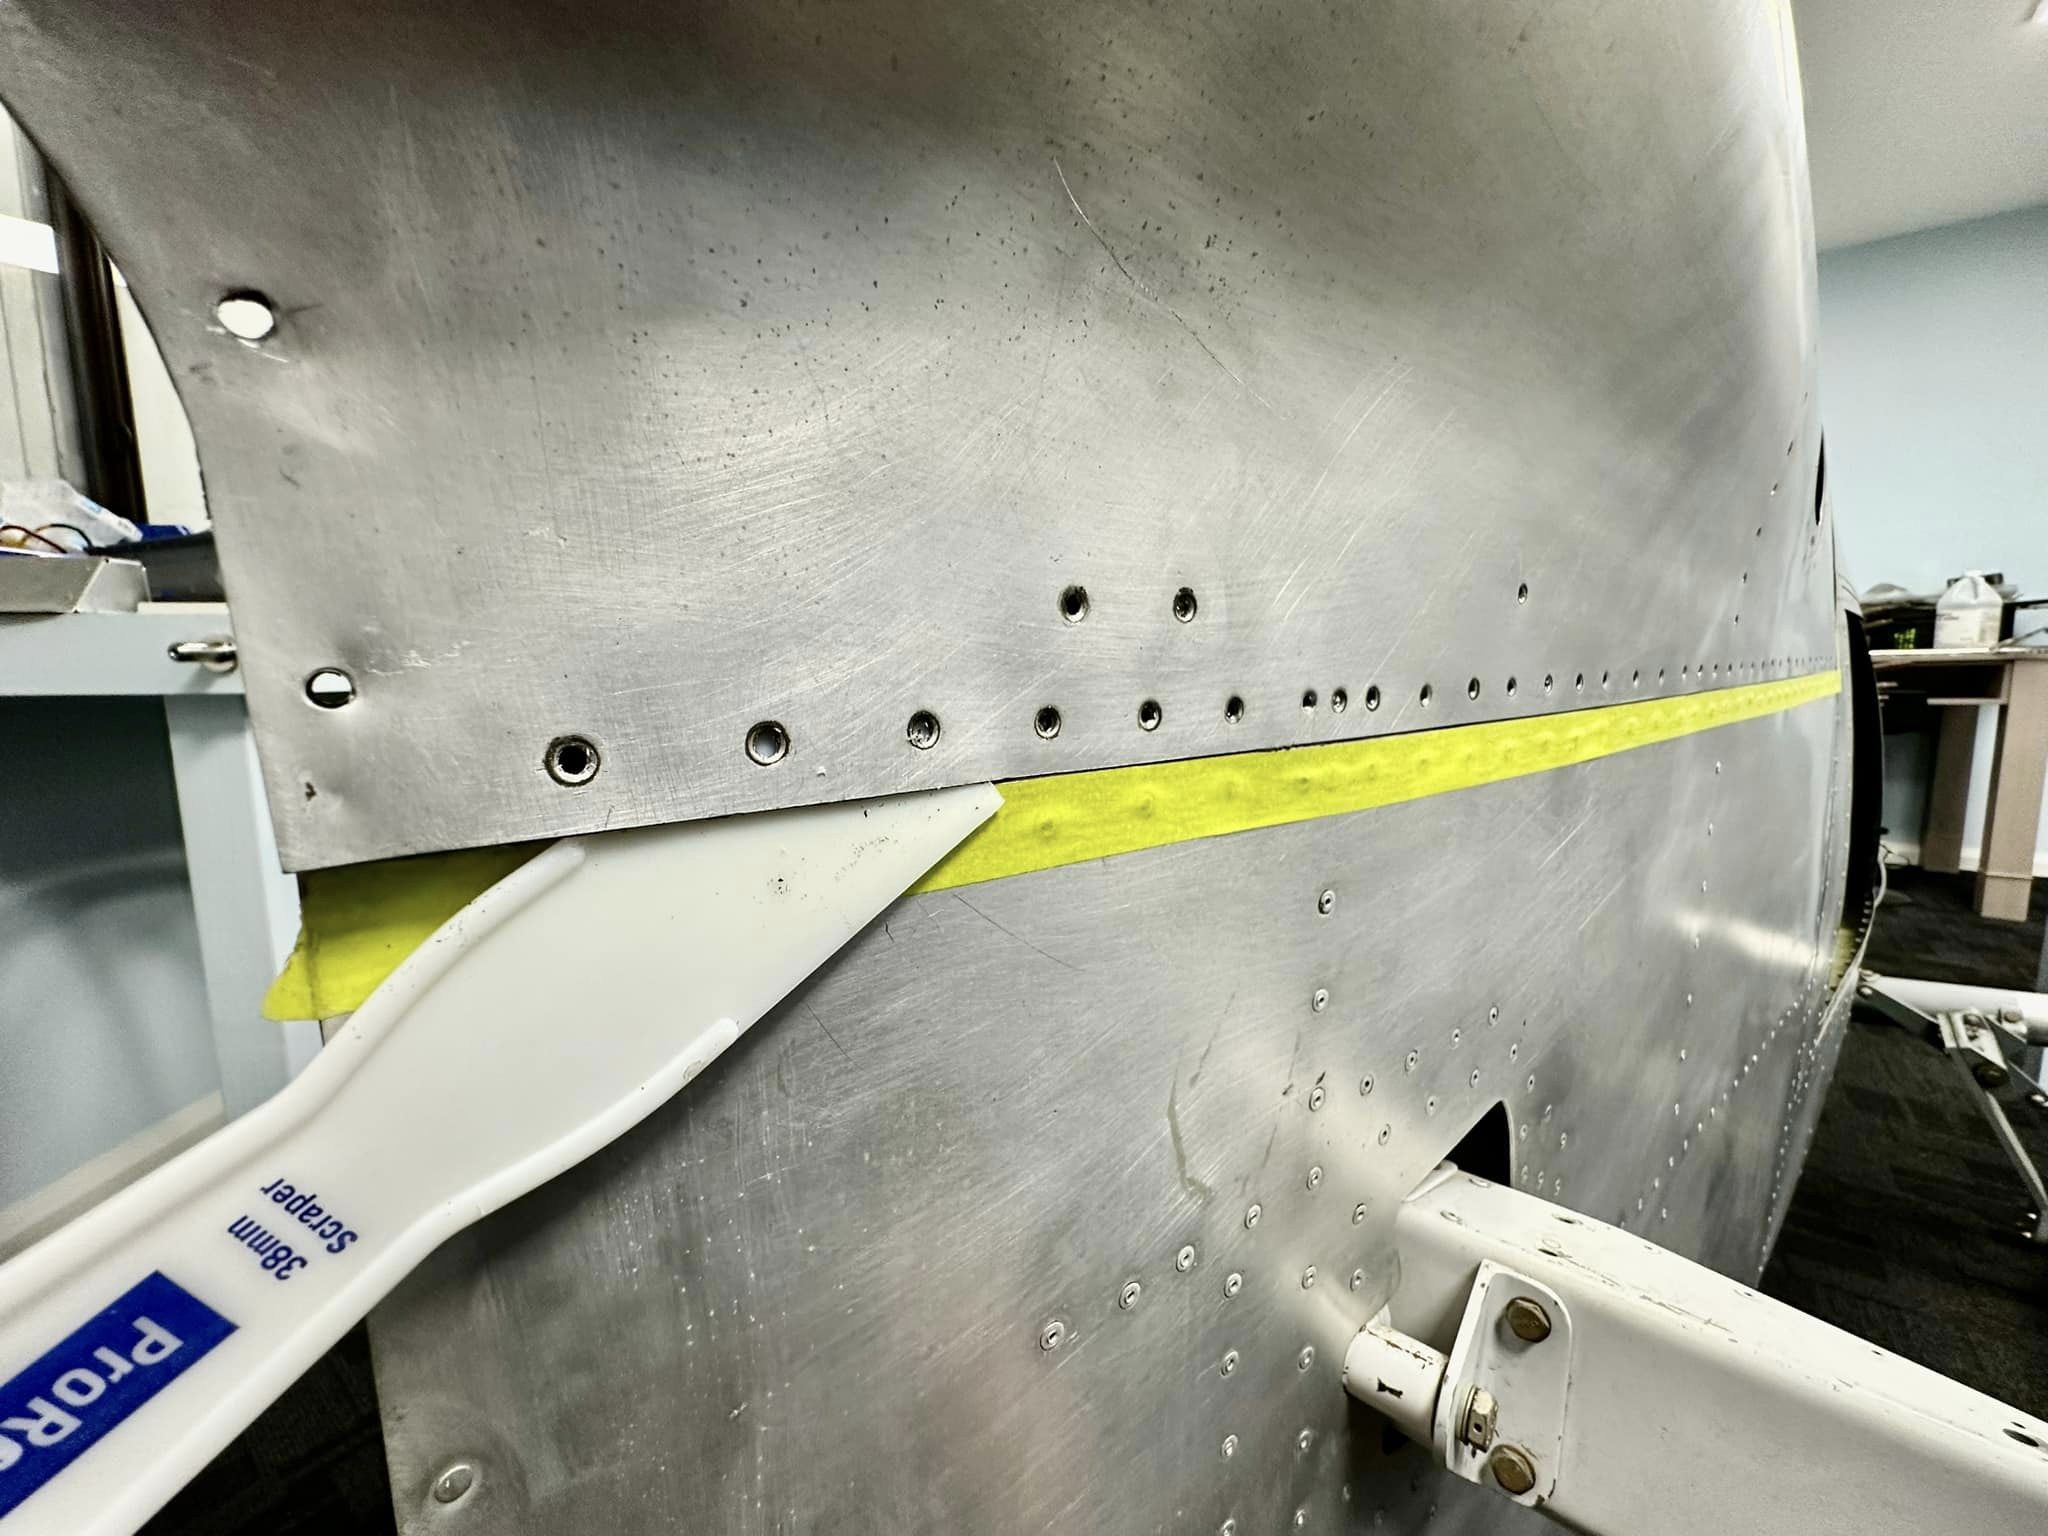
Another evening of cleaning back Pro-Seal, with all the skin mating surfaces clean.
 Keymaster
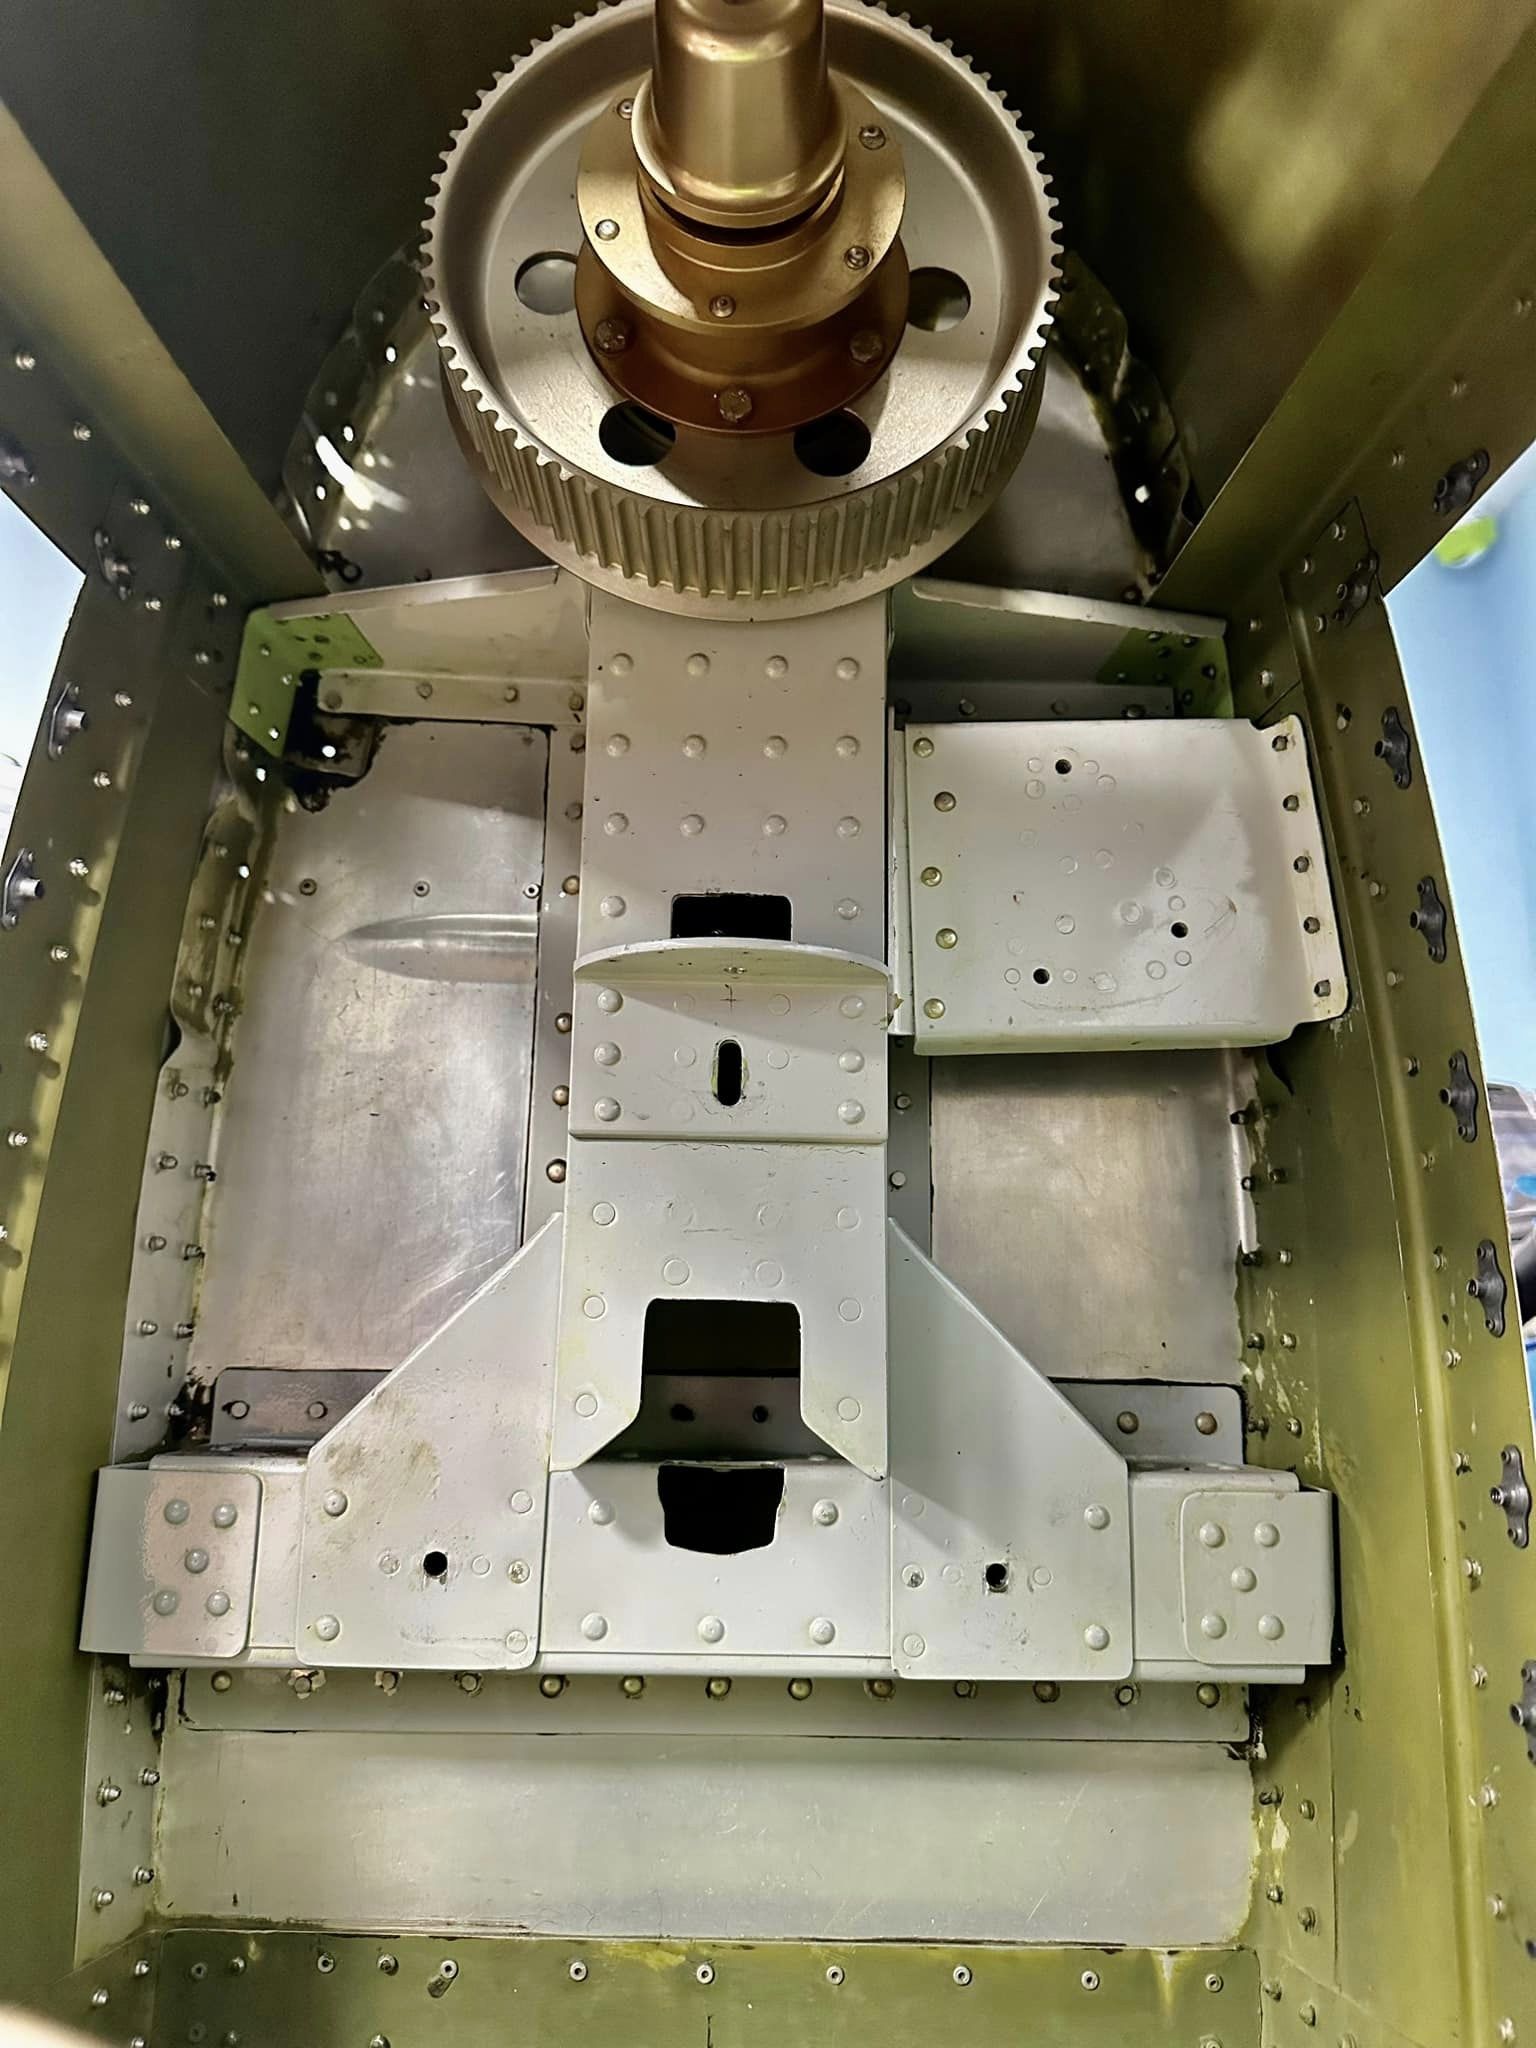
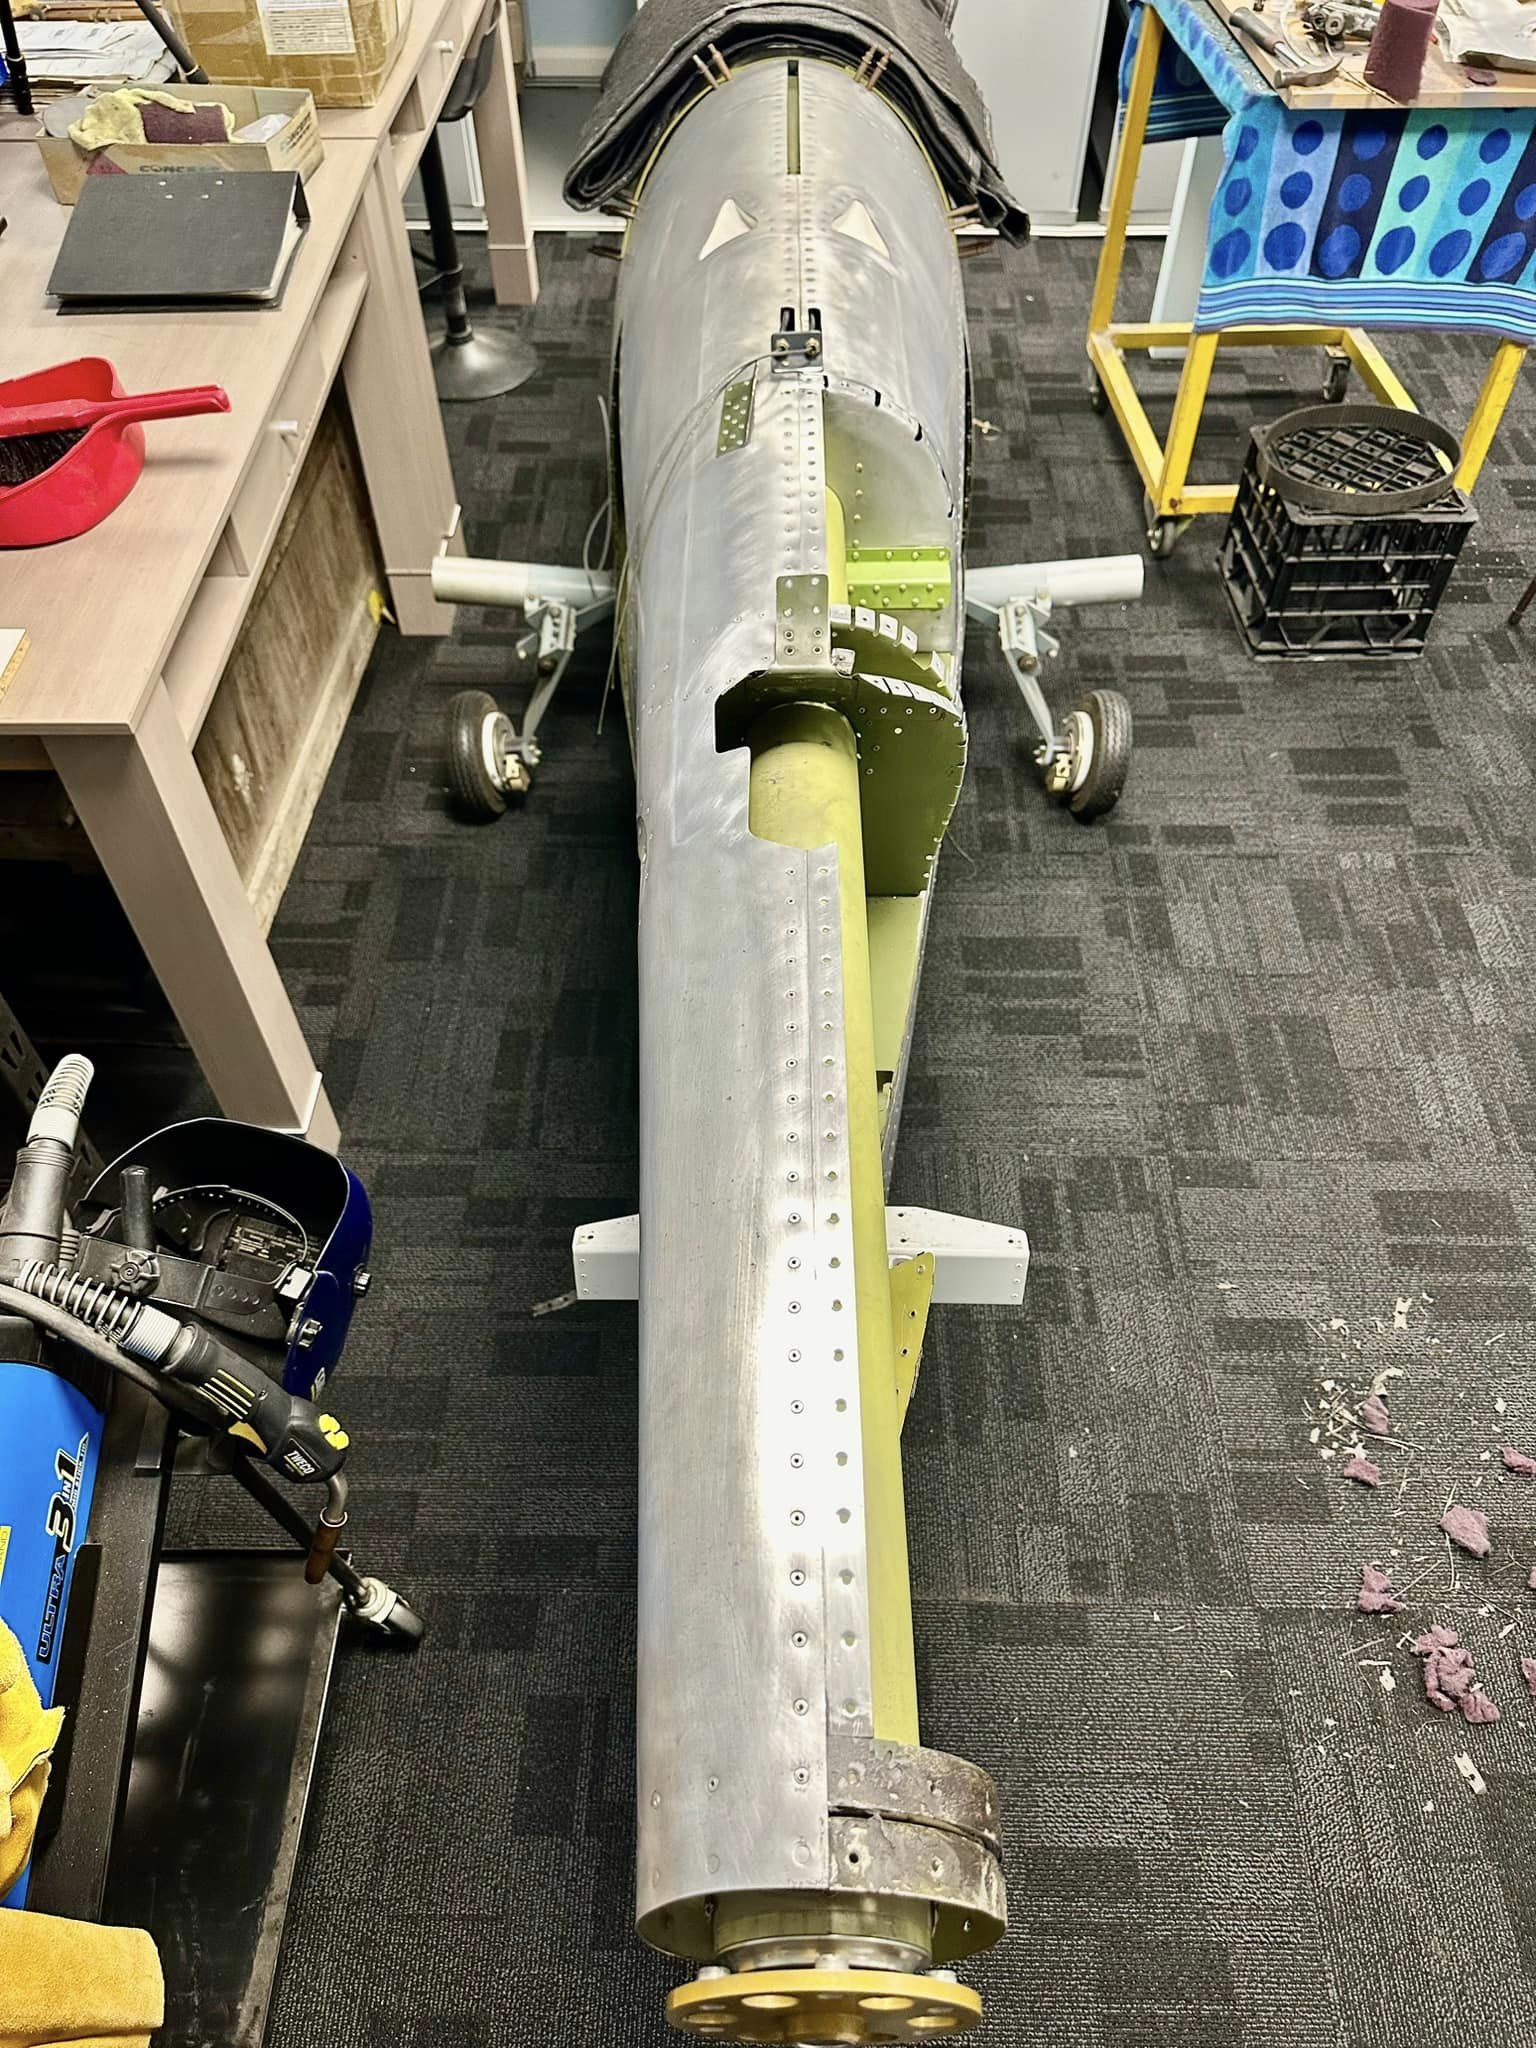
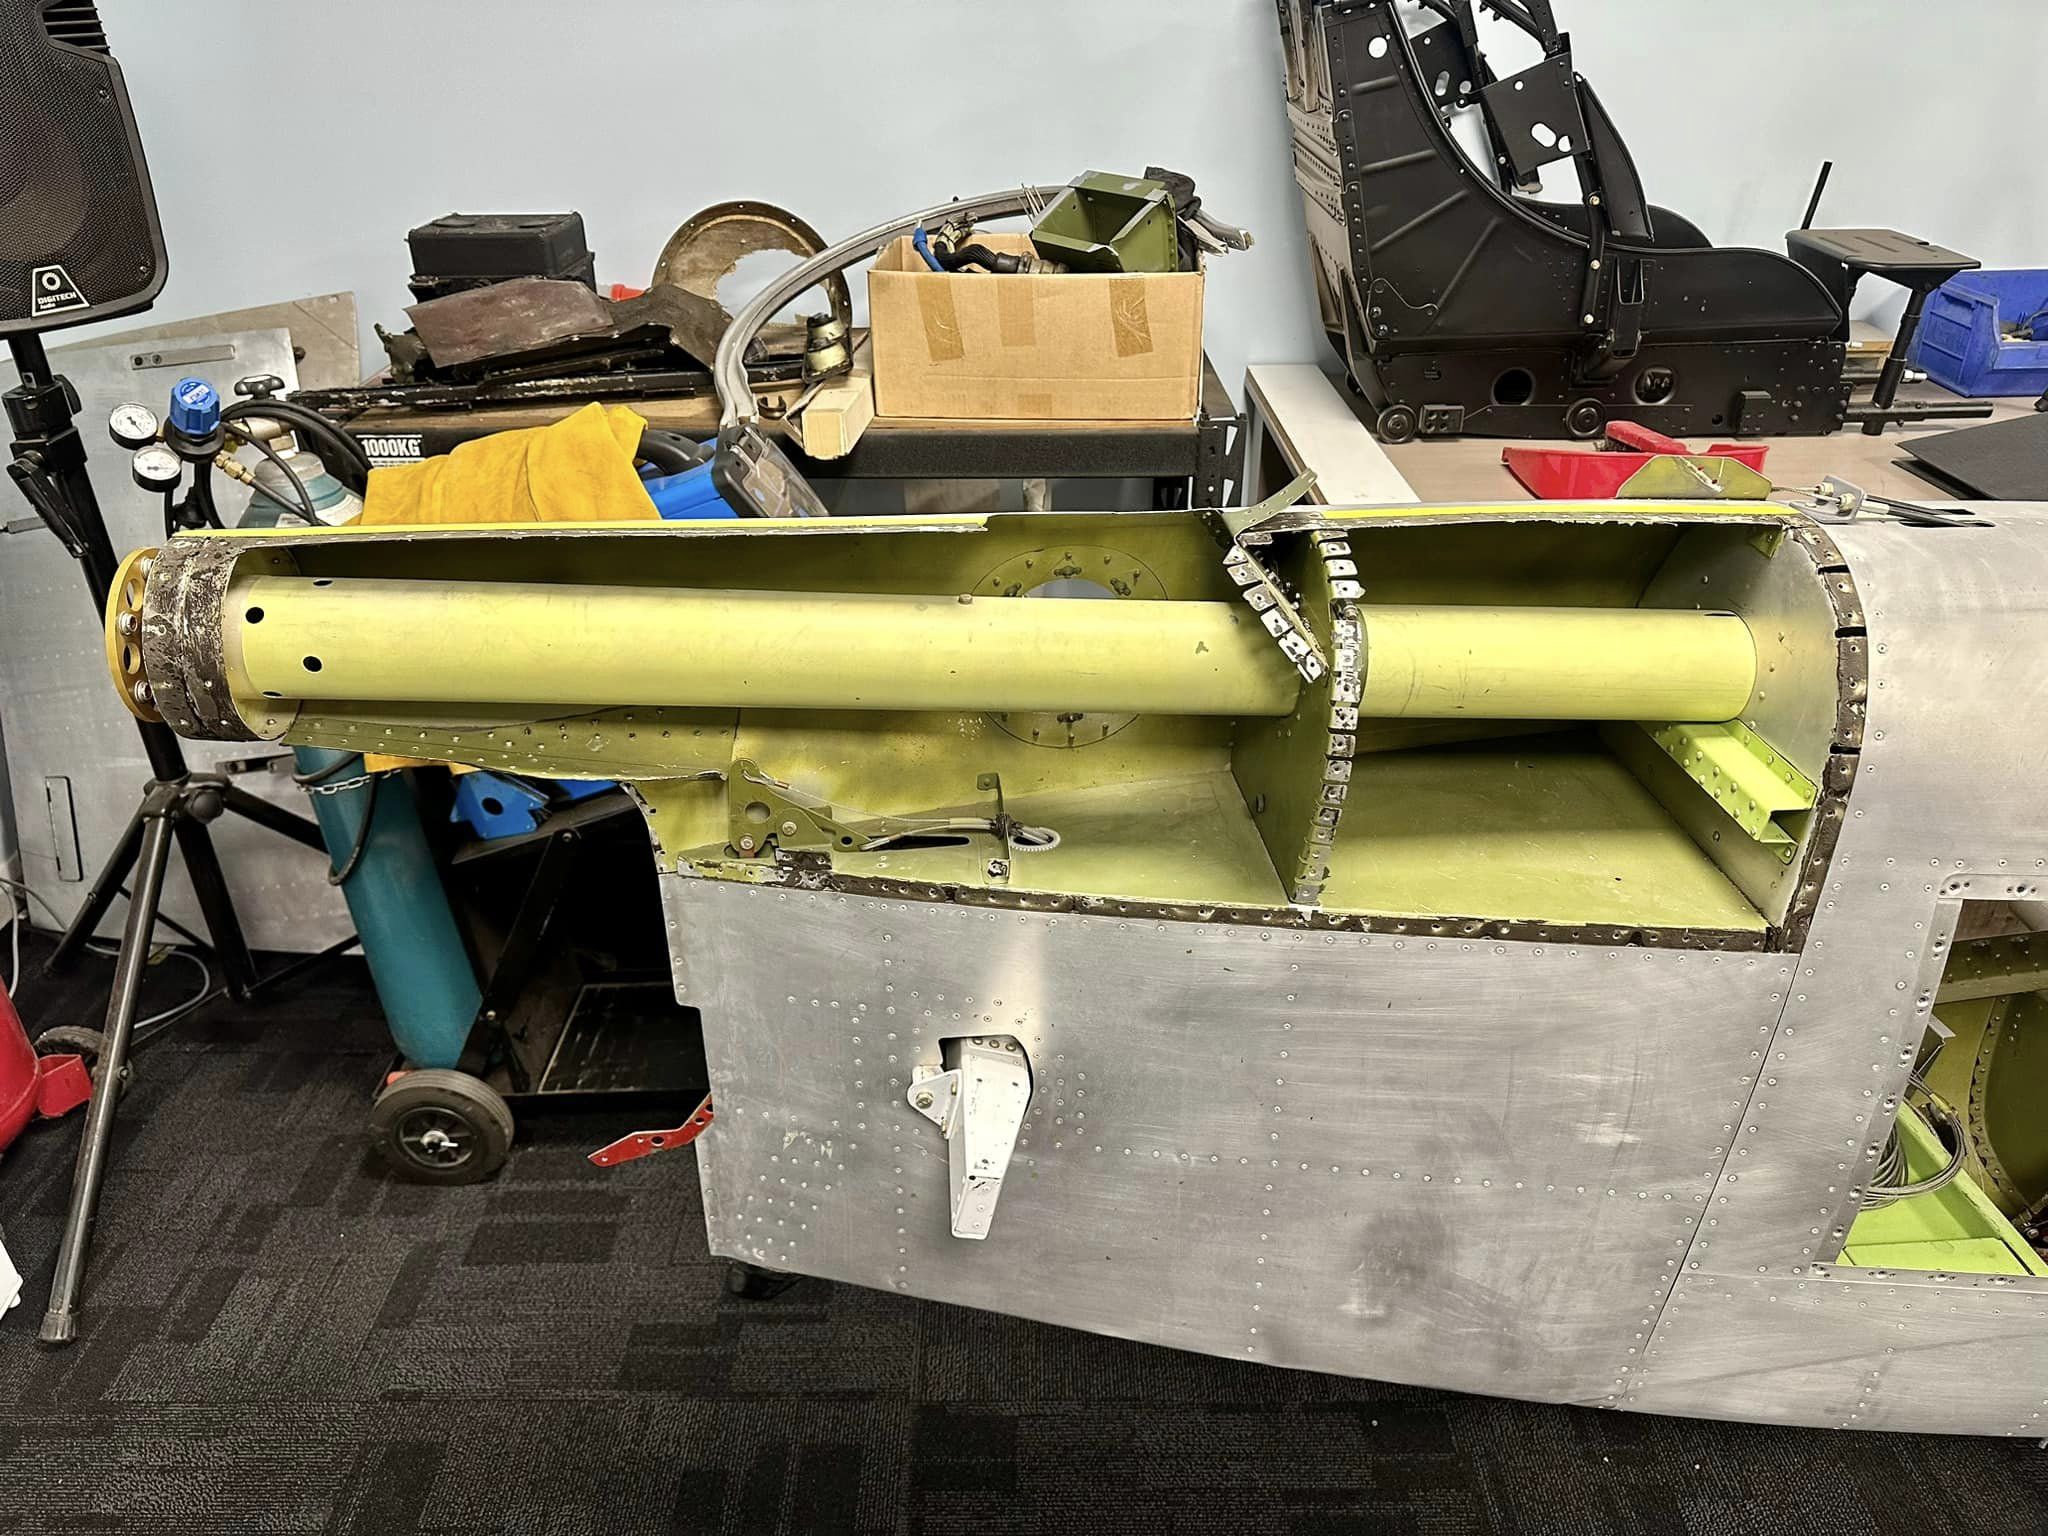
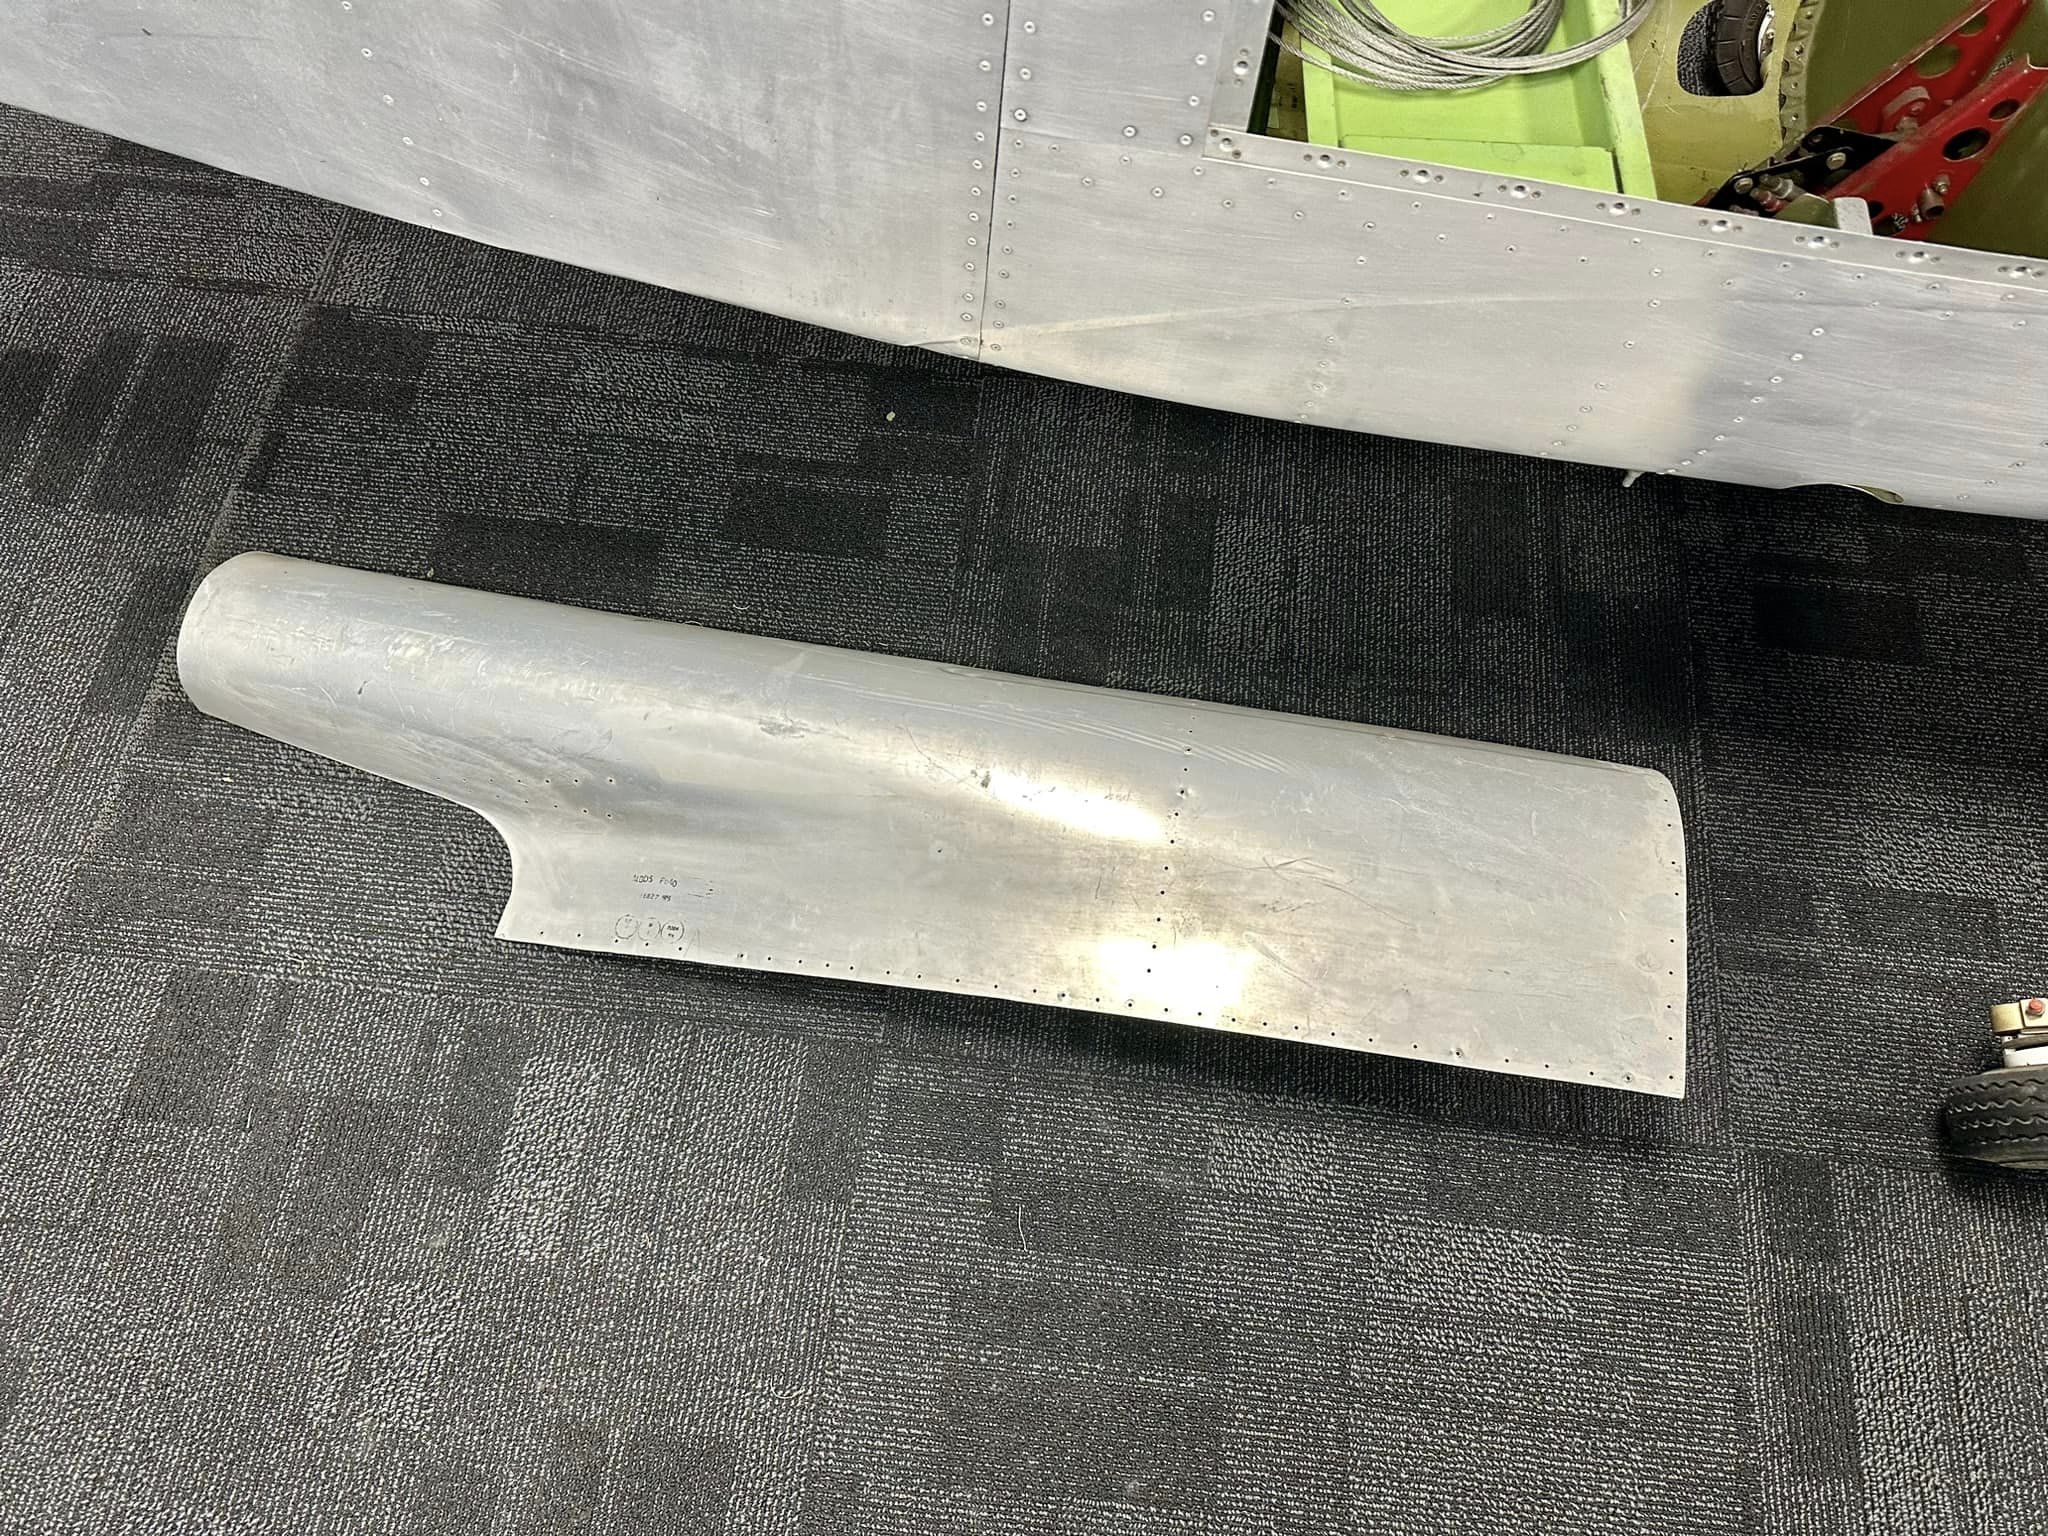
The rear upper right hand skin has now been removed from the airframe, with just the clean up of the pro-seal left to be completed. We can now proceed with removing the piston drive assembly and prop torque tube and supporting brackets. Once everything has been removed, we will then be in a position to commence the modifications to support the jet thrust tube assembly.
The removal of the upper skin was an absolute pain in the backside and after several days of trying to get the skin to separate, we gave up. The pro-seal proved to be far too effective and we reluctantly ended up cutting the skin and tearing it away from the Pro-Seal using a heat gun and a knife.
The end result was that all the mating surfaces had a thick layer of Pro-Seal that needs cleaning away, so not looking forward to that work.
 Keymaster
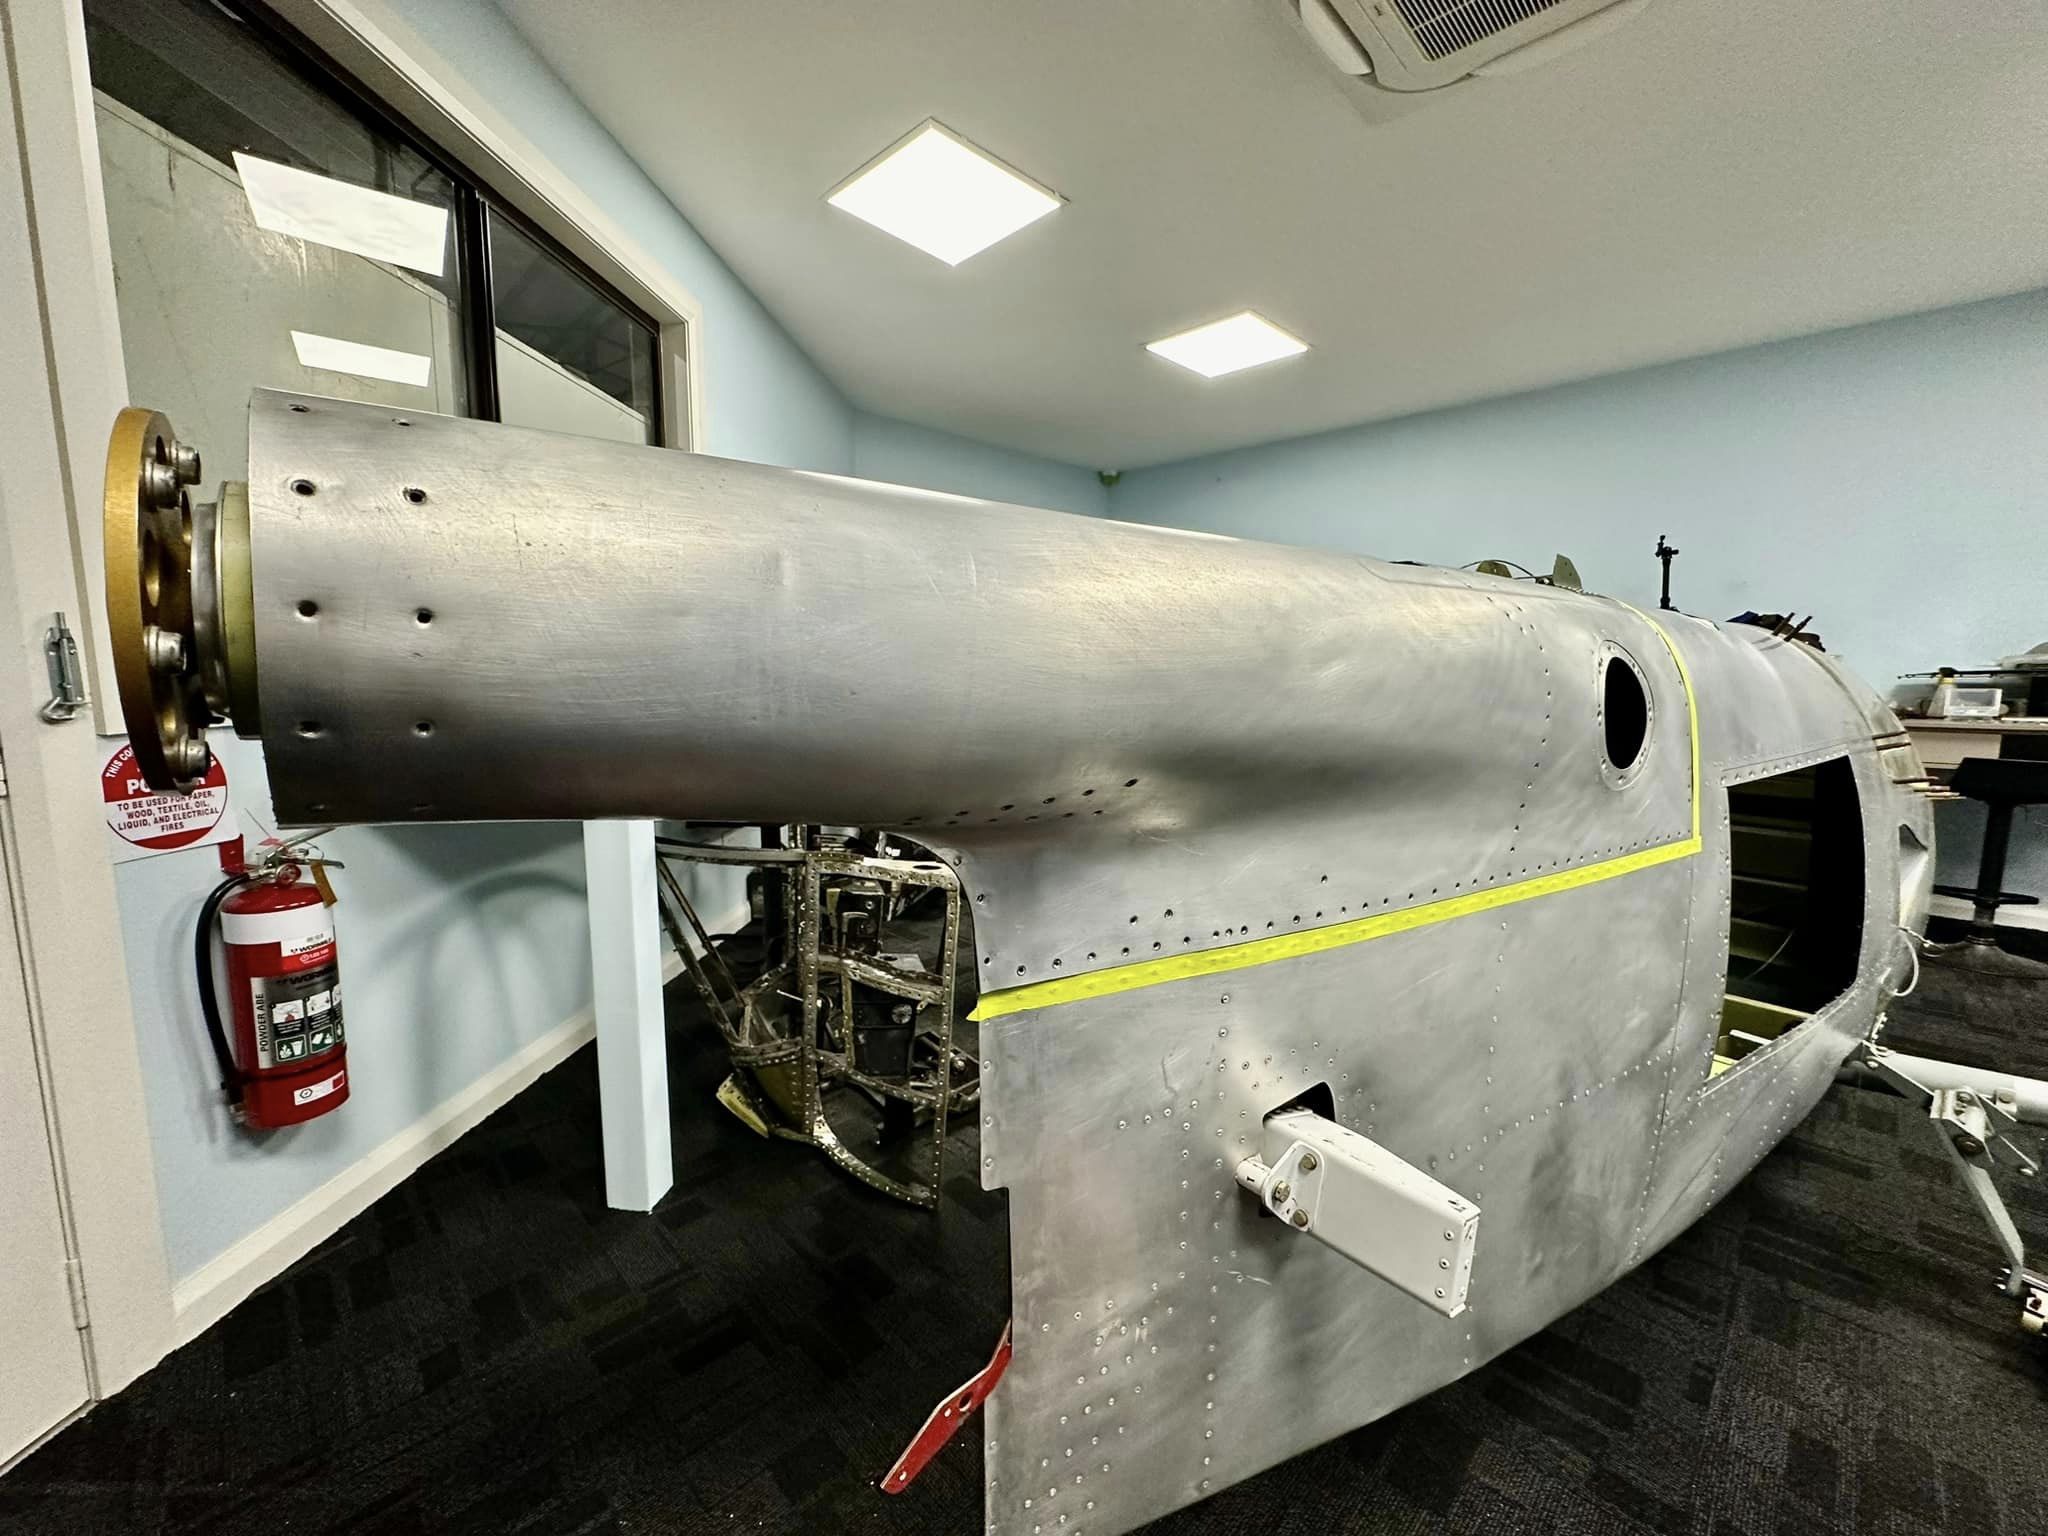
The team were able to get some time in this evening on the BD-5J Microjet. The focus at this time is to remove the rear upper right hand side fuselage skins, so that we have access to install the required modifications to convert the BD5 from a piston pusher to a jet aircraft. The skins on the BD5 are quite thin and are both bonded with Pro-Seal and mechanically riveted. To remove the skin you need patience and a gentle hand, to ensure the skins are not damaged to due aggressive manipulation.

 Keymaster
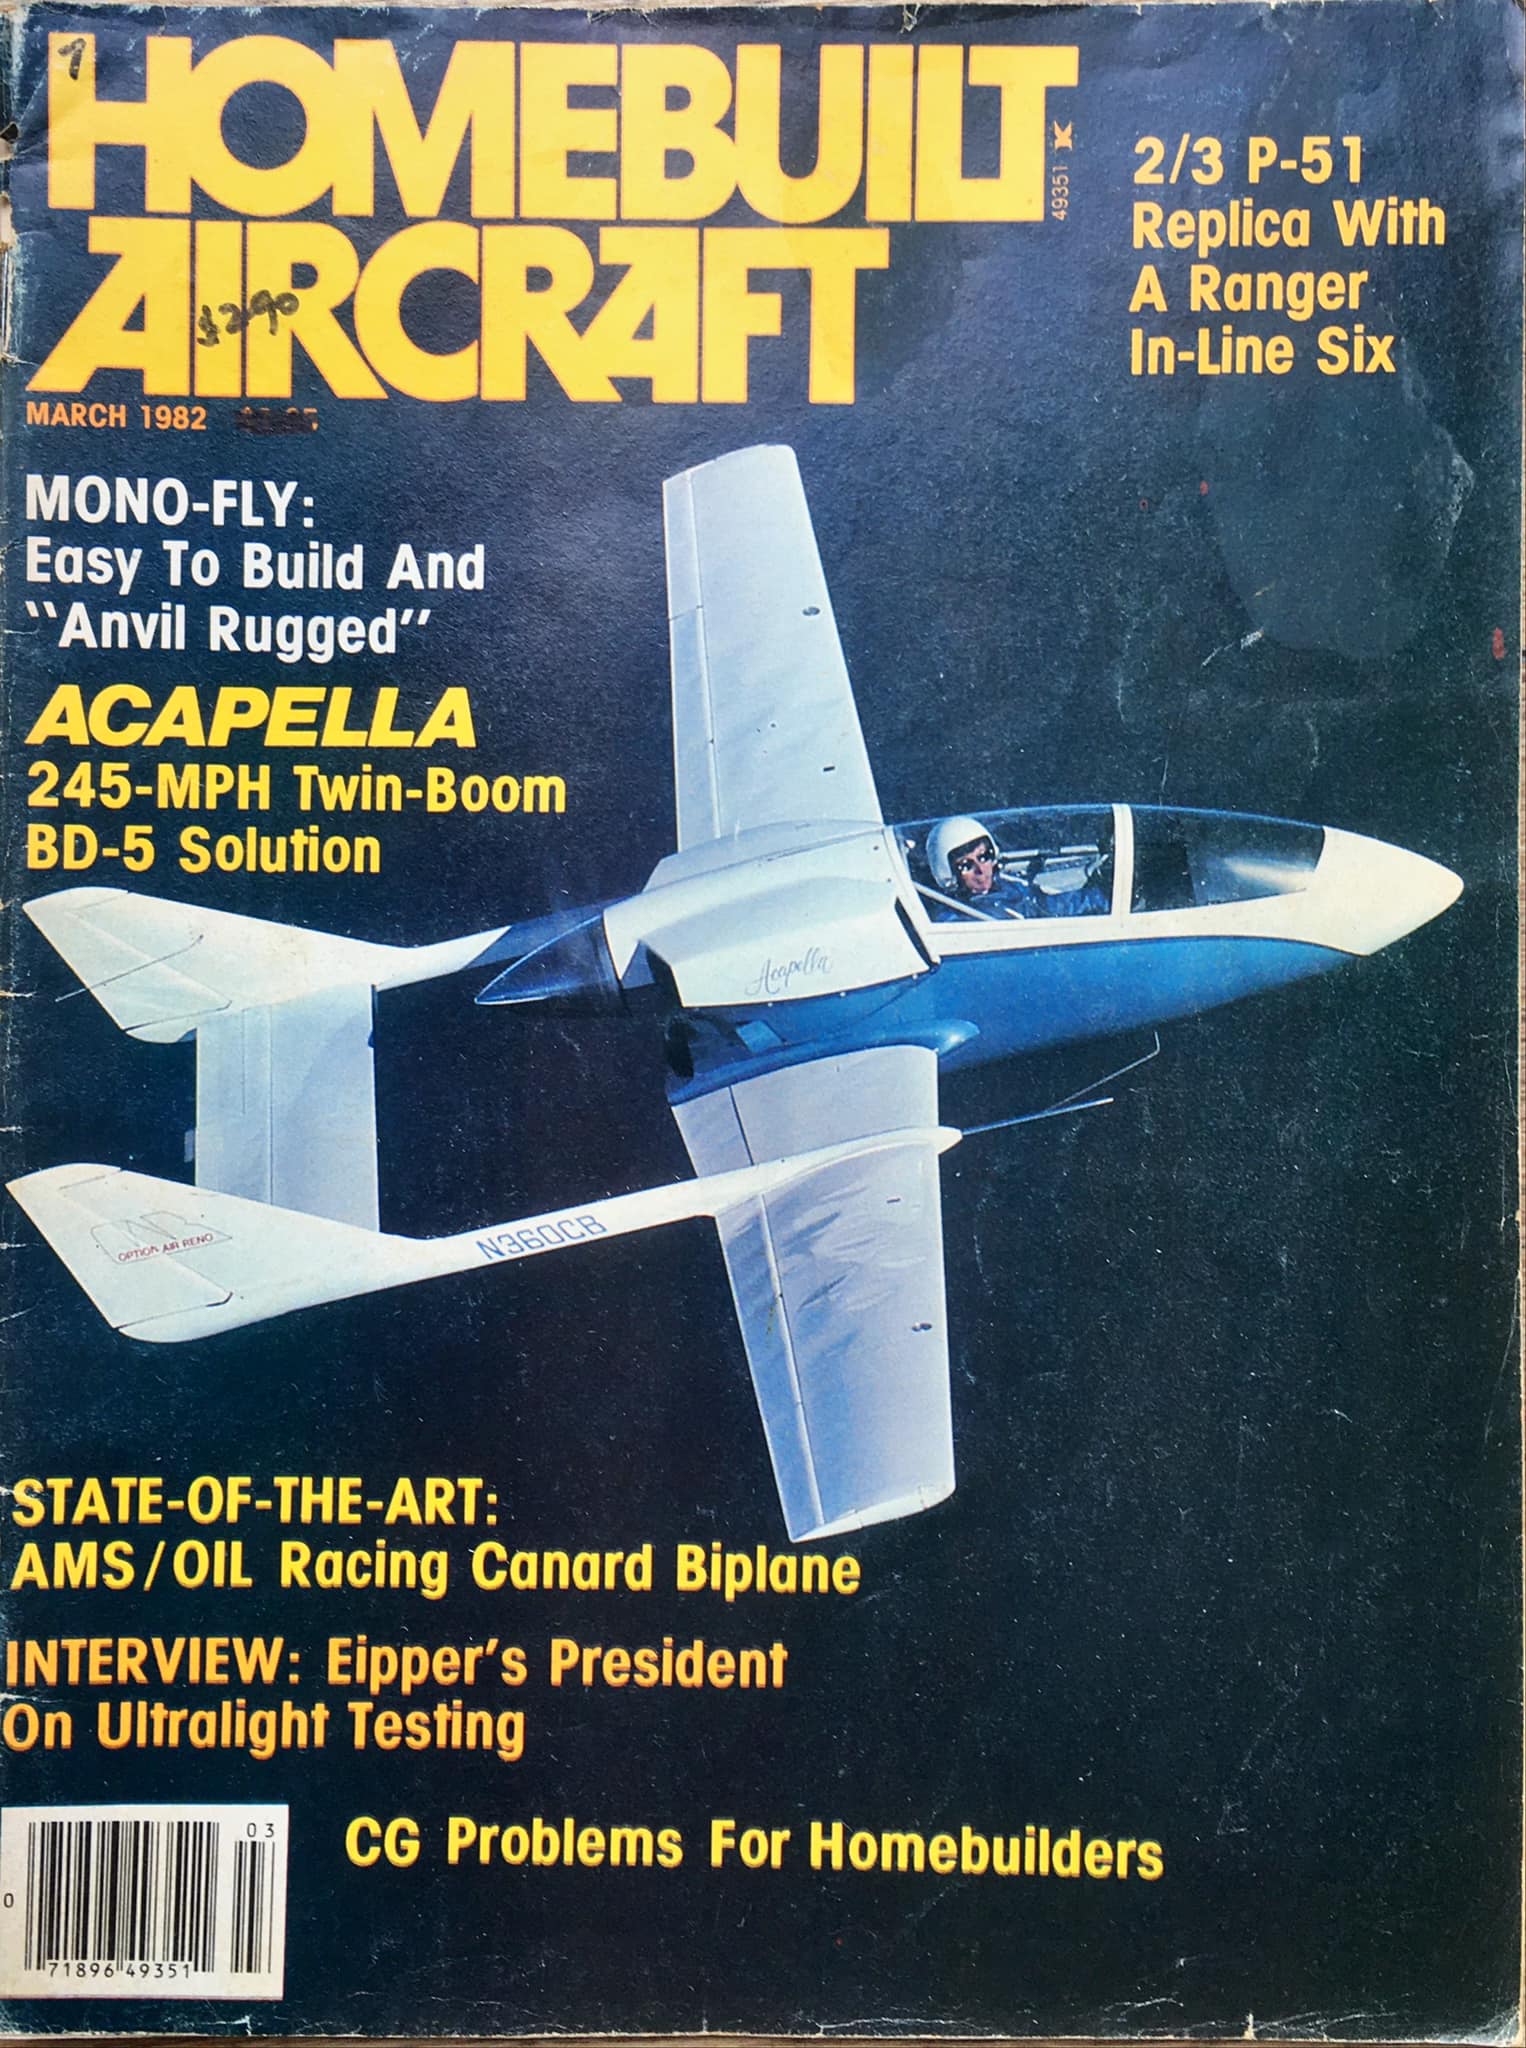
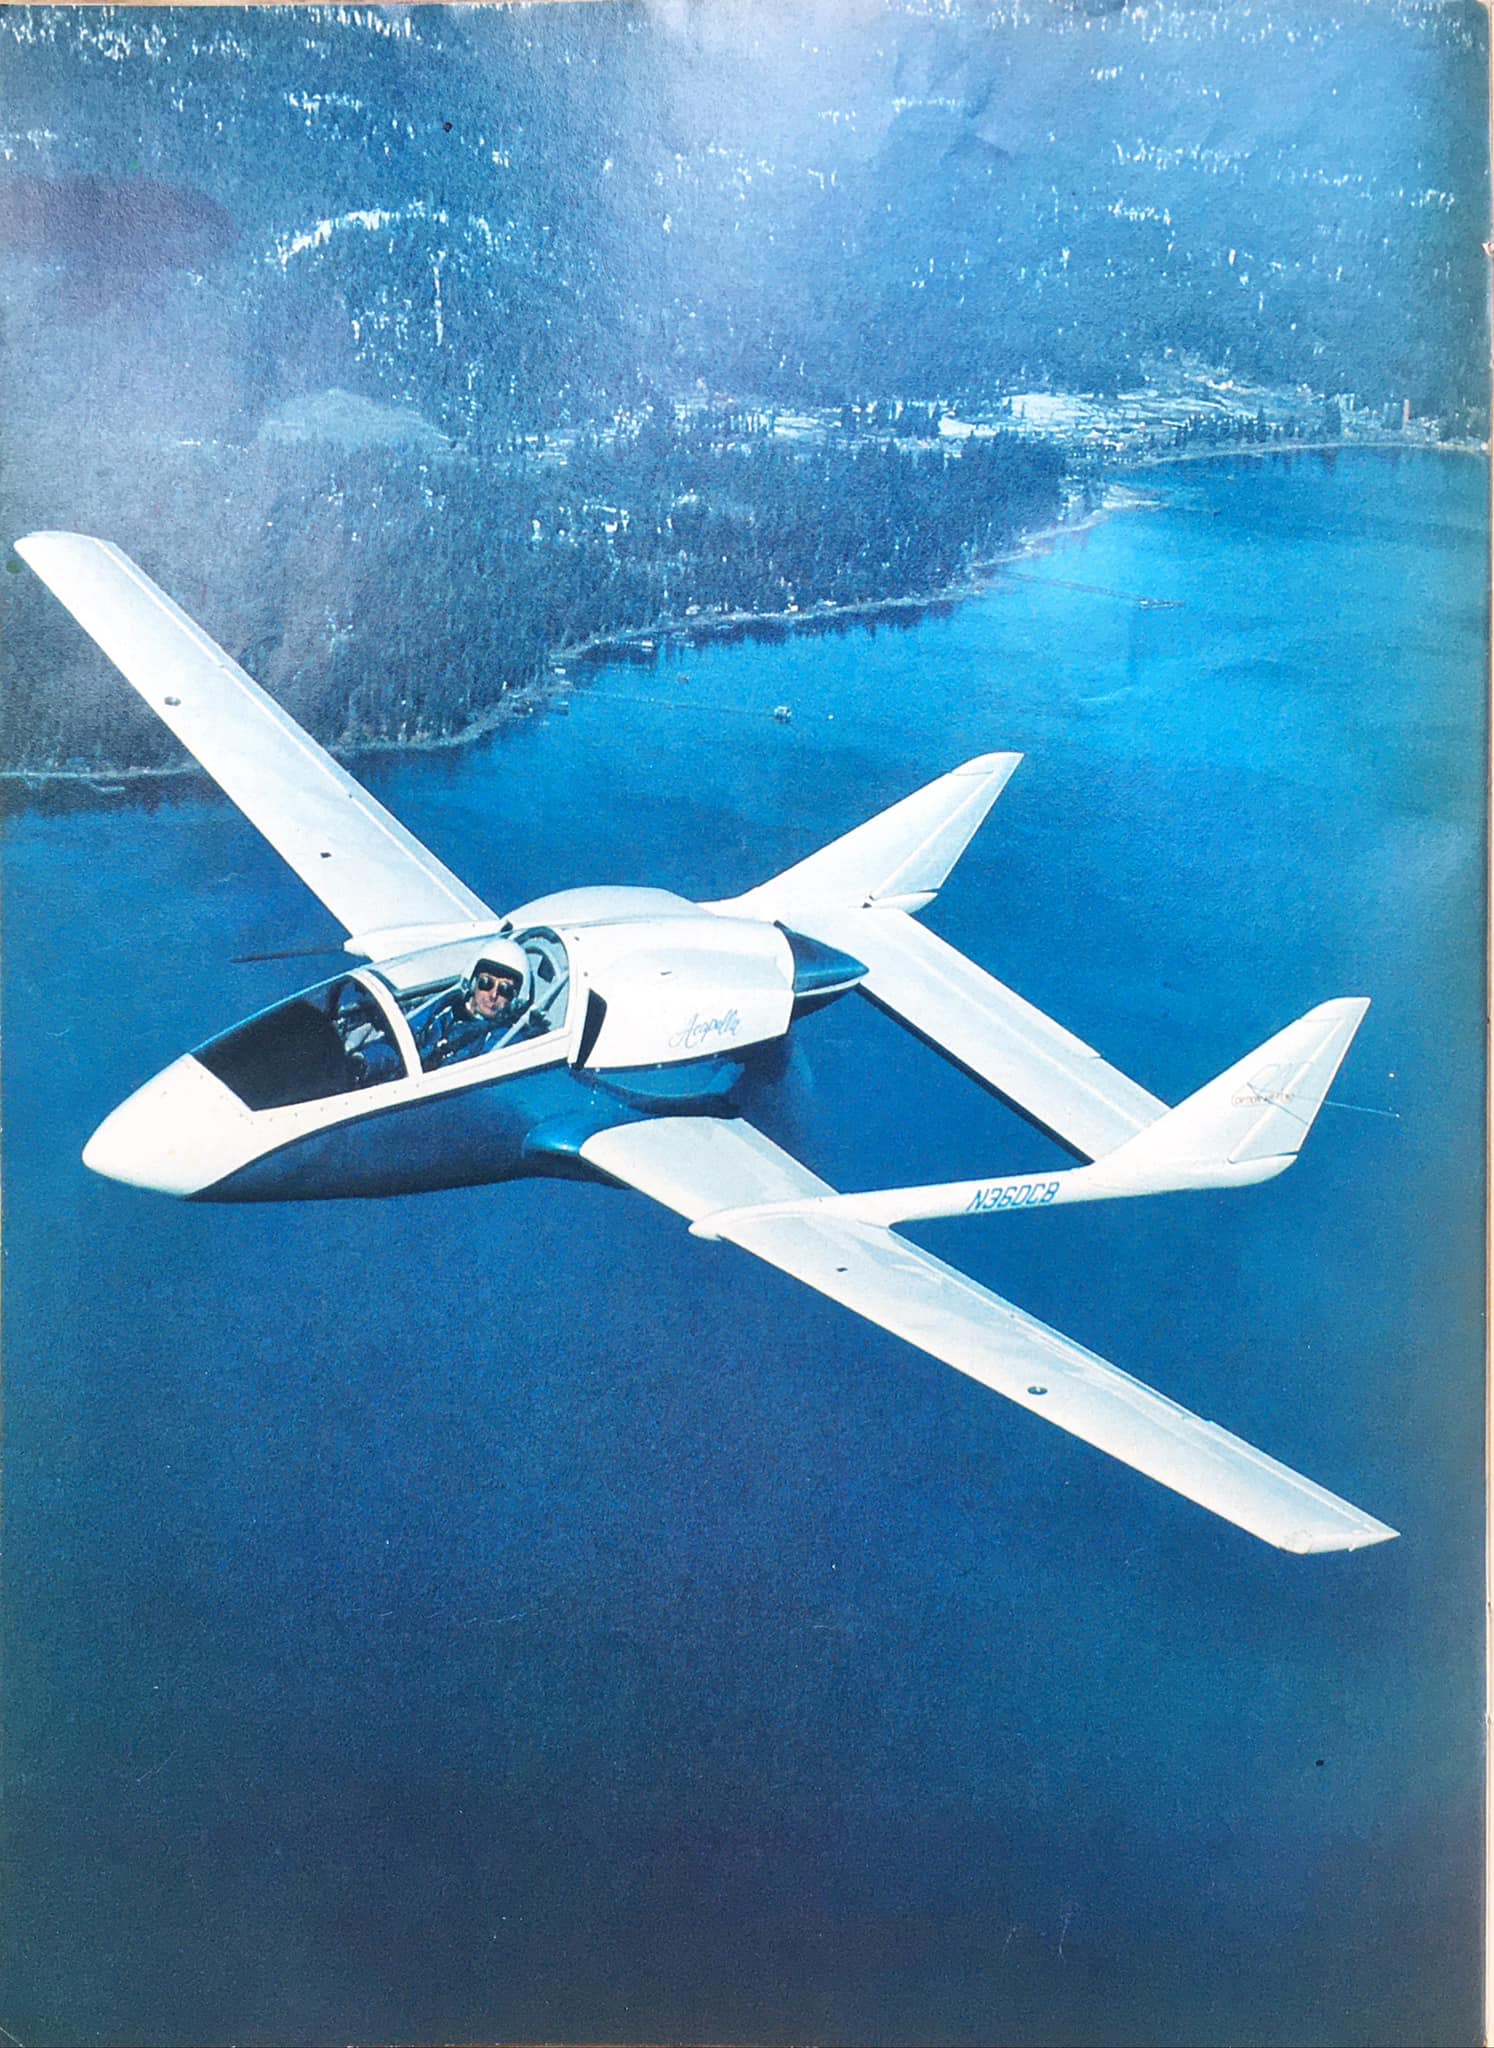
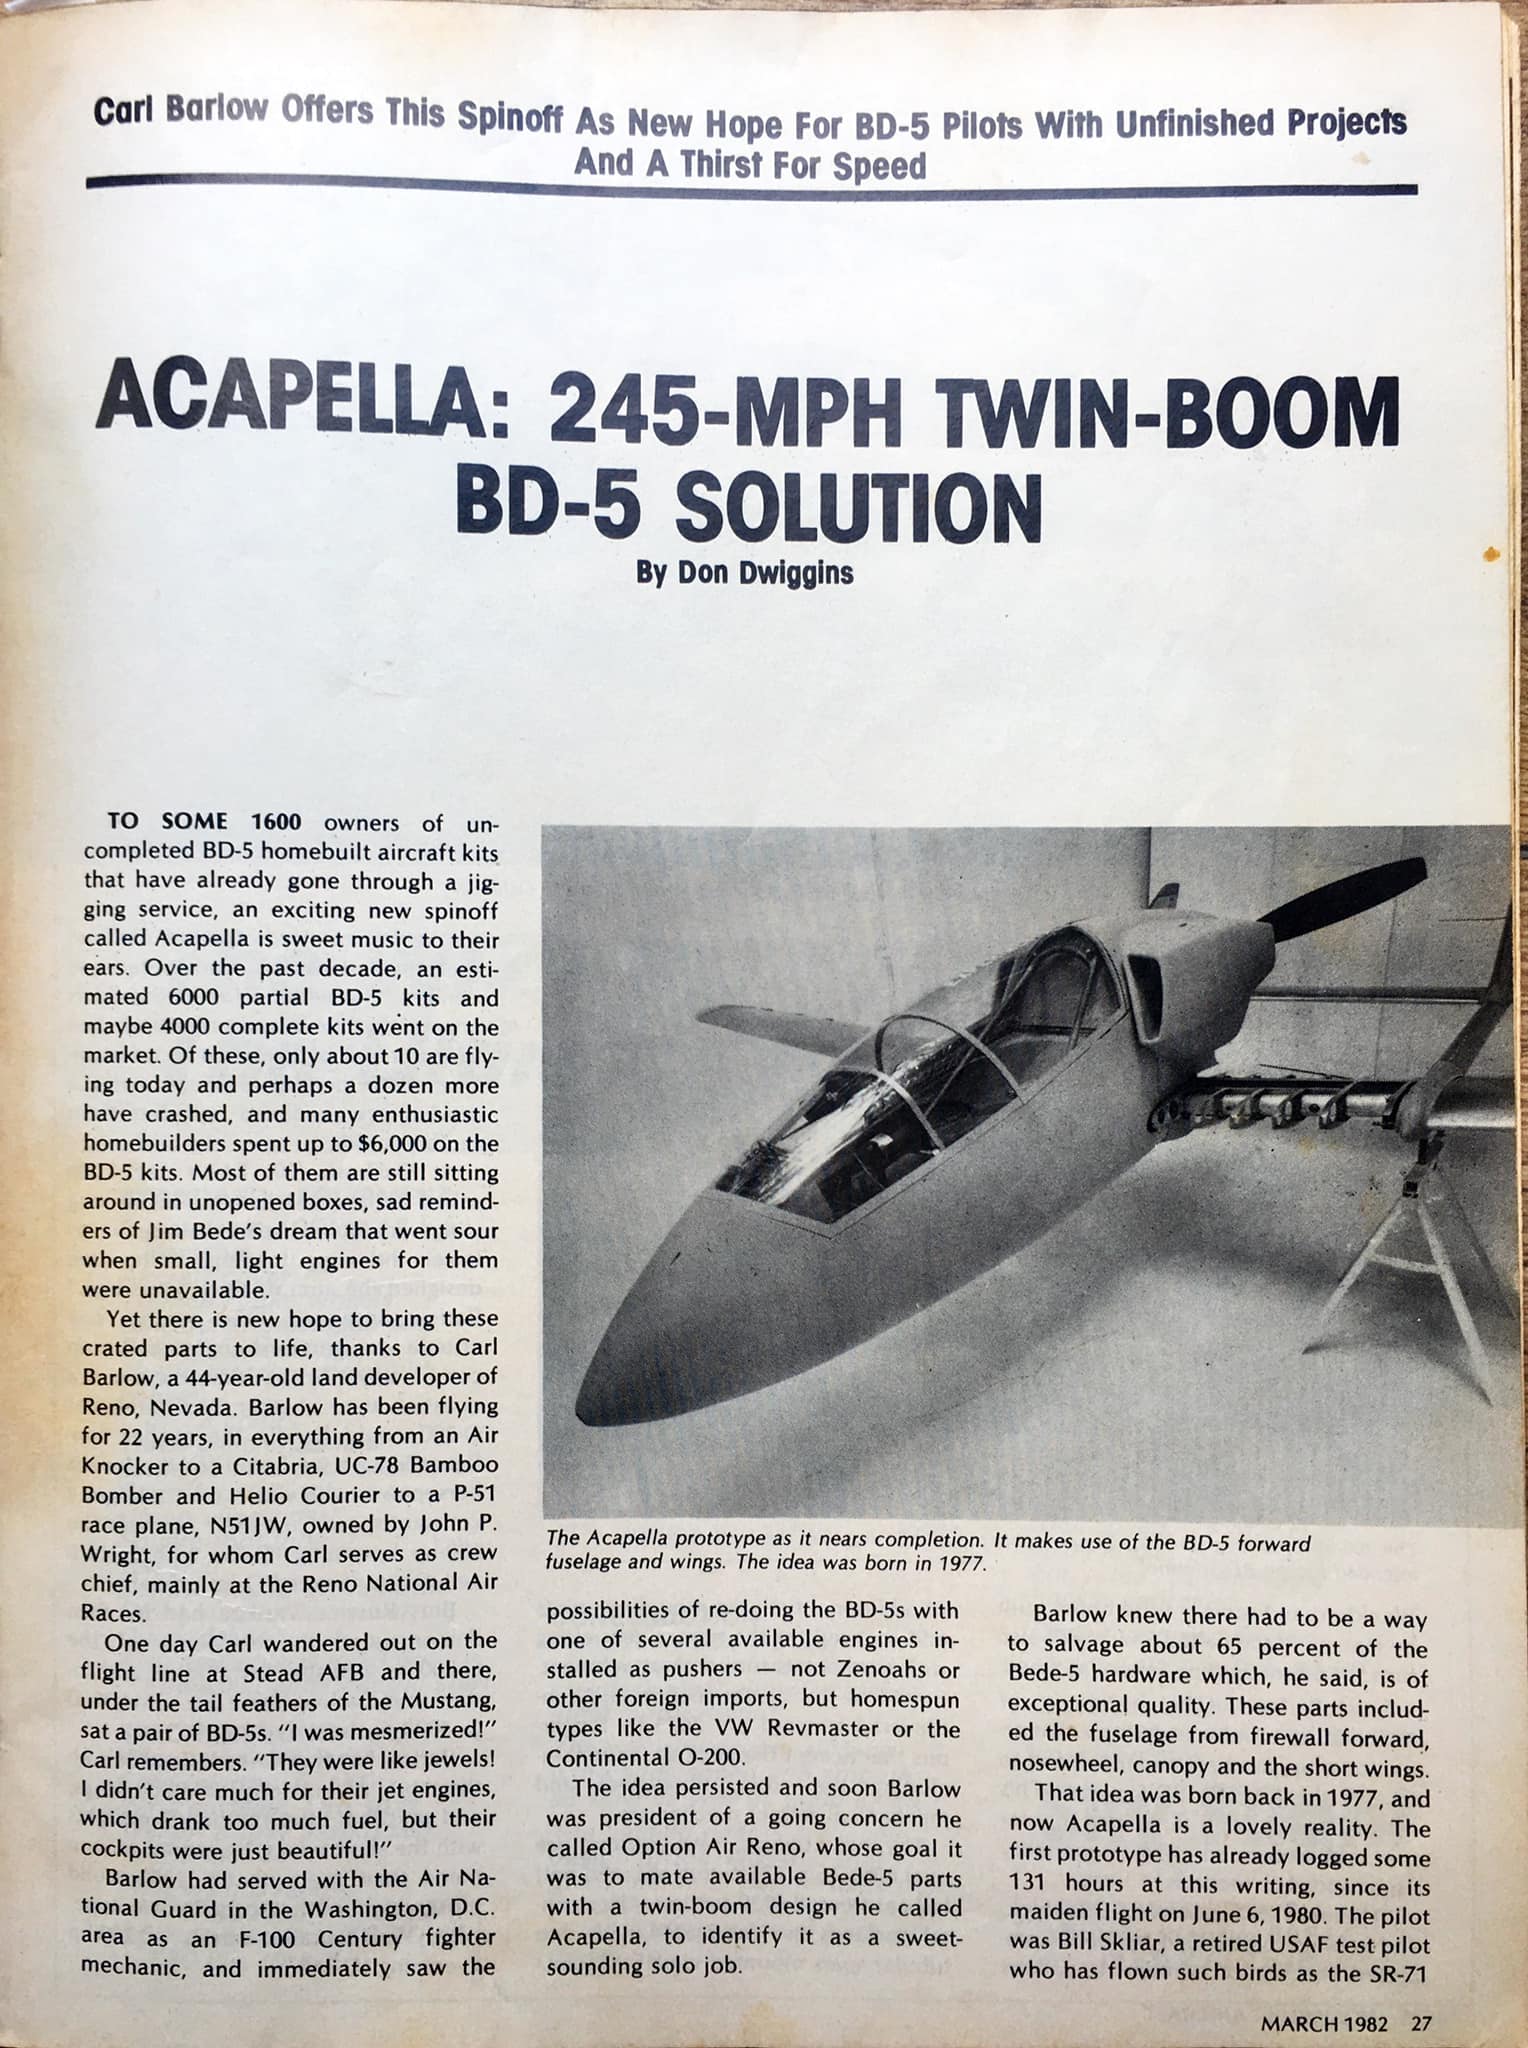
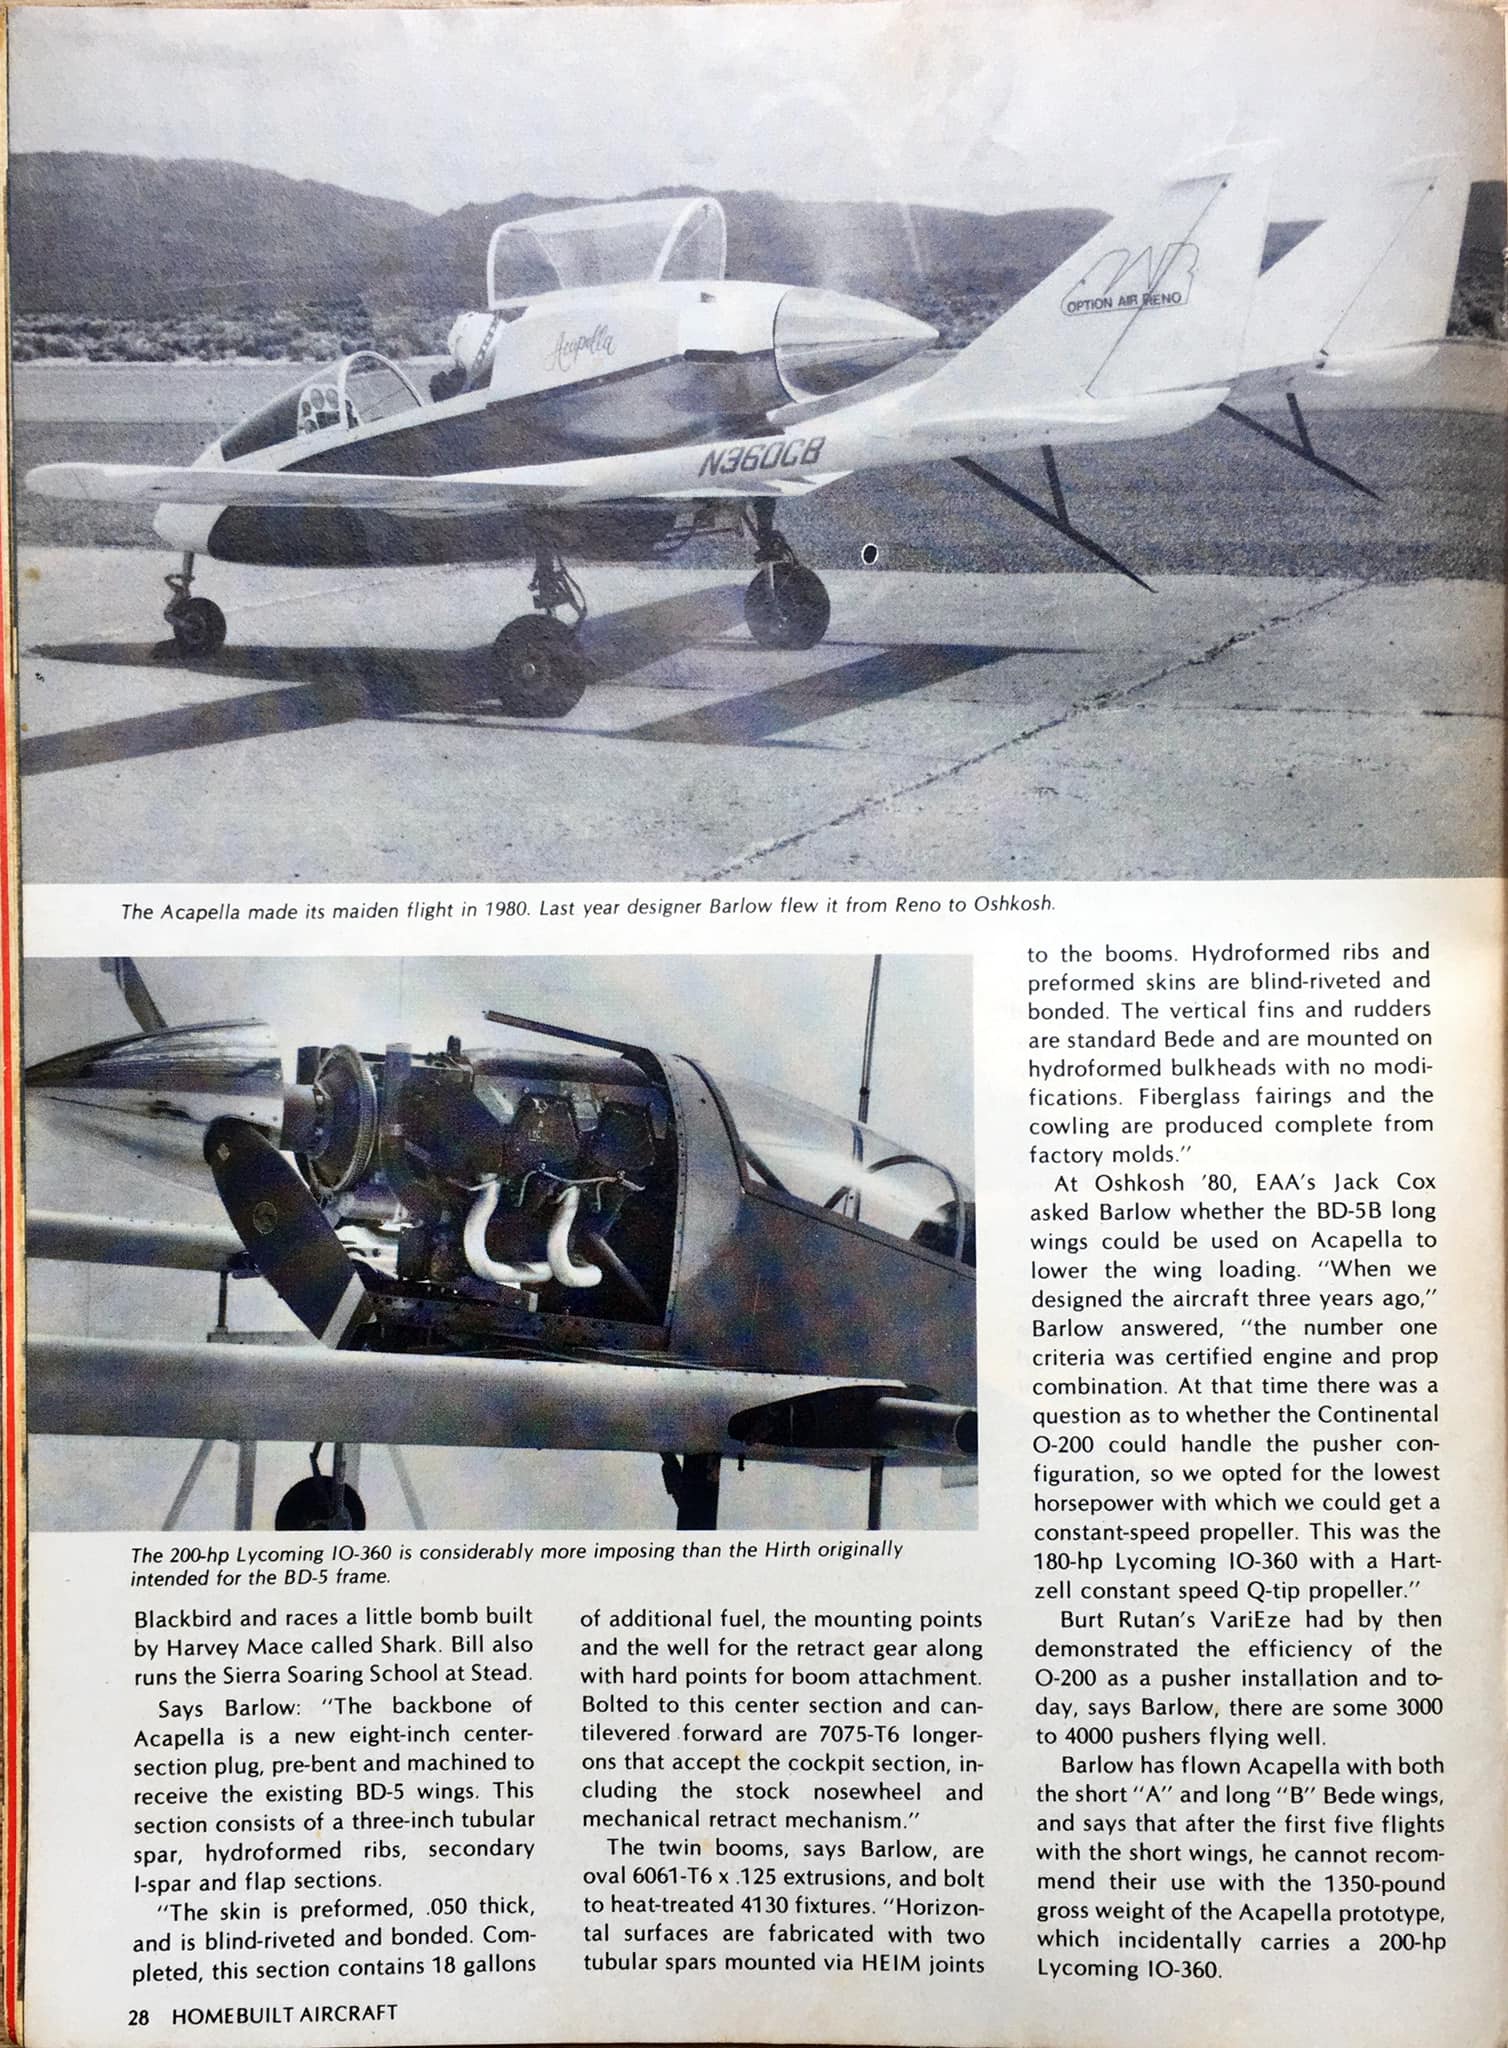
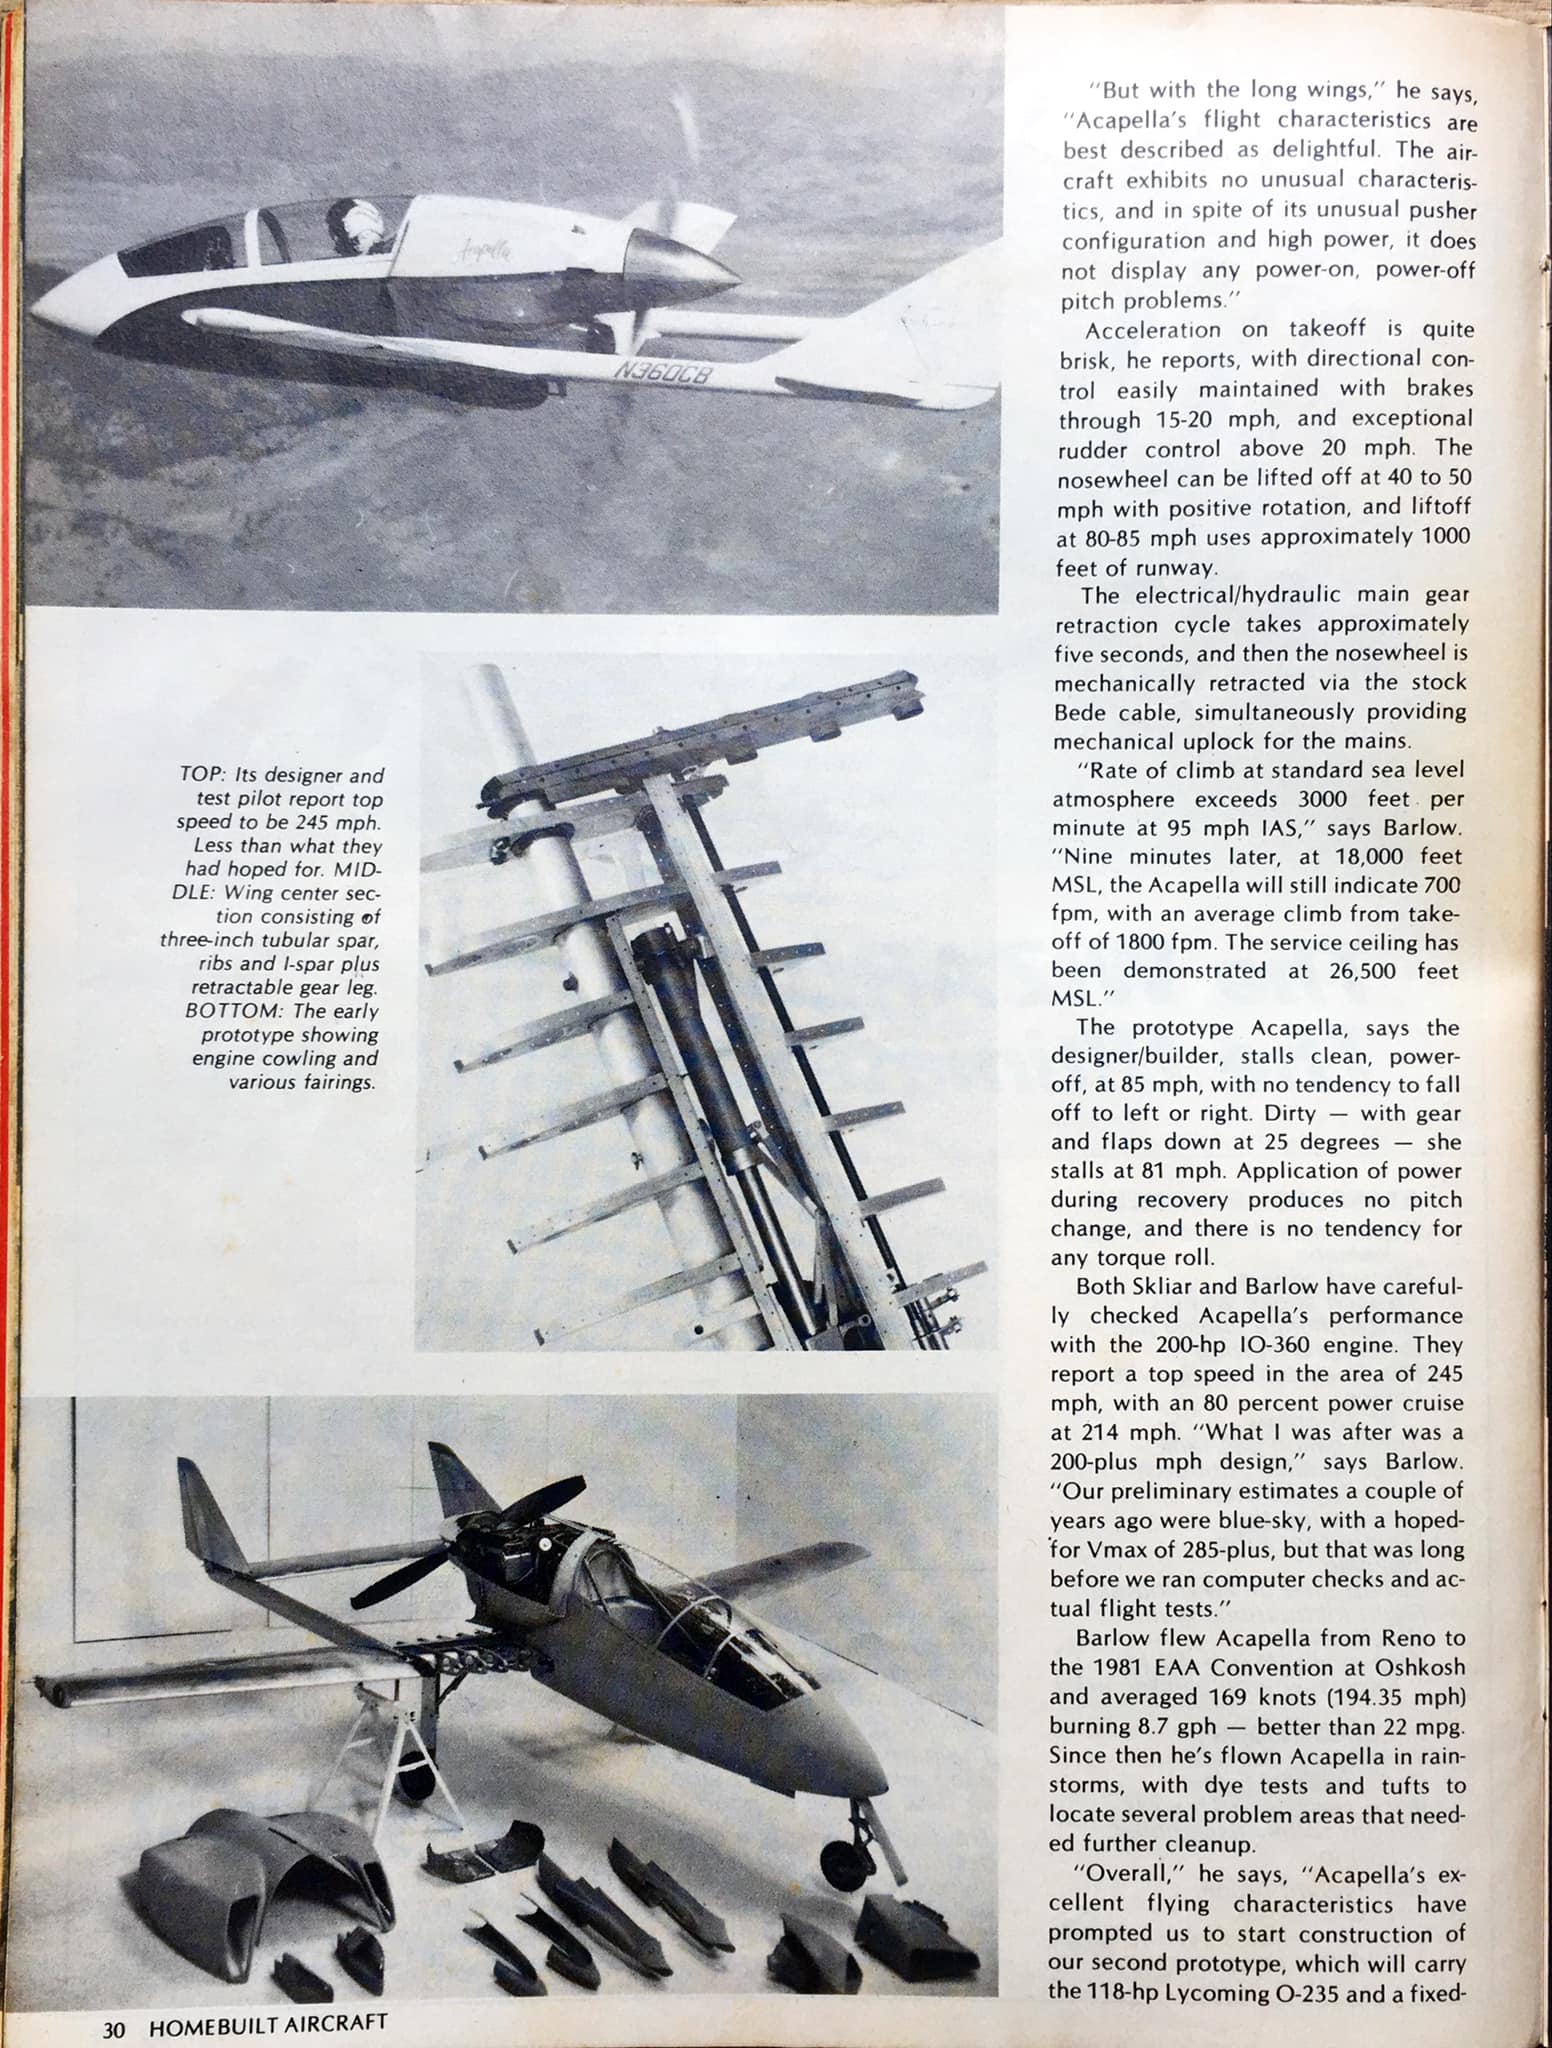
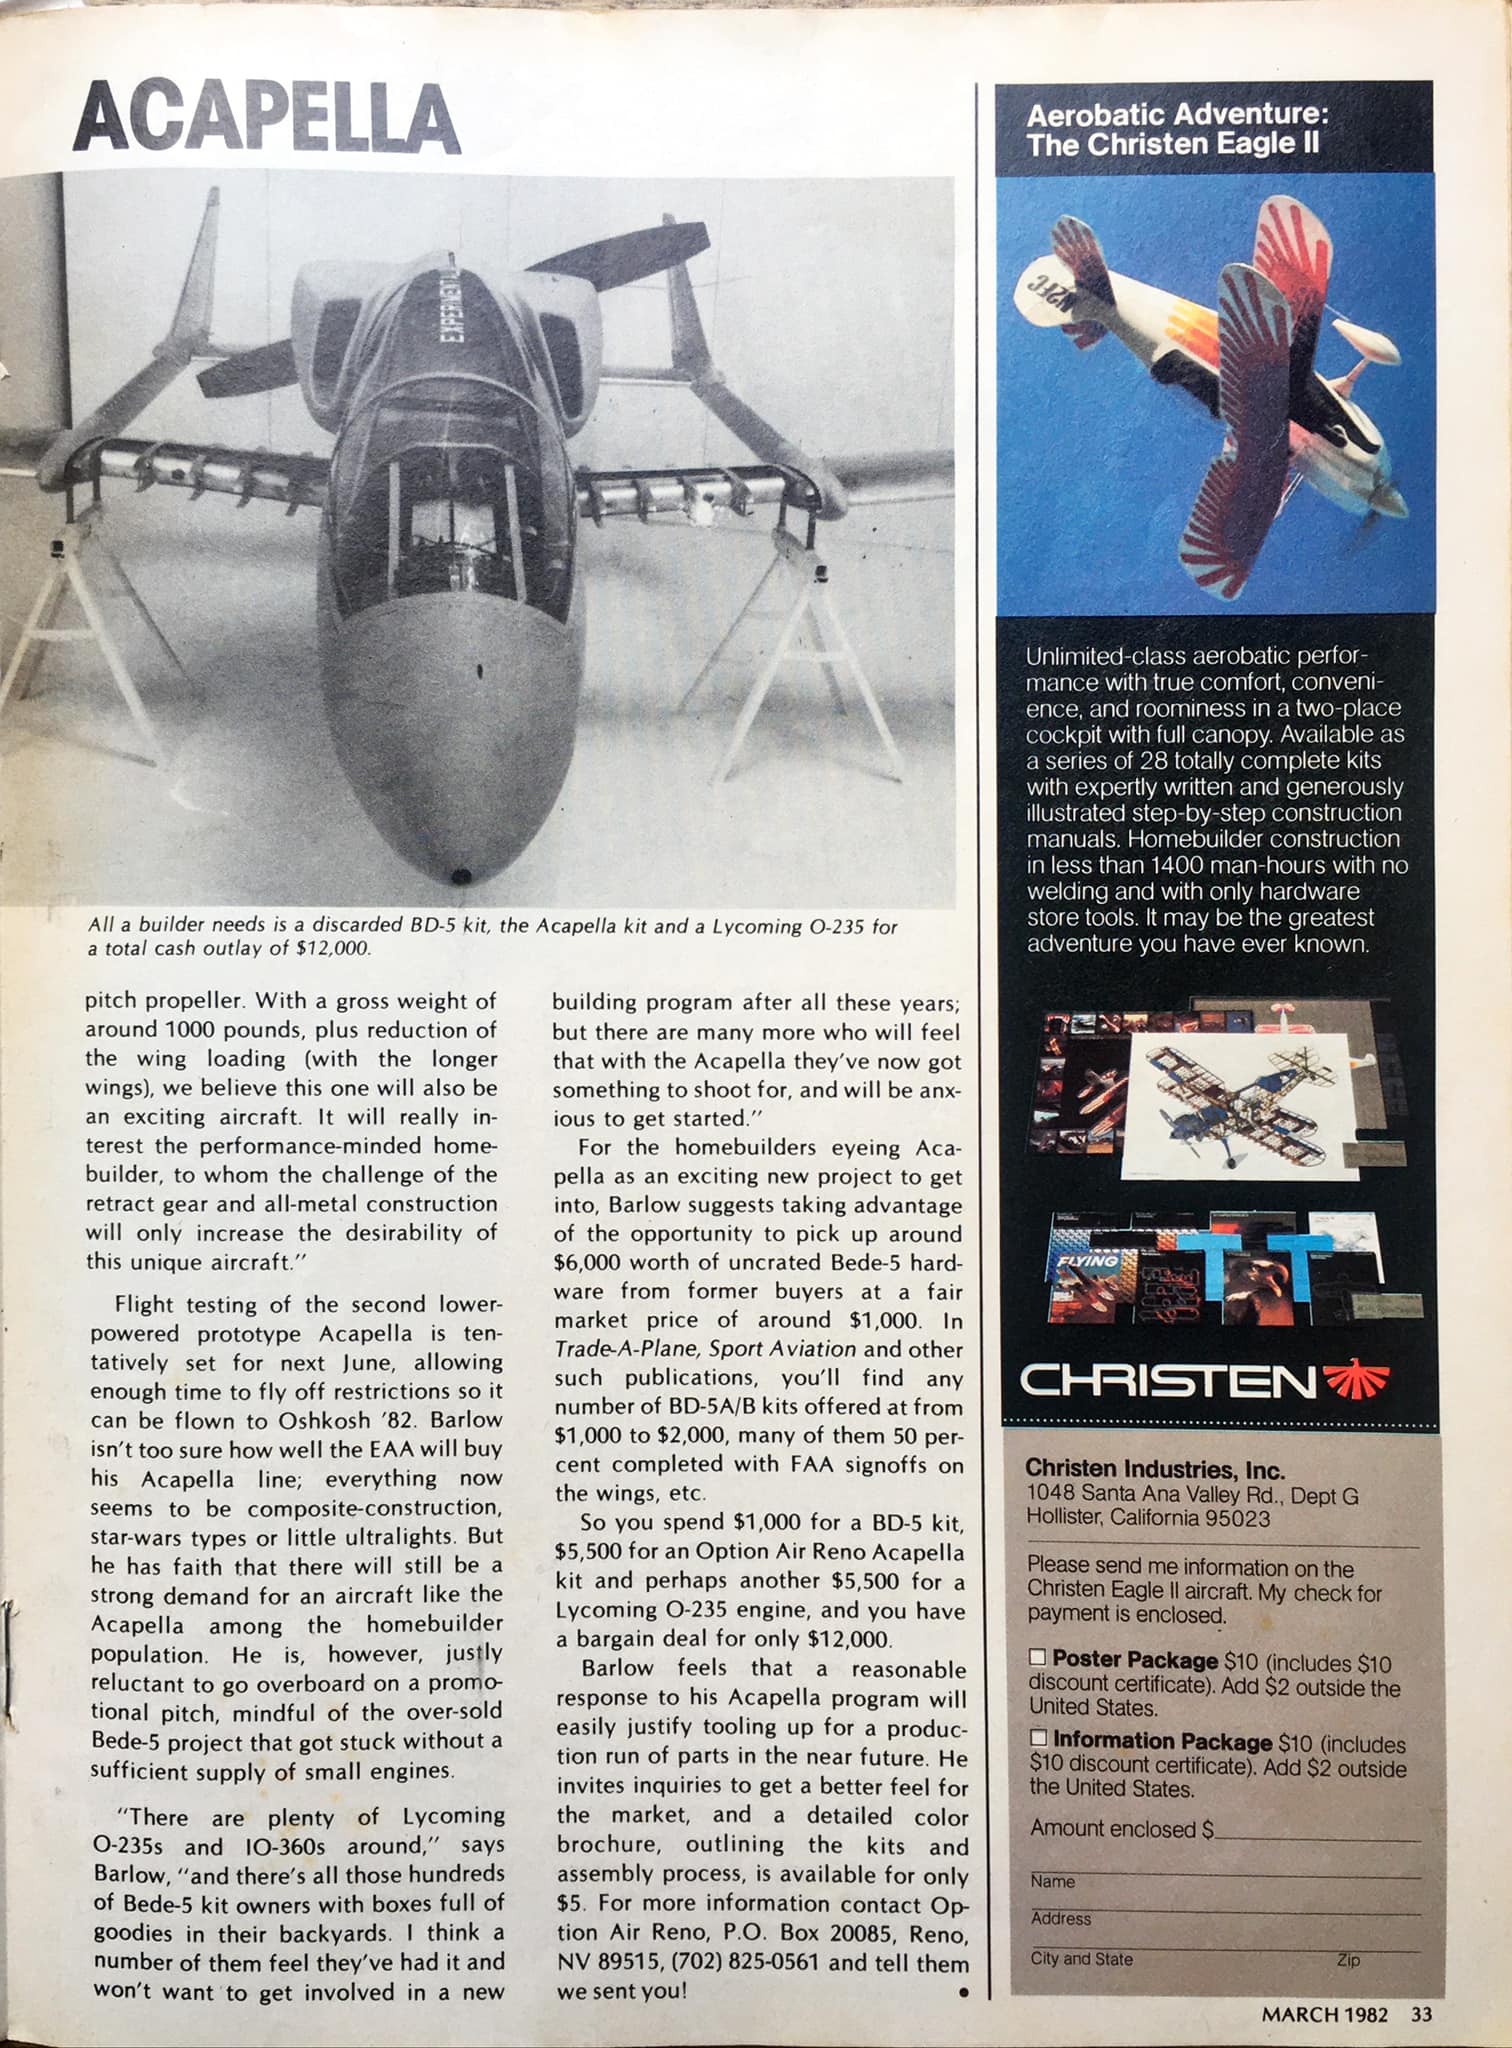
Article on the Acapella, published by Homebuilt Aircraft magazine, March 1982.
 Keymaster
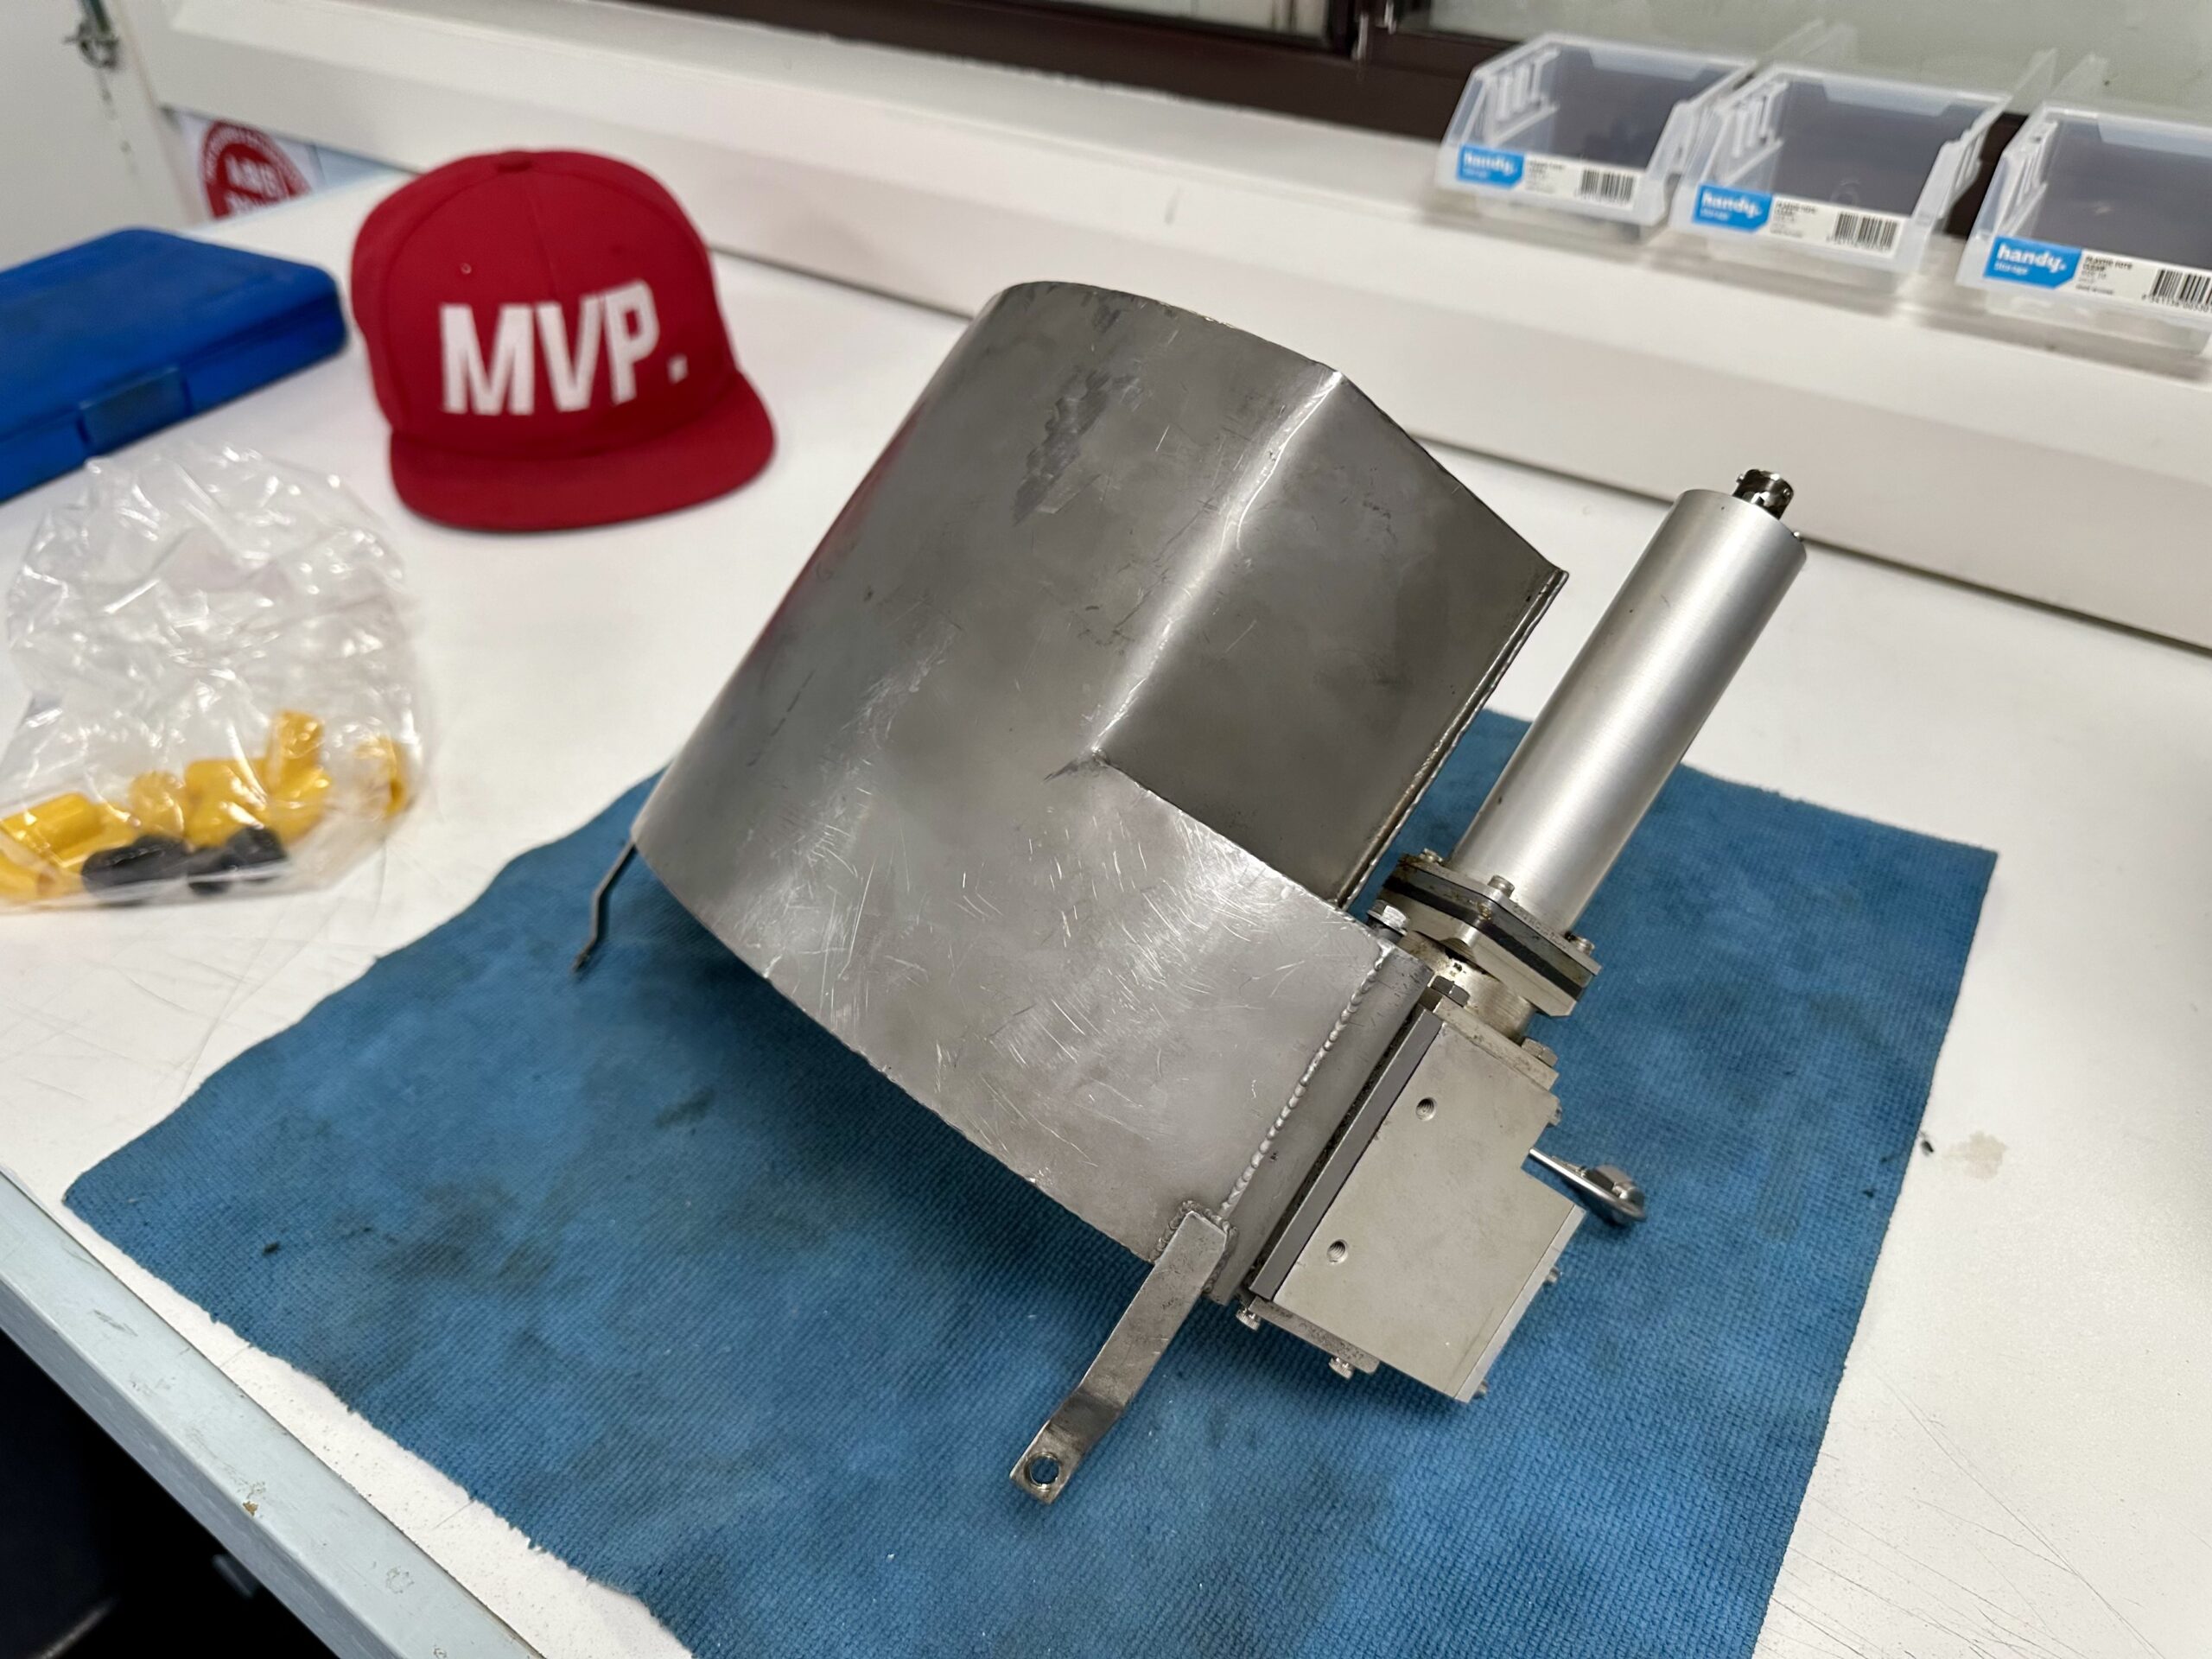
Oil tank reservoir (2.85litres) and oil pulse pump from the NPT301. The 12v pump supplies two turbine shaft bearings (front and rear) with a continuous flow of oil at one pulse per second (60 pulses a minute), independent of turbine speed. Pump volume supplied is 570ml per hour. Oil supply is total loss and system has 2 hours endurance with 30 min reserve.
 Keymaster
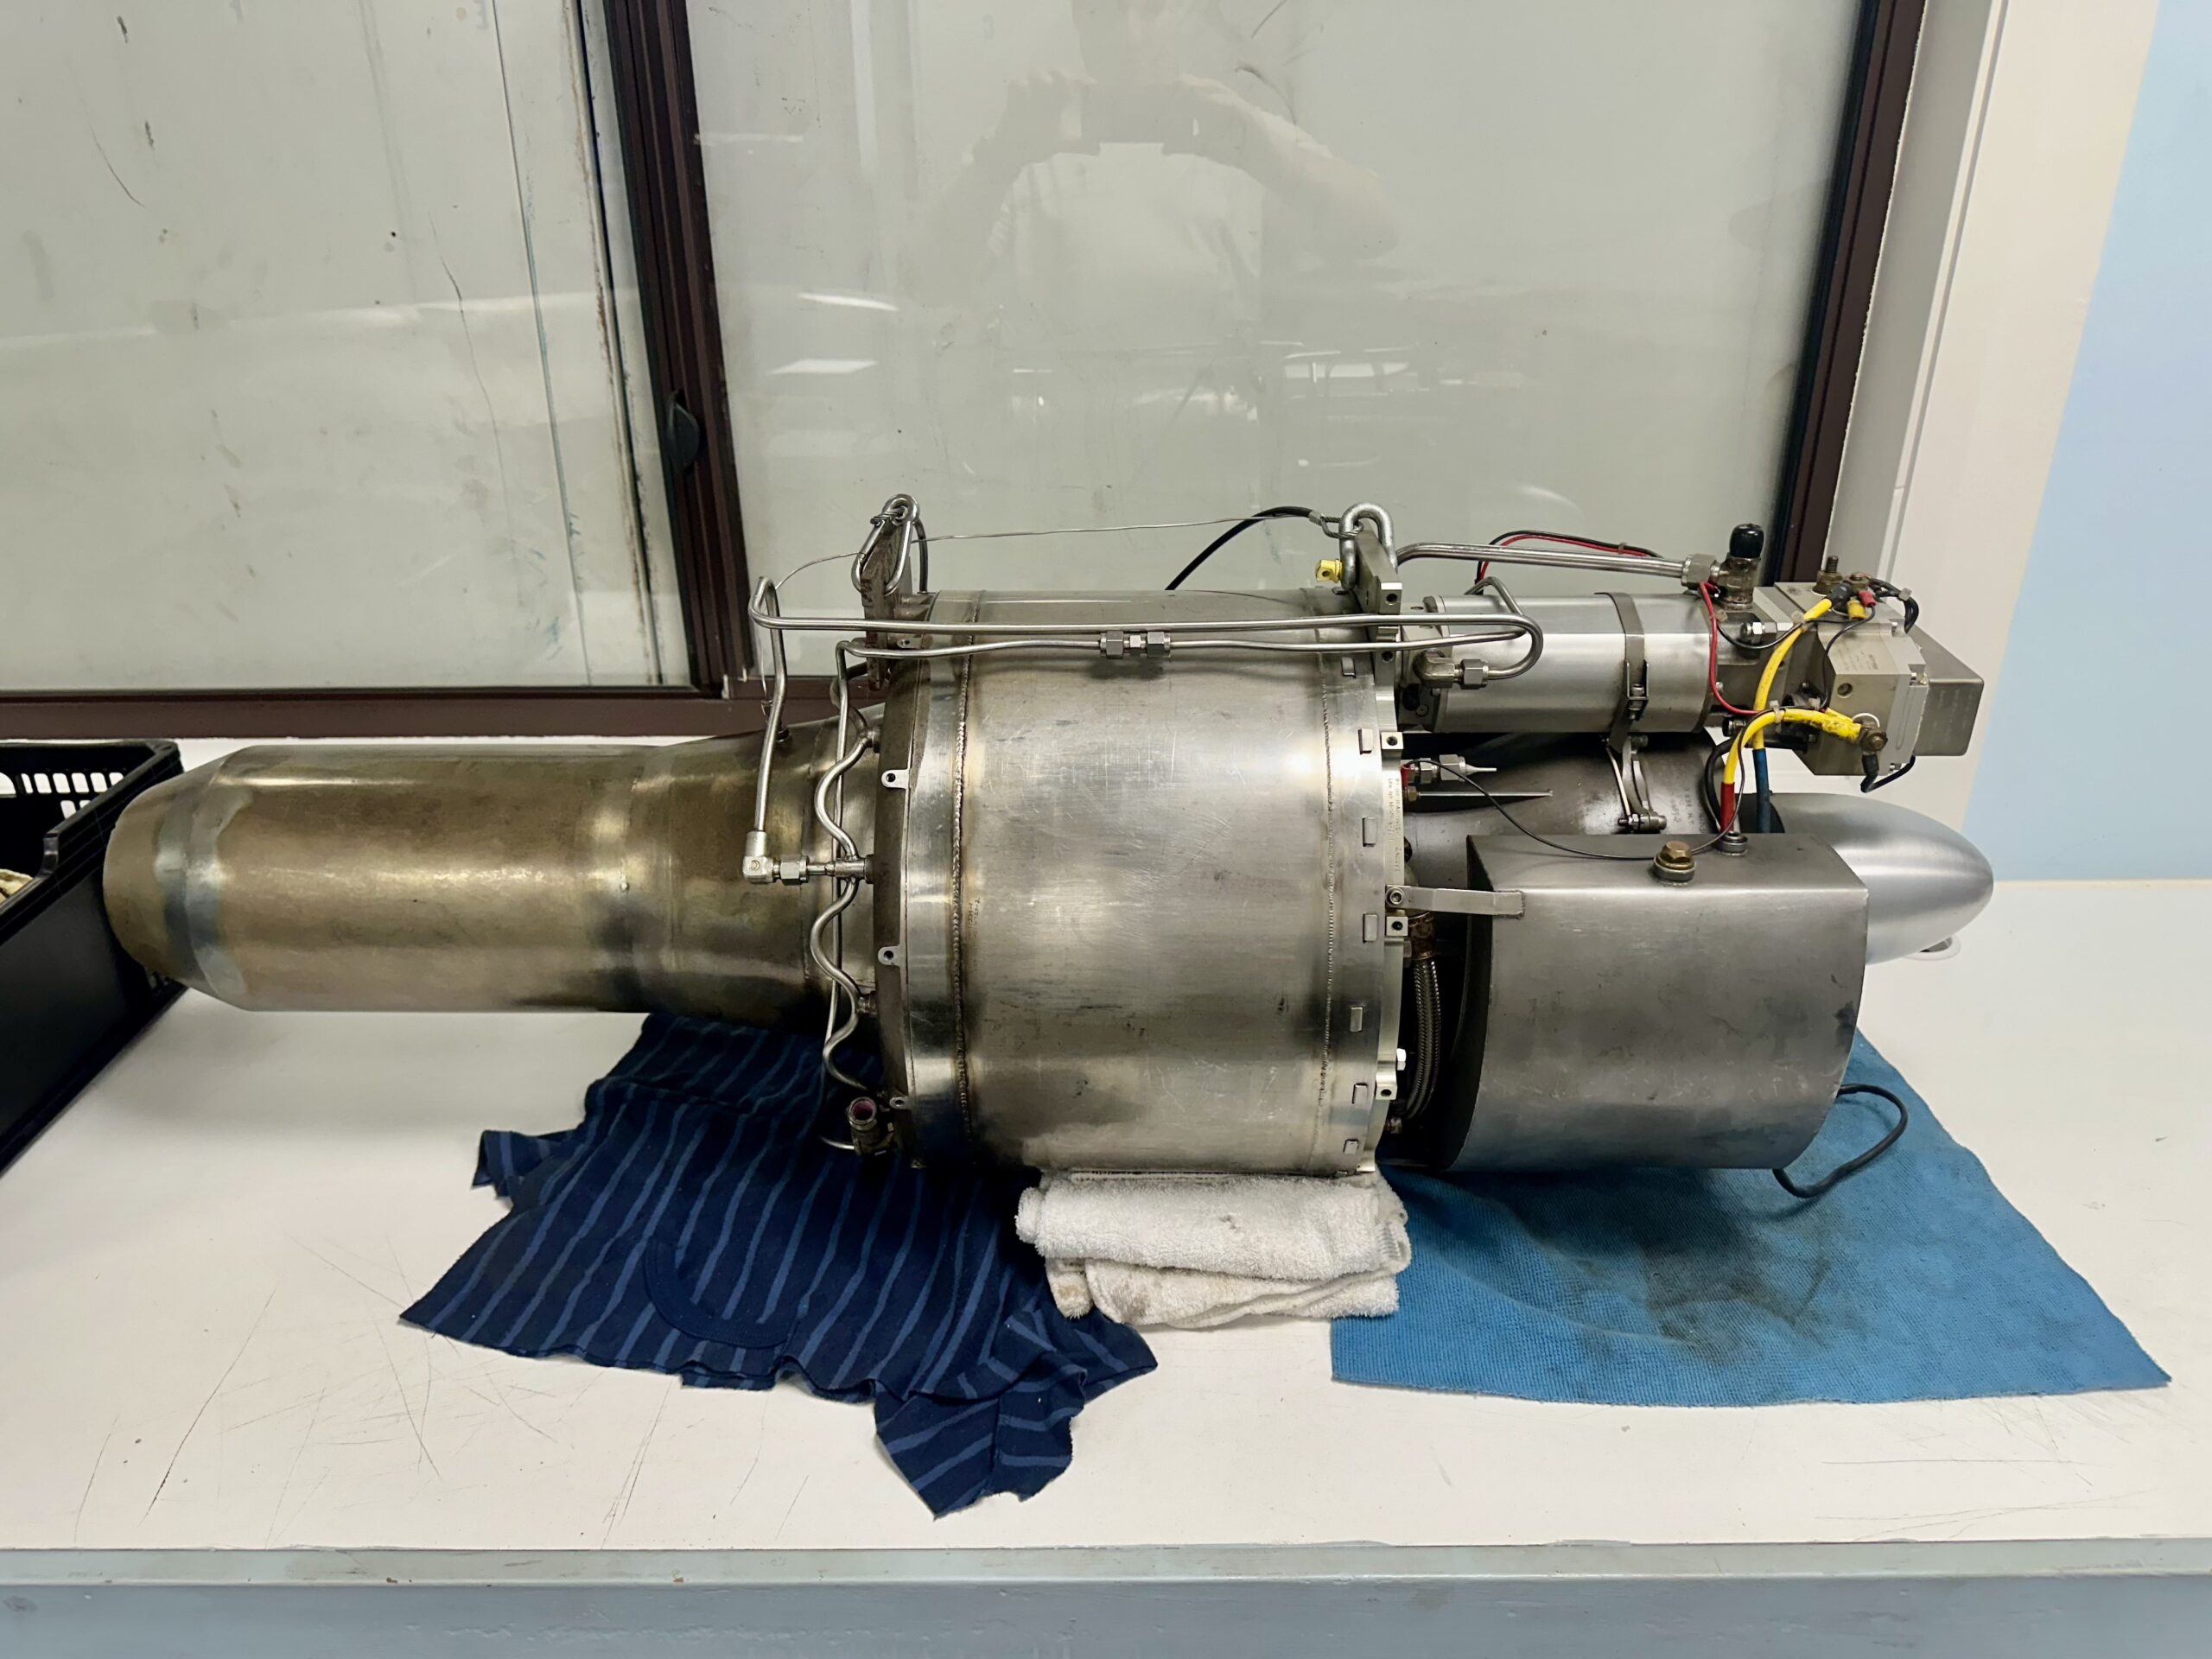
The turbine mount frame has been removed. This heavy duty frame is part of the CMC Leopard aircraft’s engine pylon mounting structure and will not be used as part of the BD5J installation.
 Keymaster
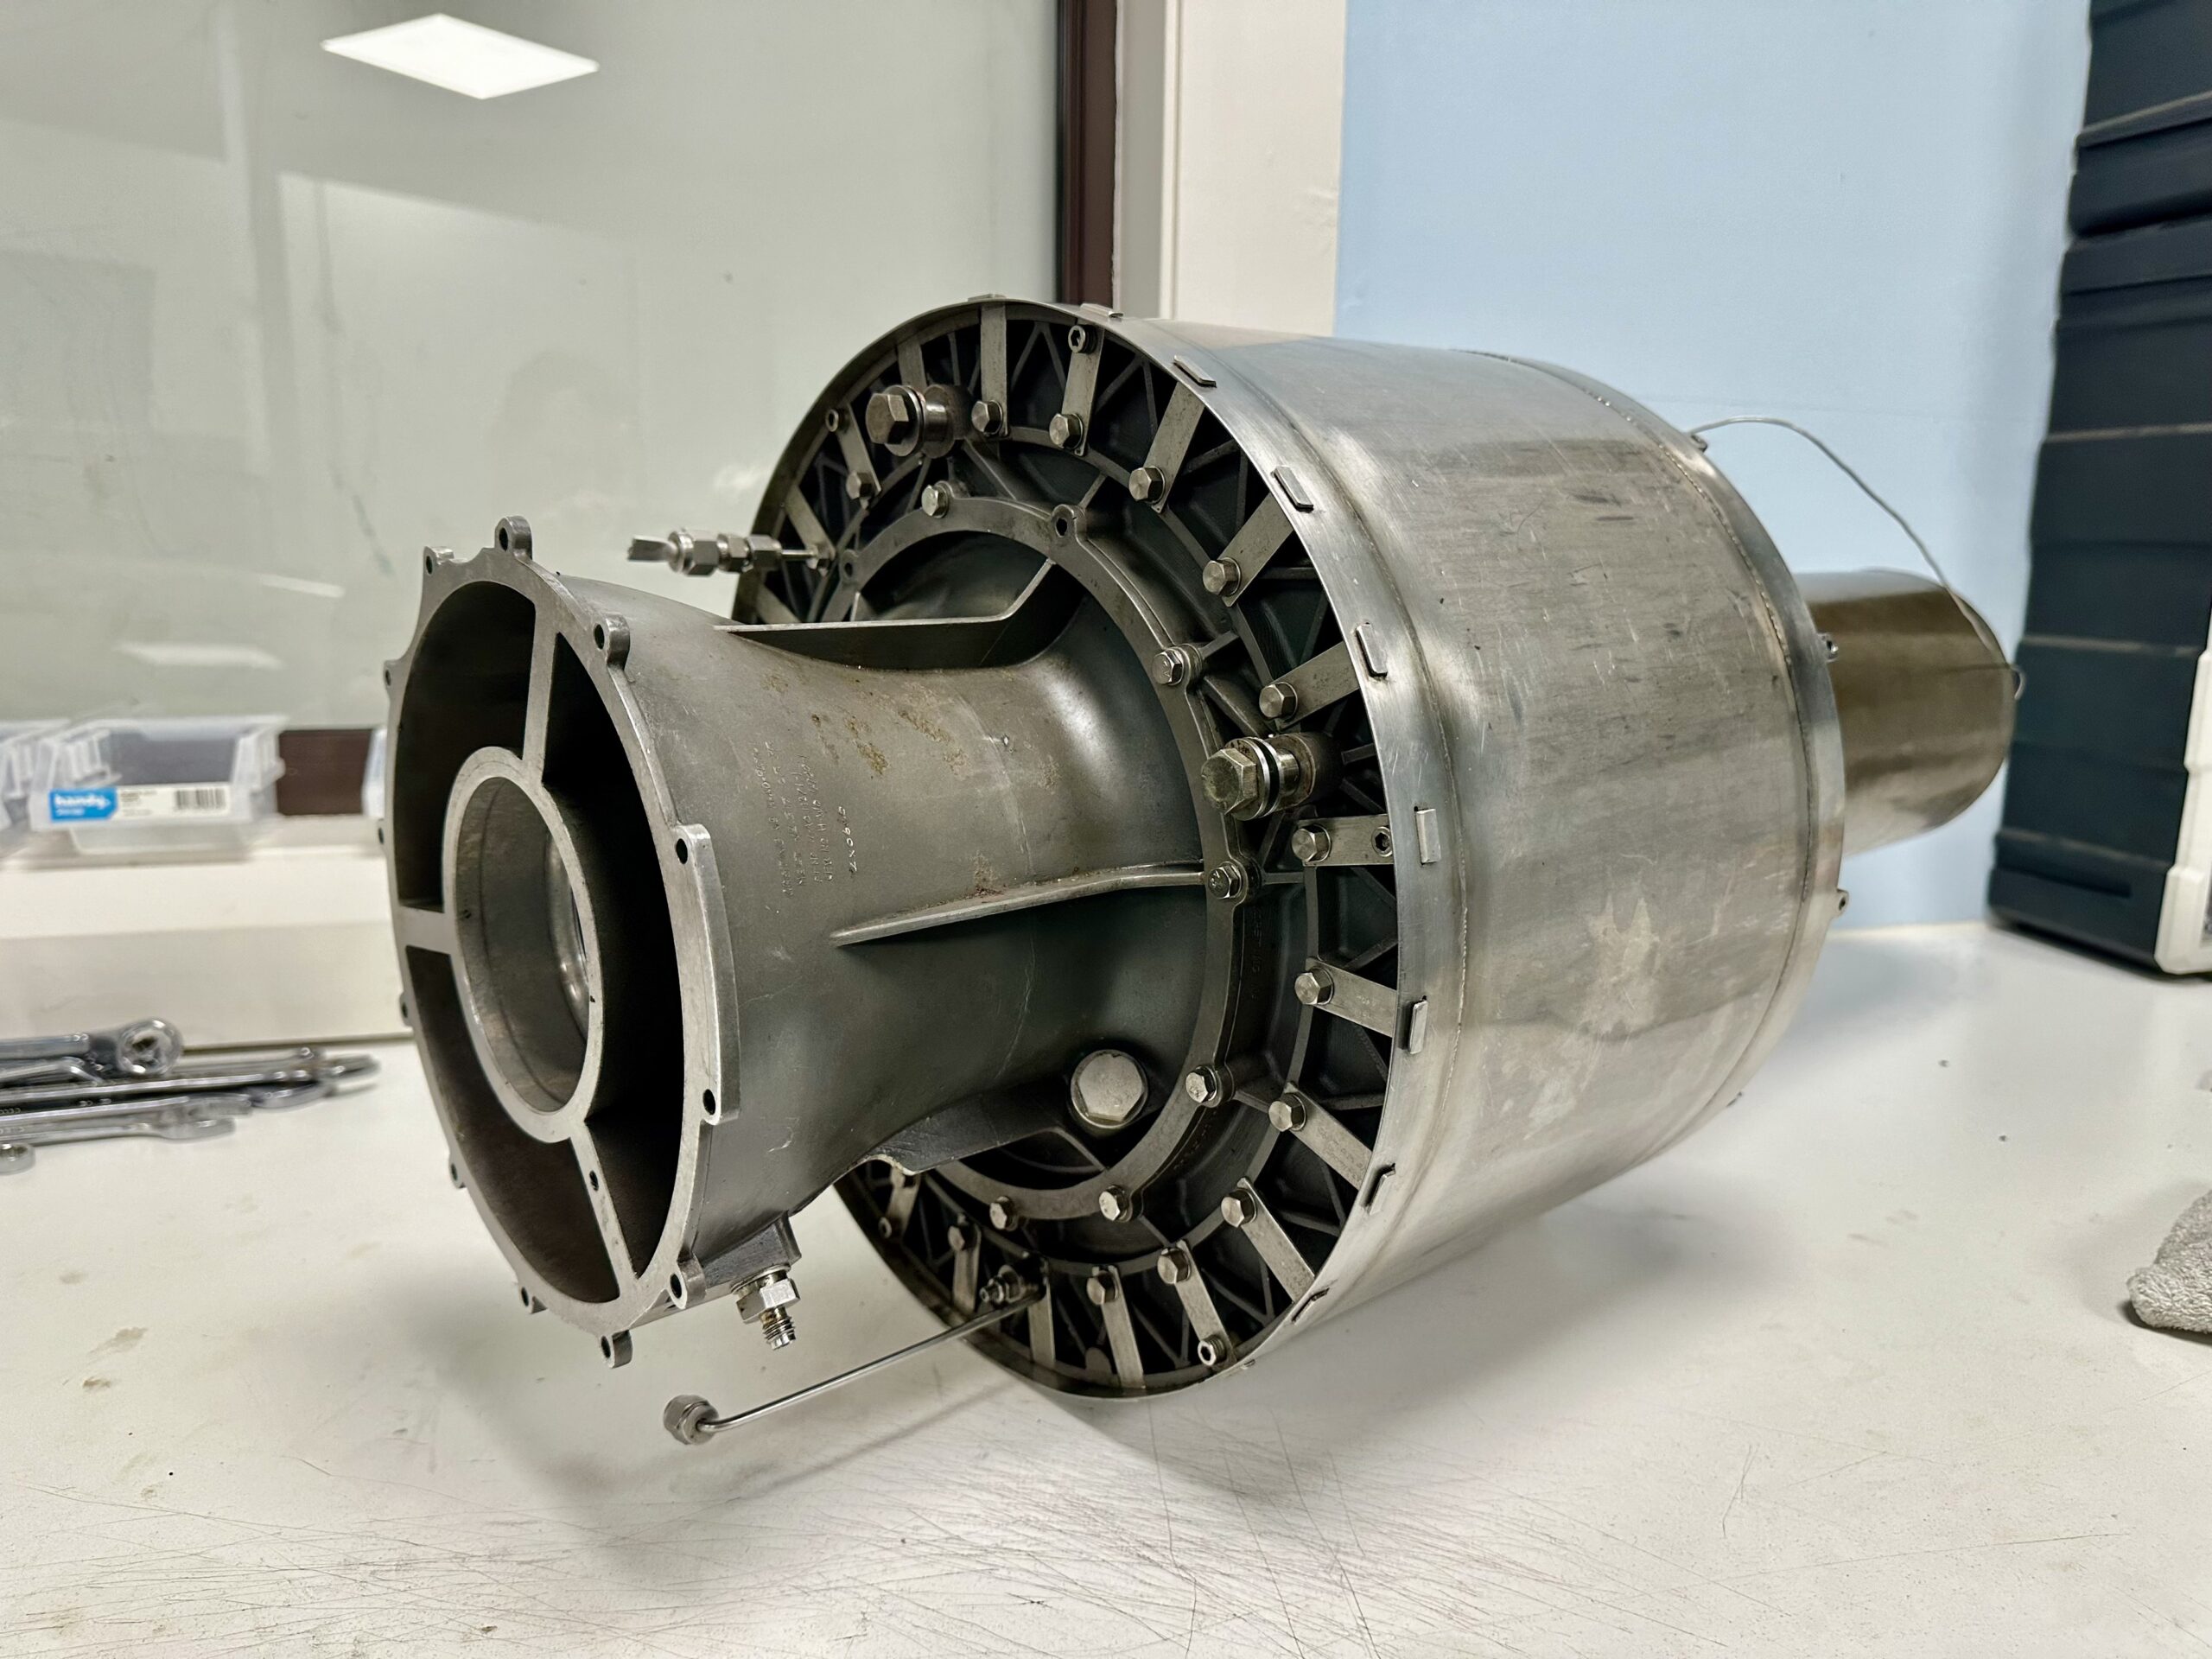
We now have all the accessories and mounts removed from the turbine, leaving us with a 23kg core. Almost half the weight of the NPT301 is comprised of heavy accessories!
One of the next jobs will be to construct an engine service stand, which can cradle the turbine during maintenance. Will likely construct this out of marine grade plywood and give several coats of paint.
 Keymaster
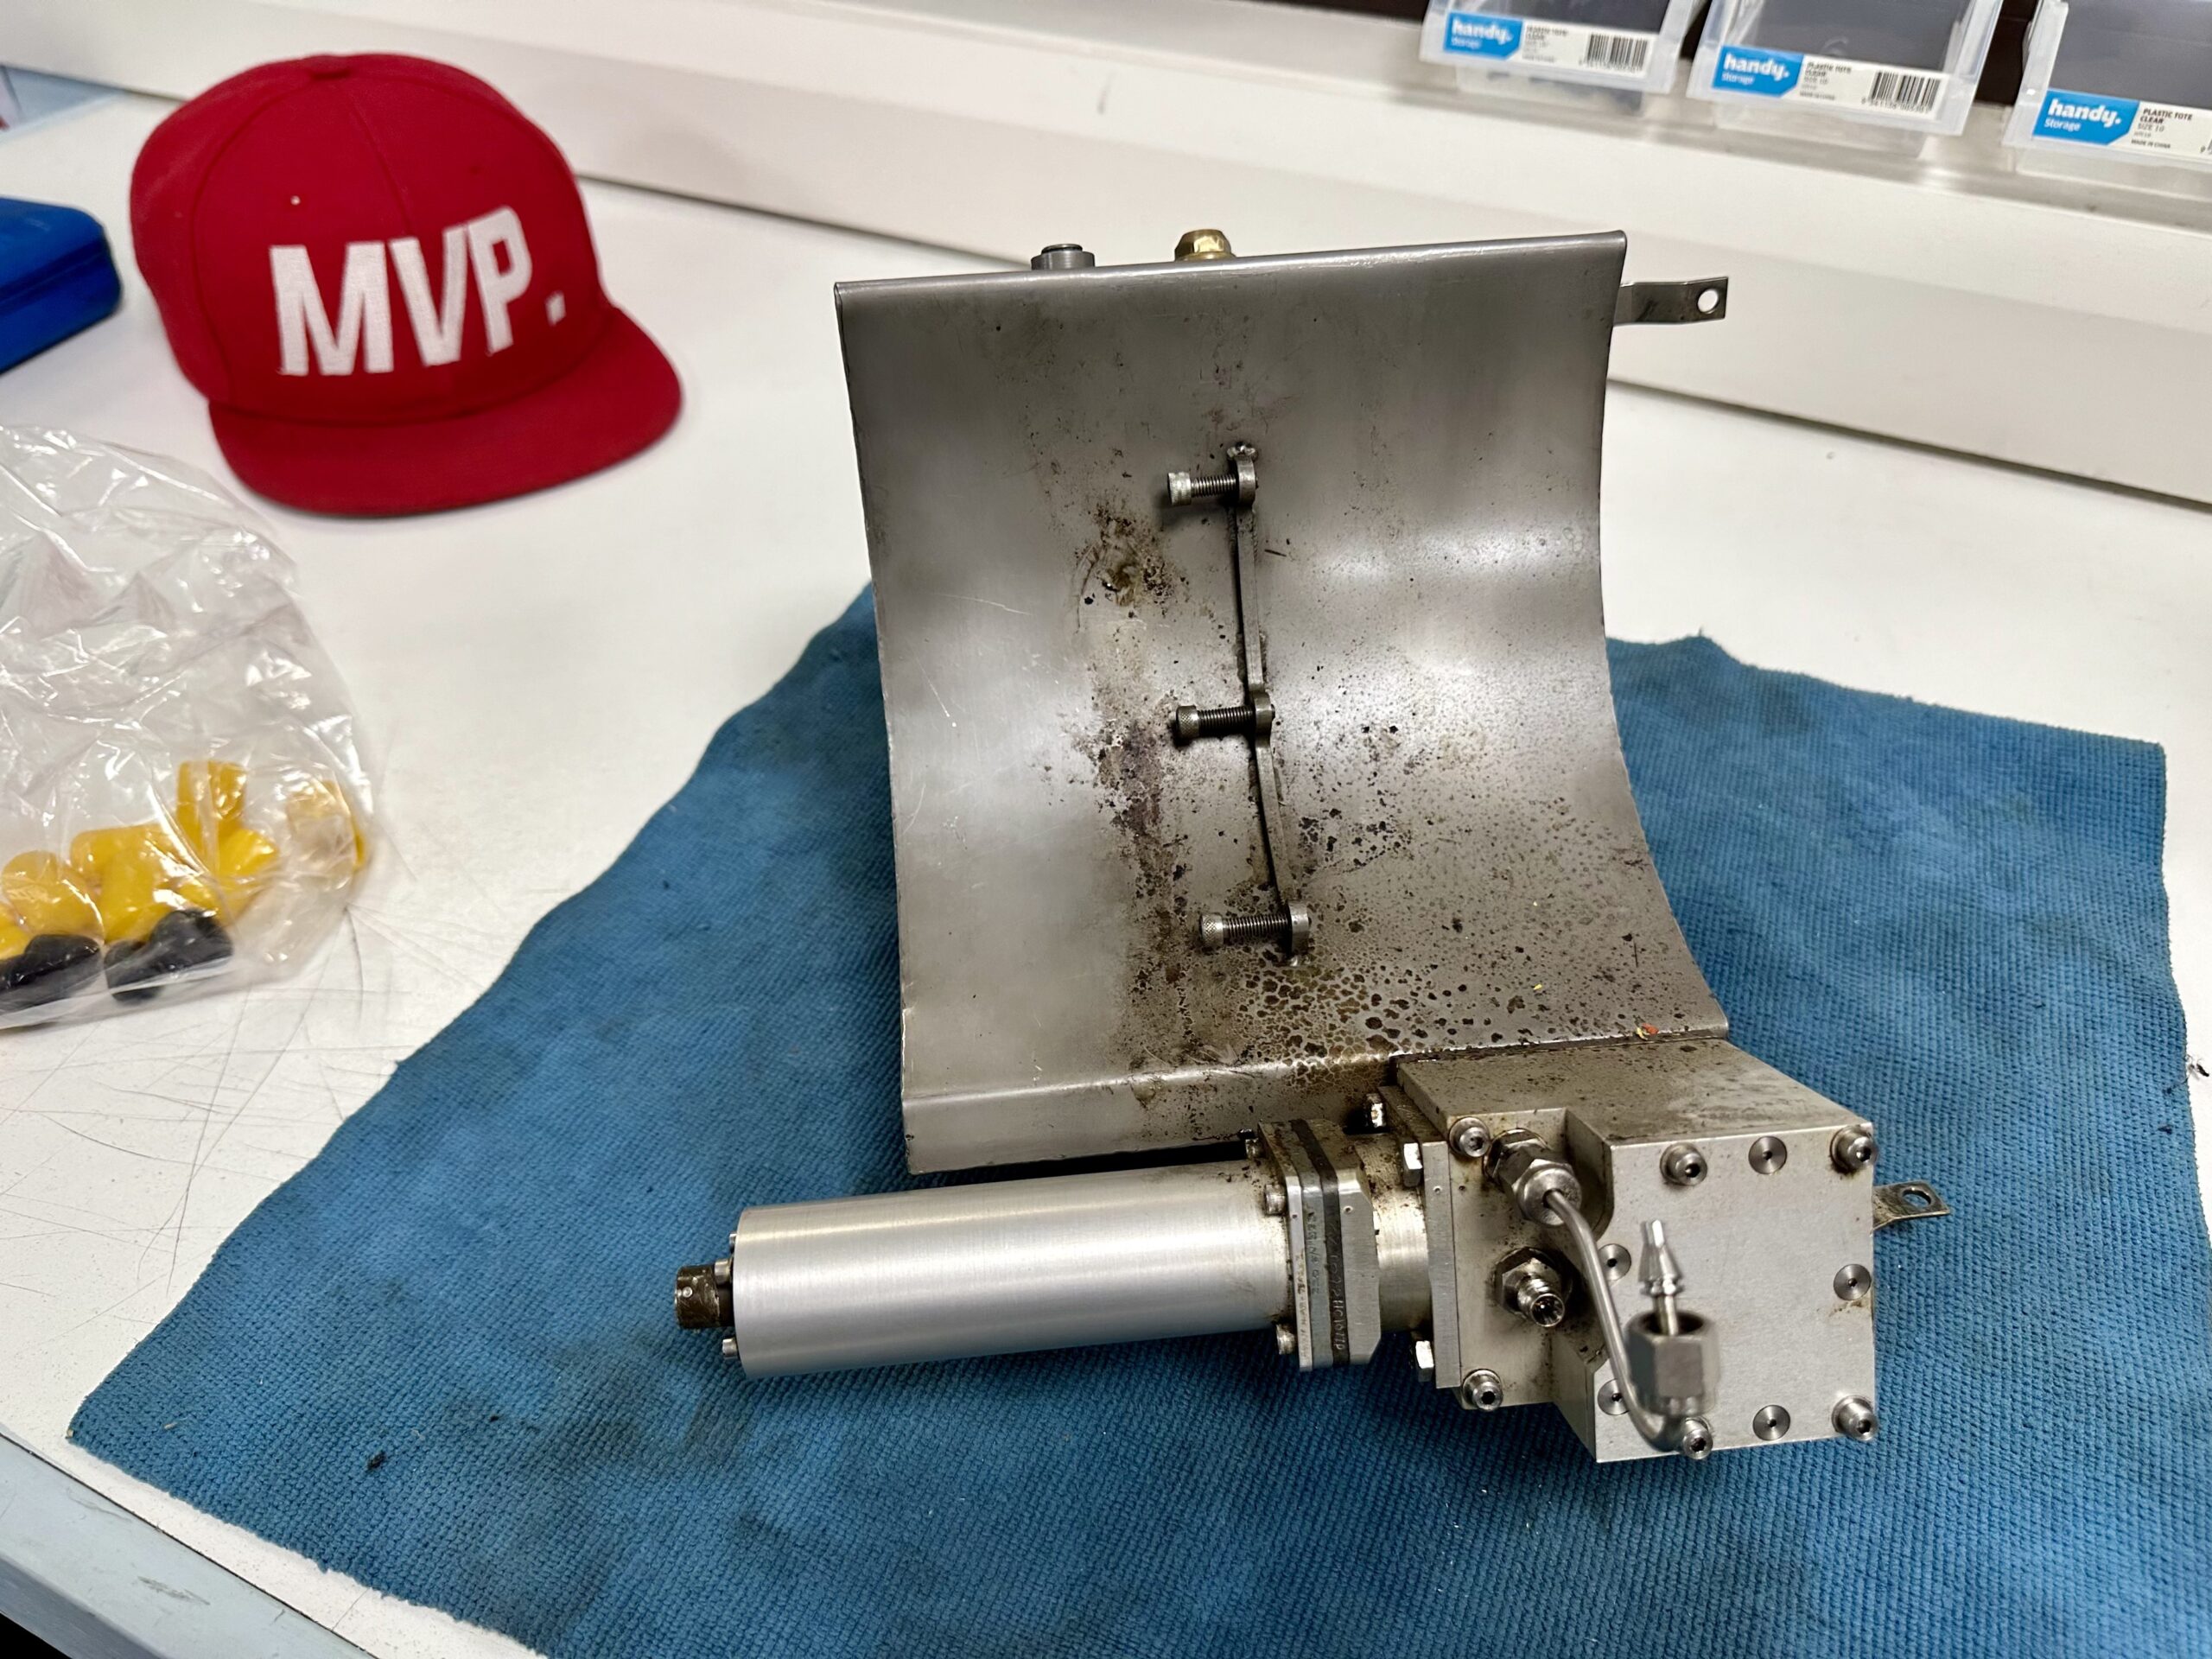
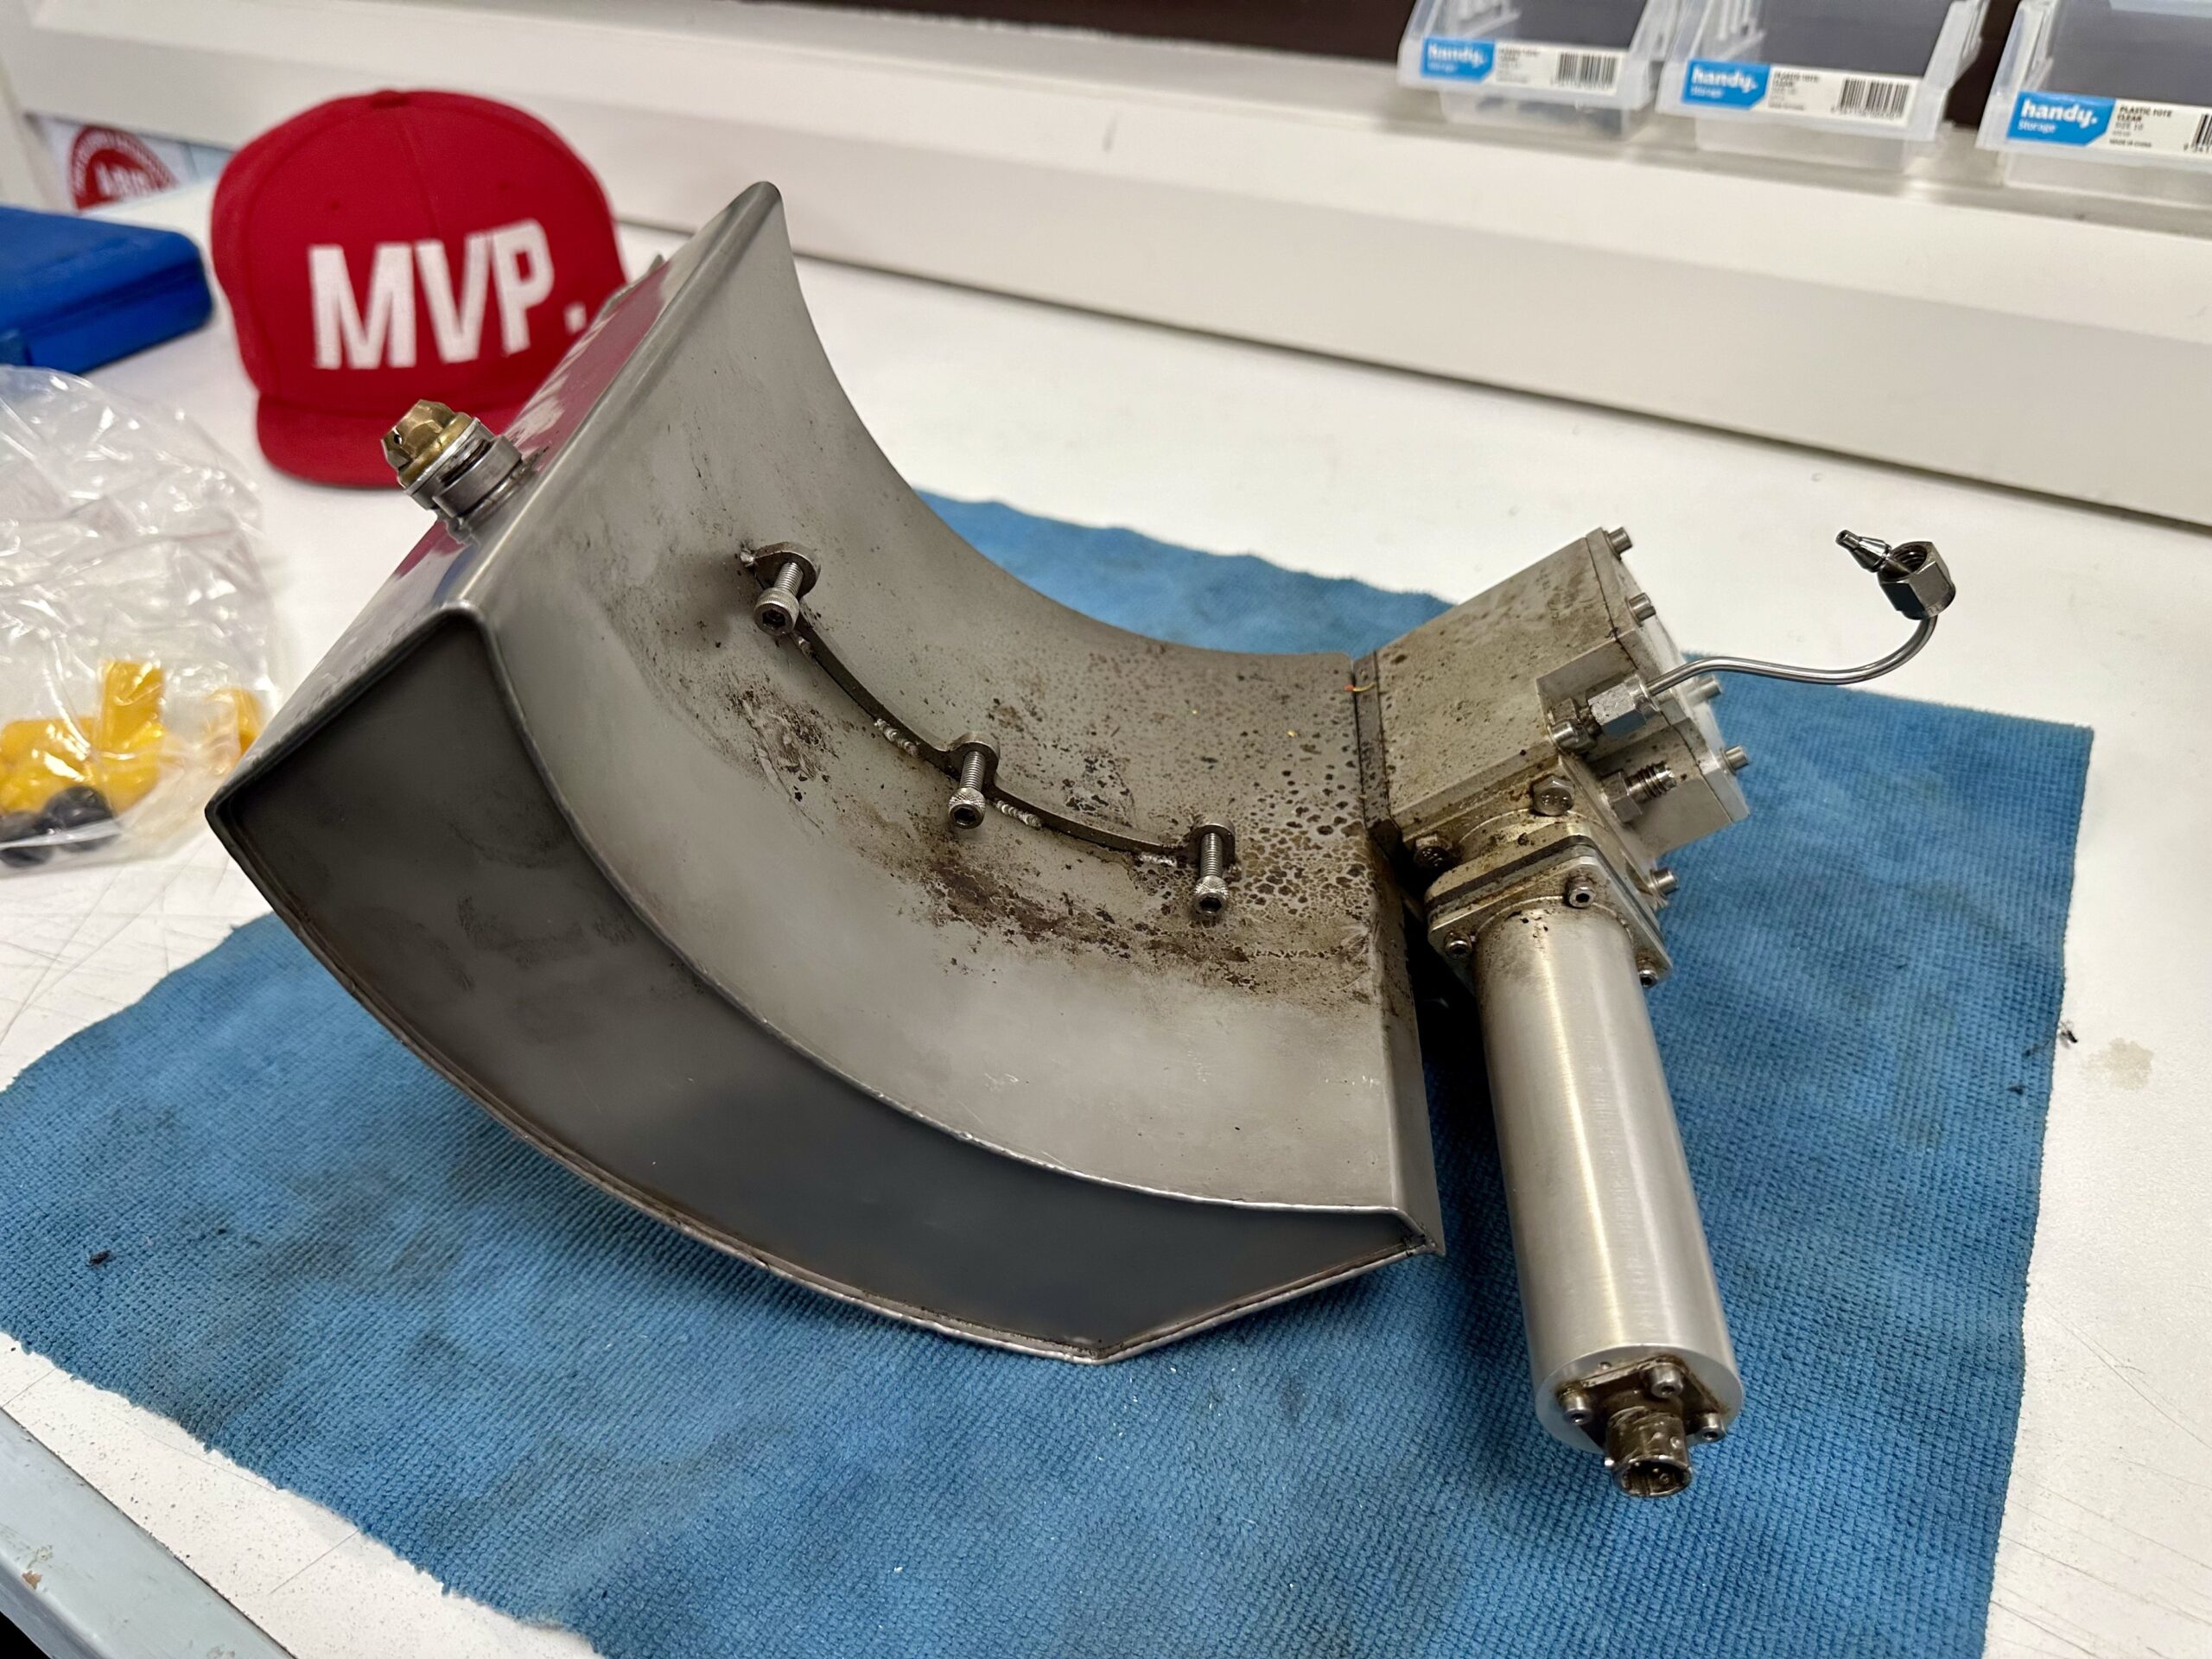
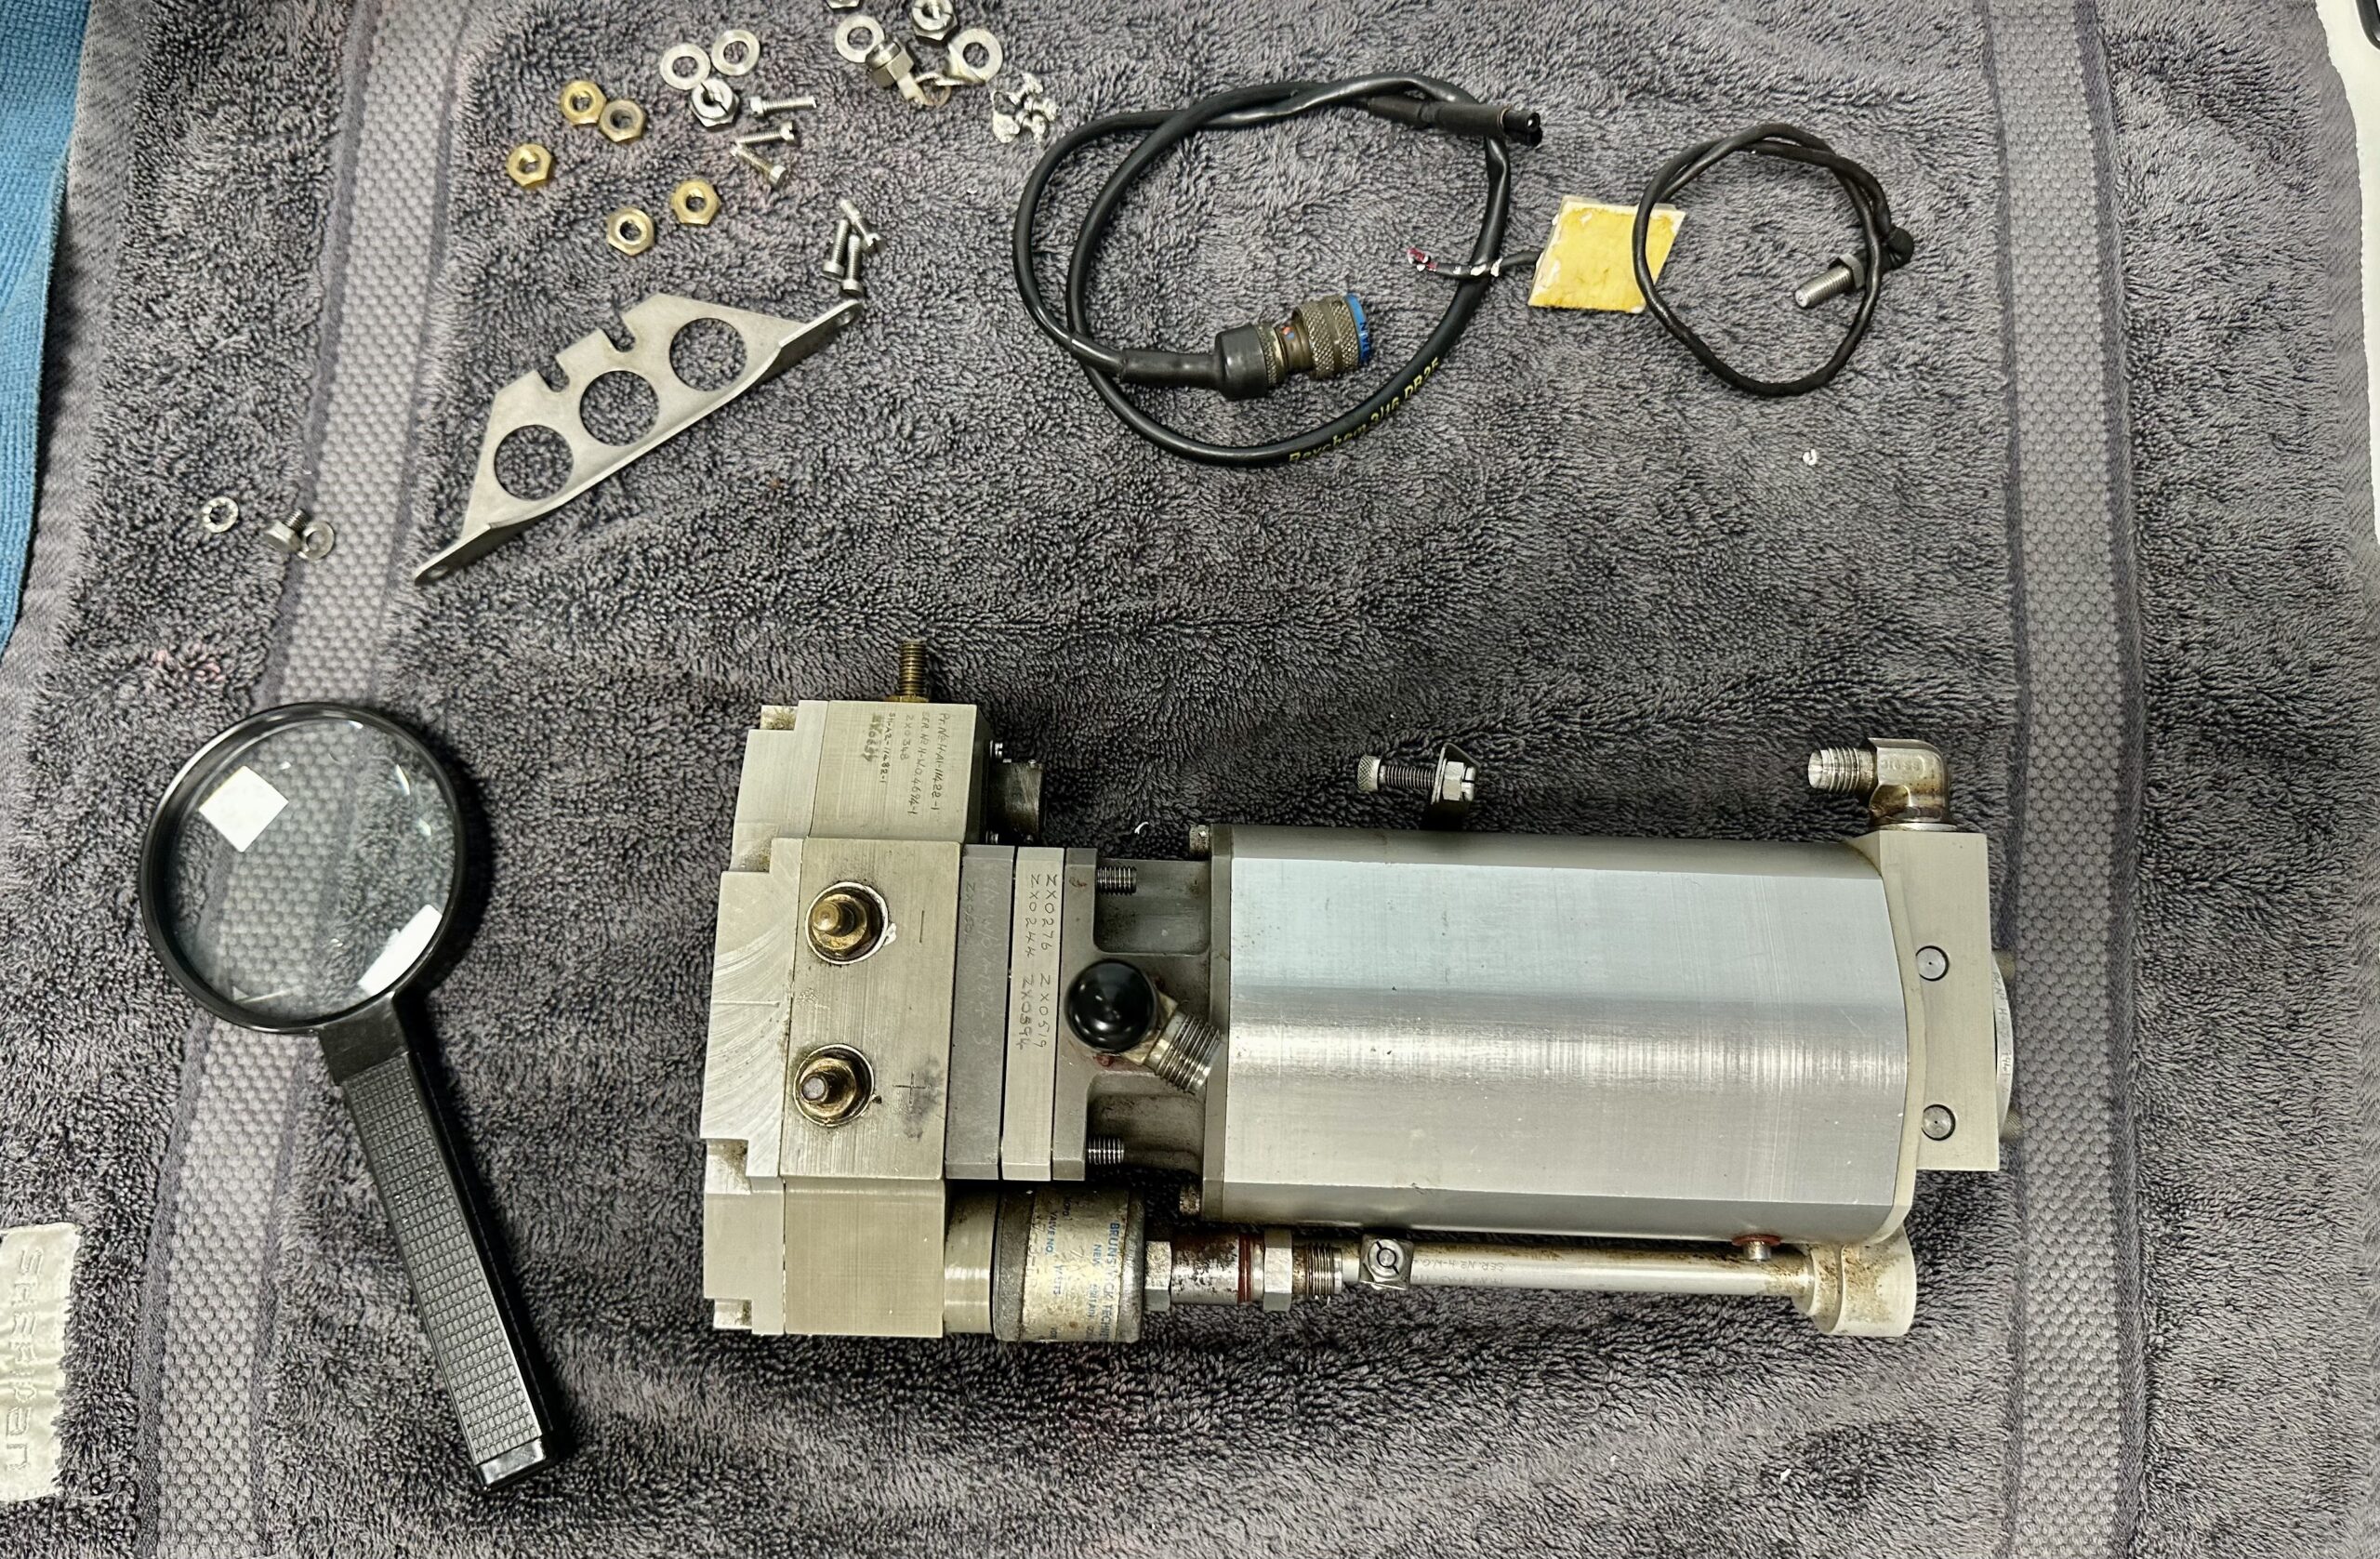
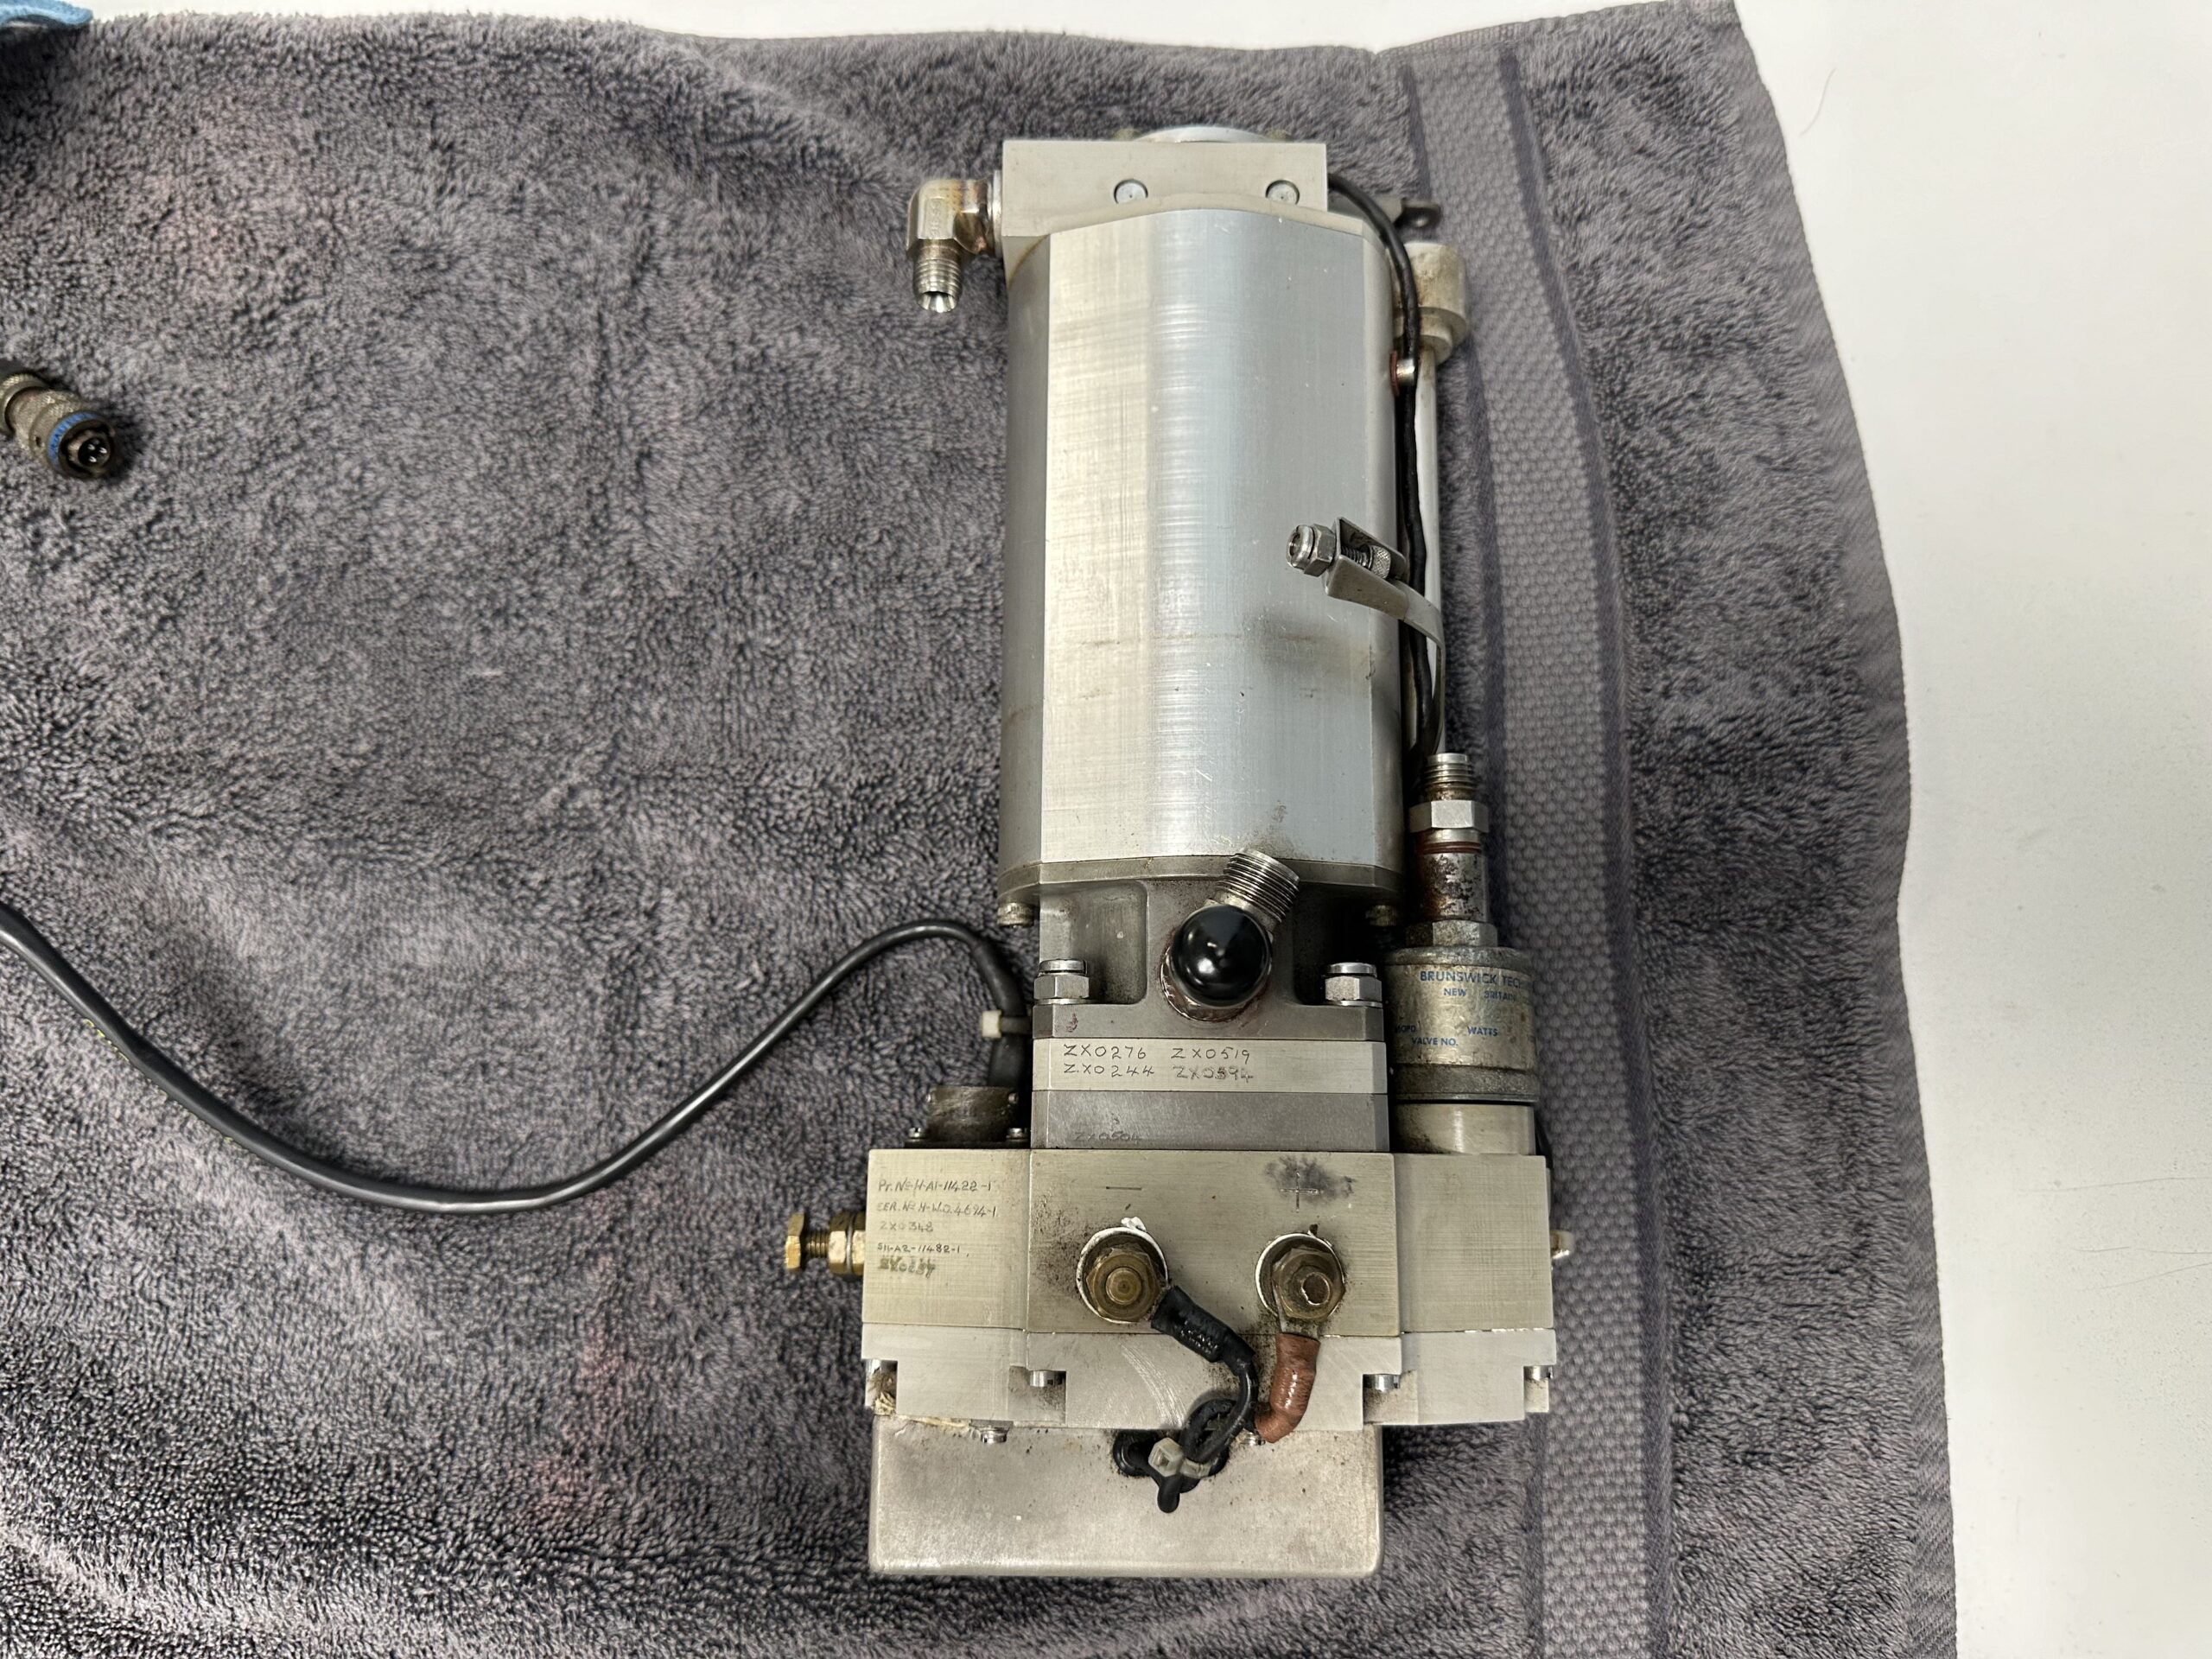
High-pressure fuel pump assembly was removed today, ahead of setting it up on a test rig to conduct flow tests. We need to identify the flow rate of the pump, so that we can evaluate the use of alternative pumps and configurations.
 Keymaster
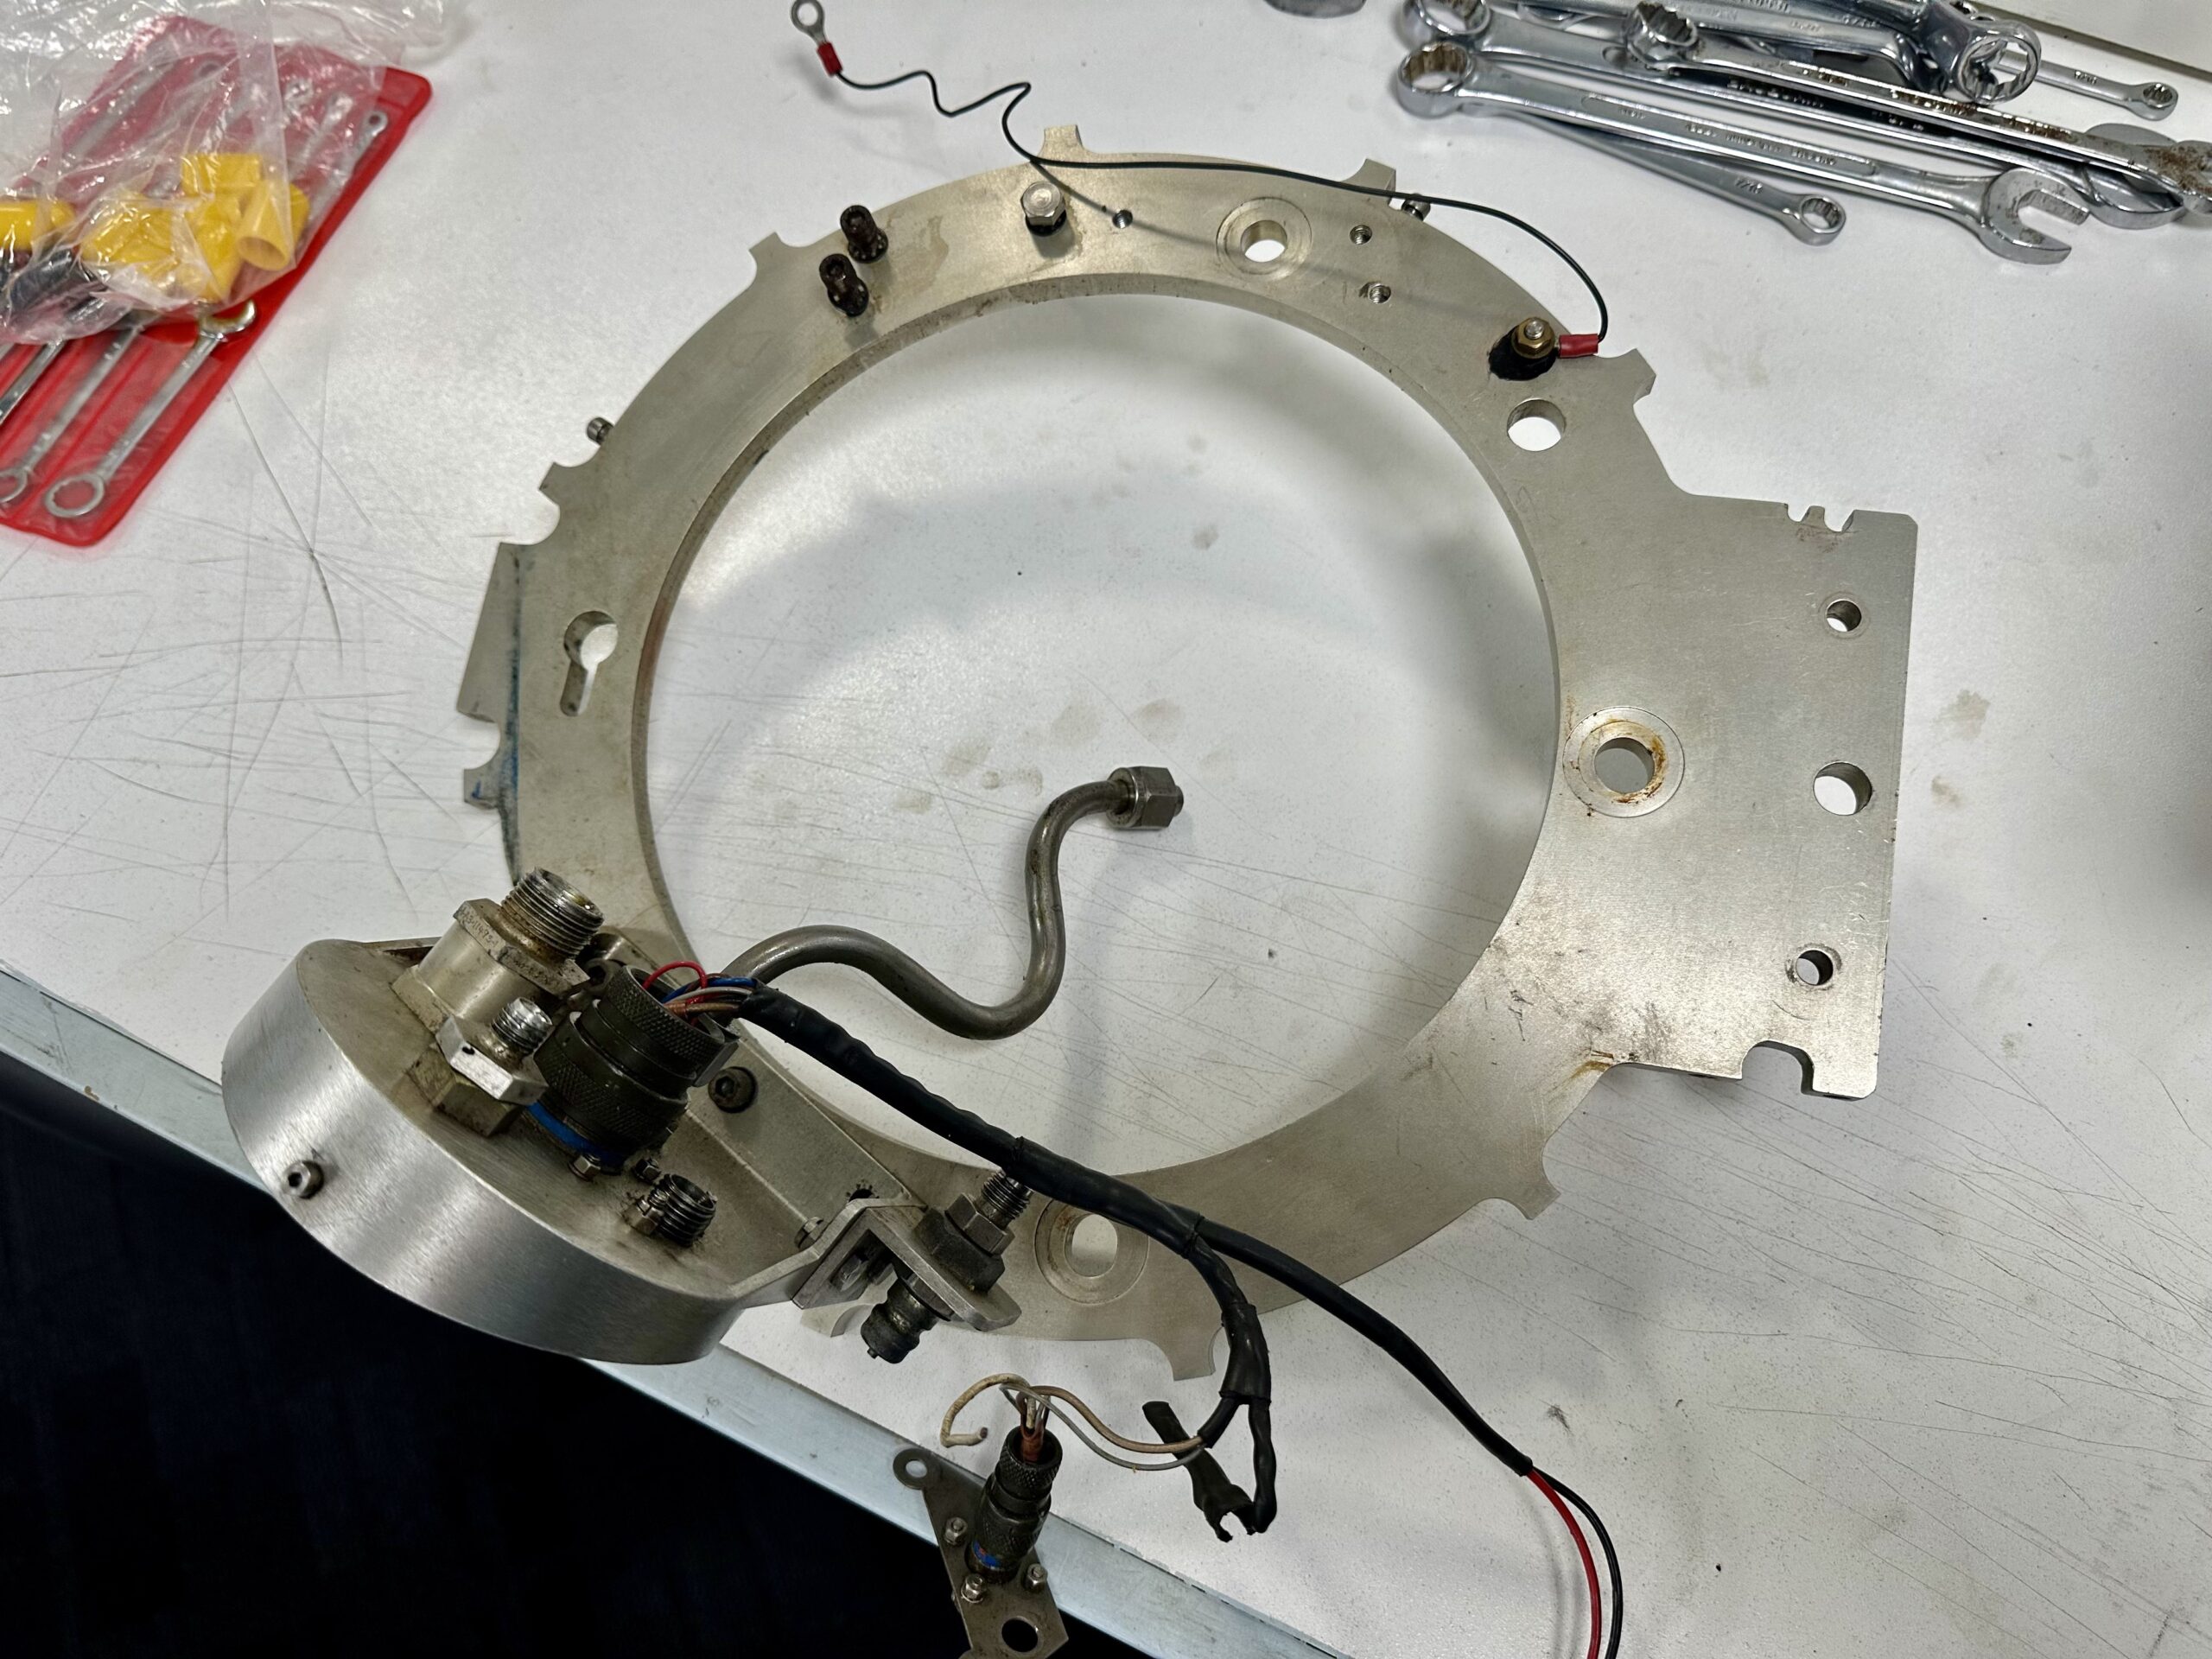
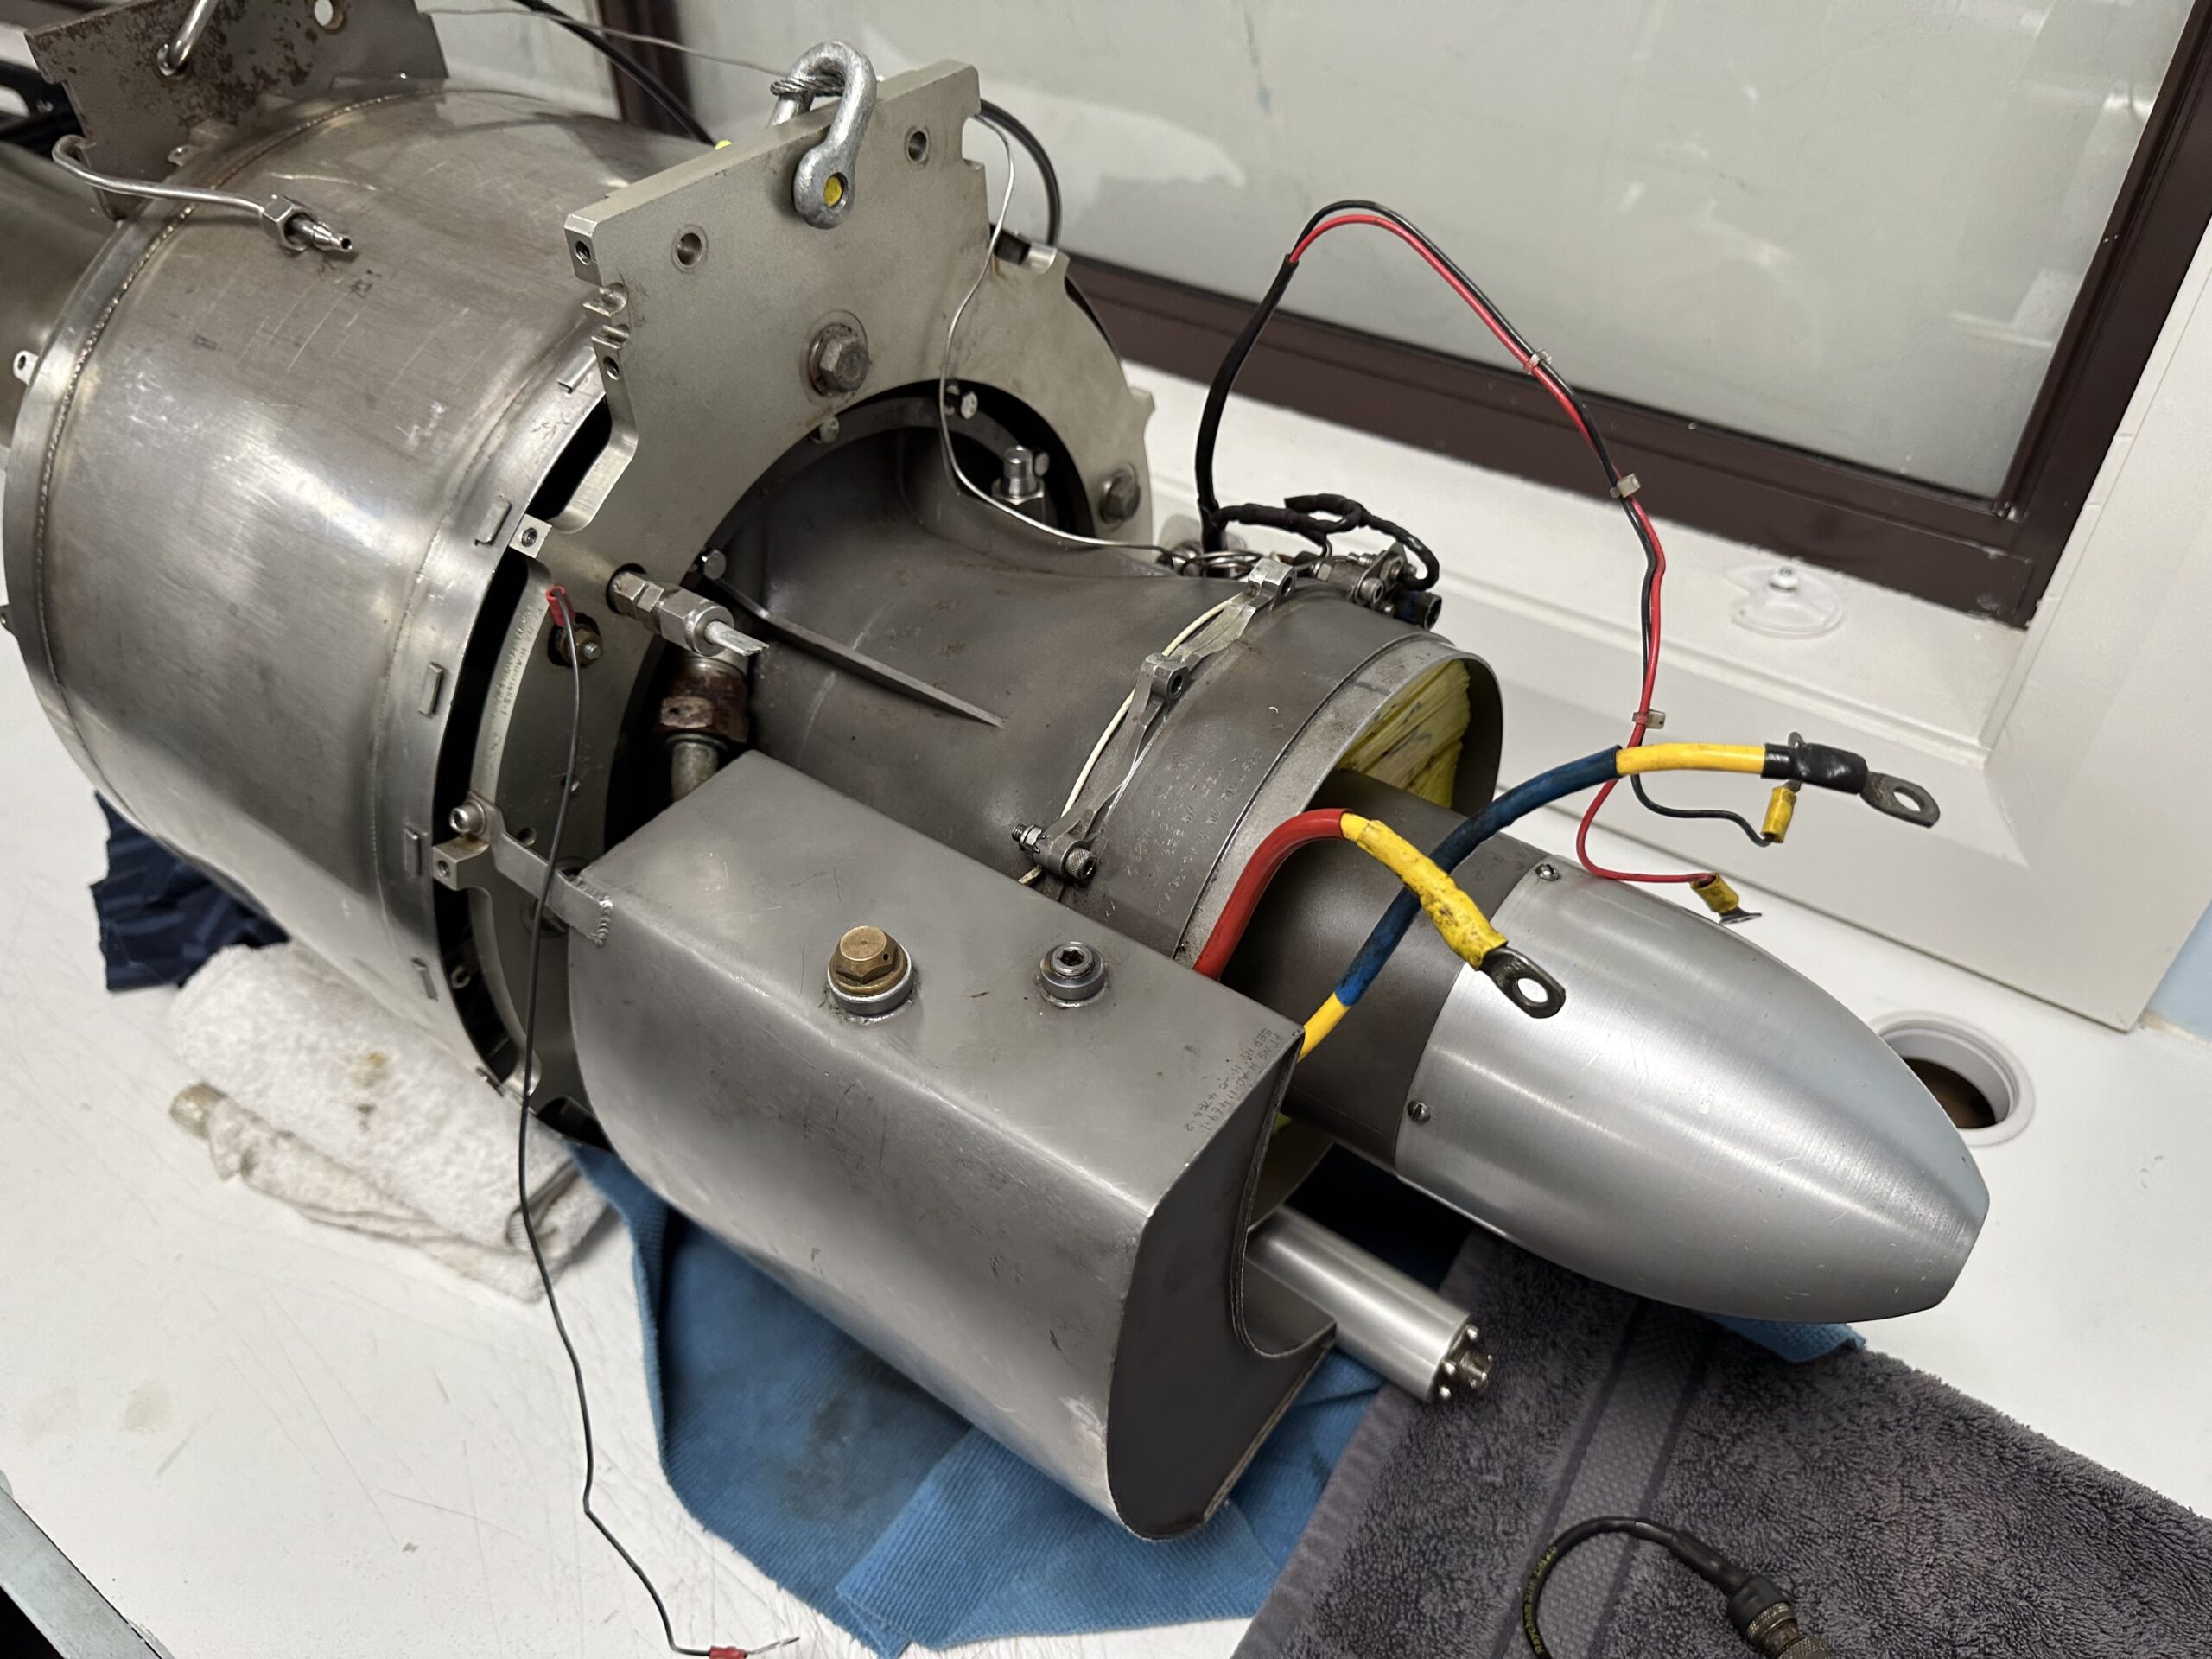
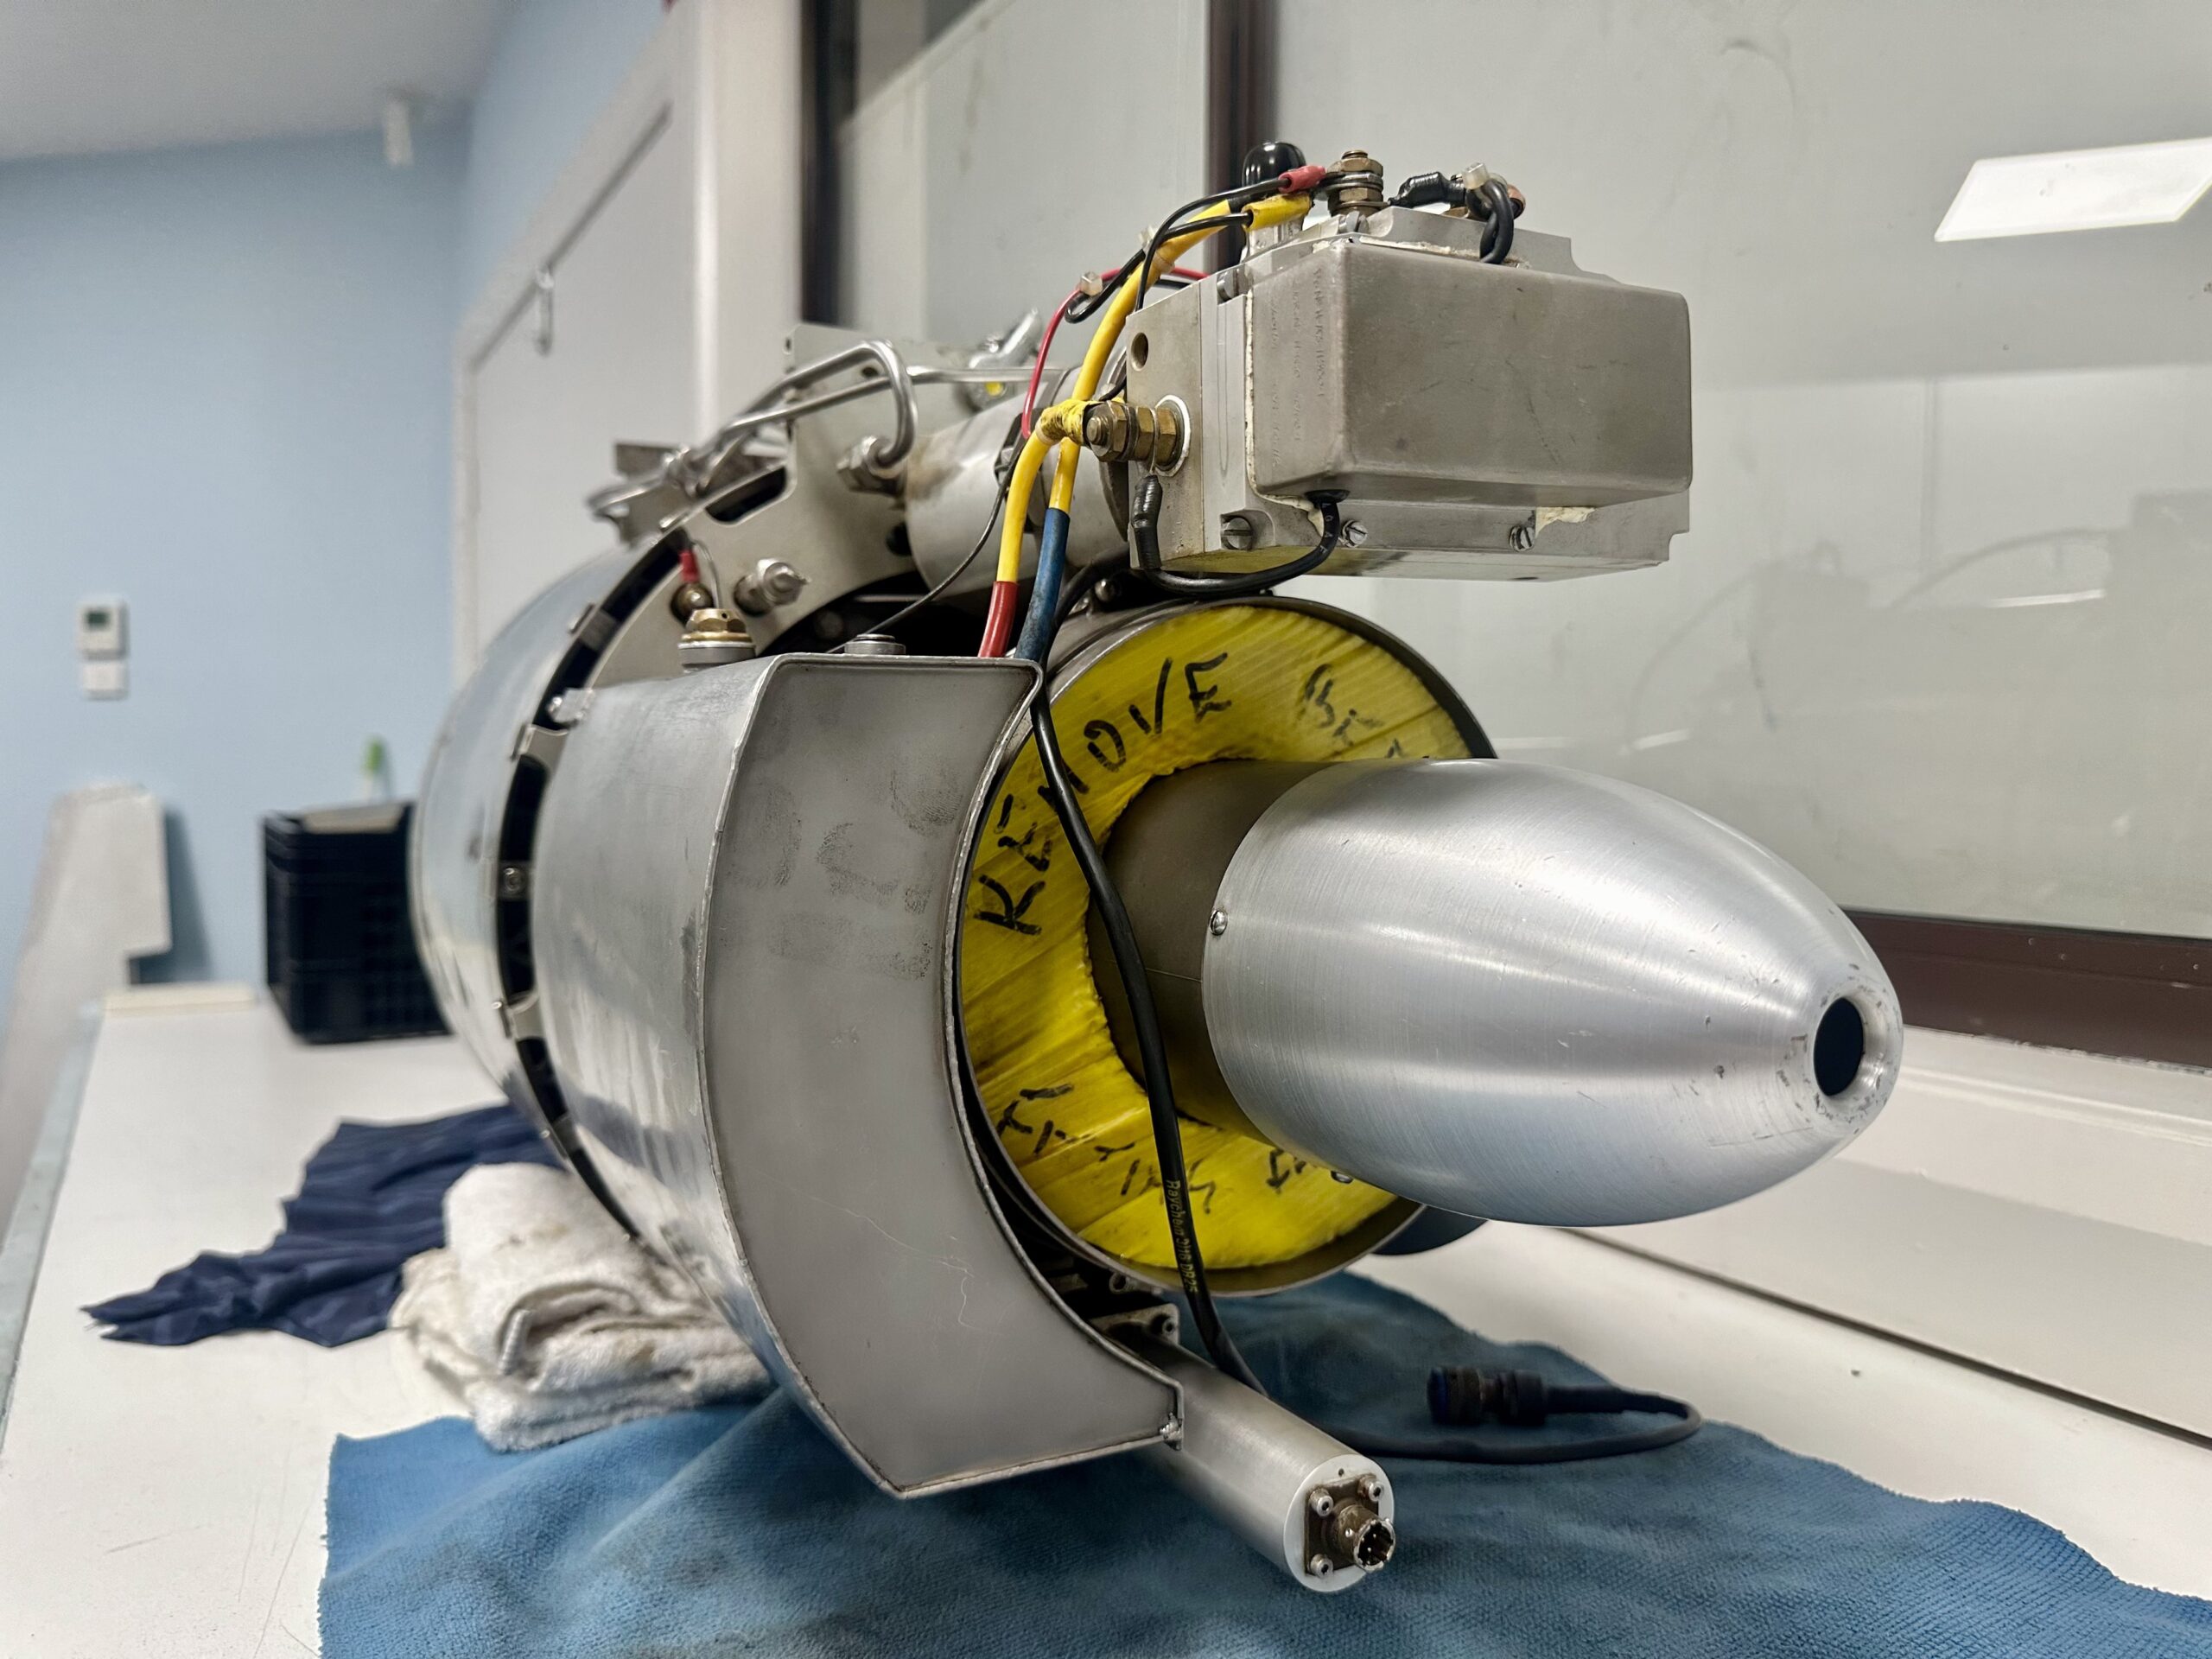
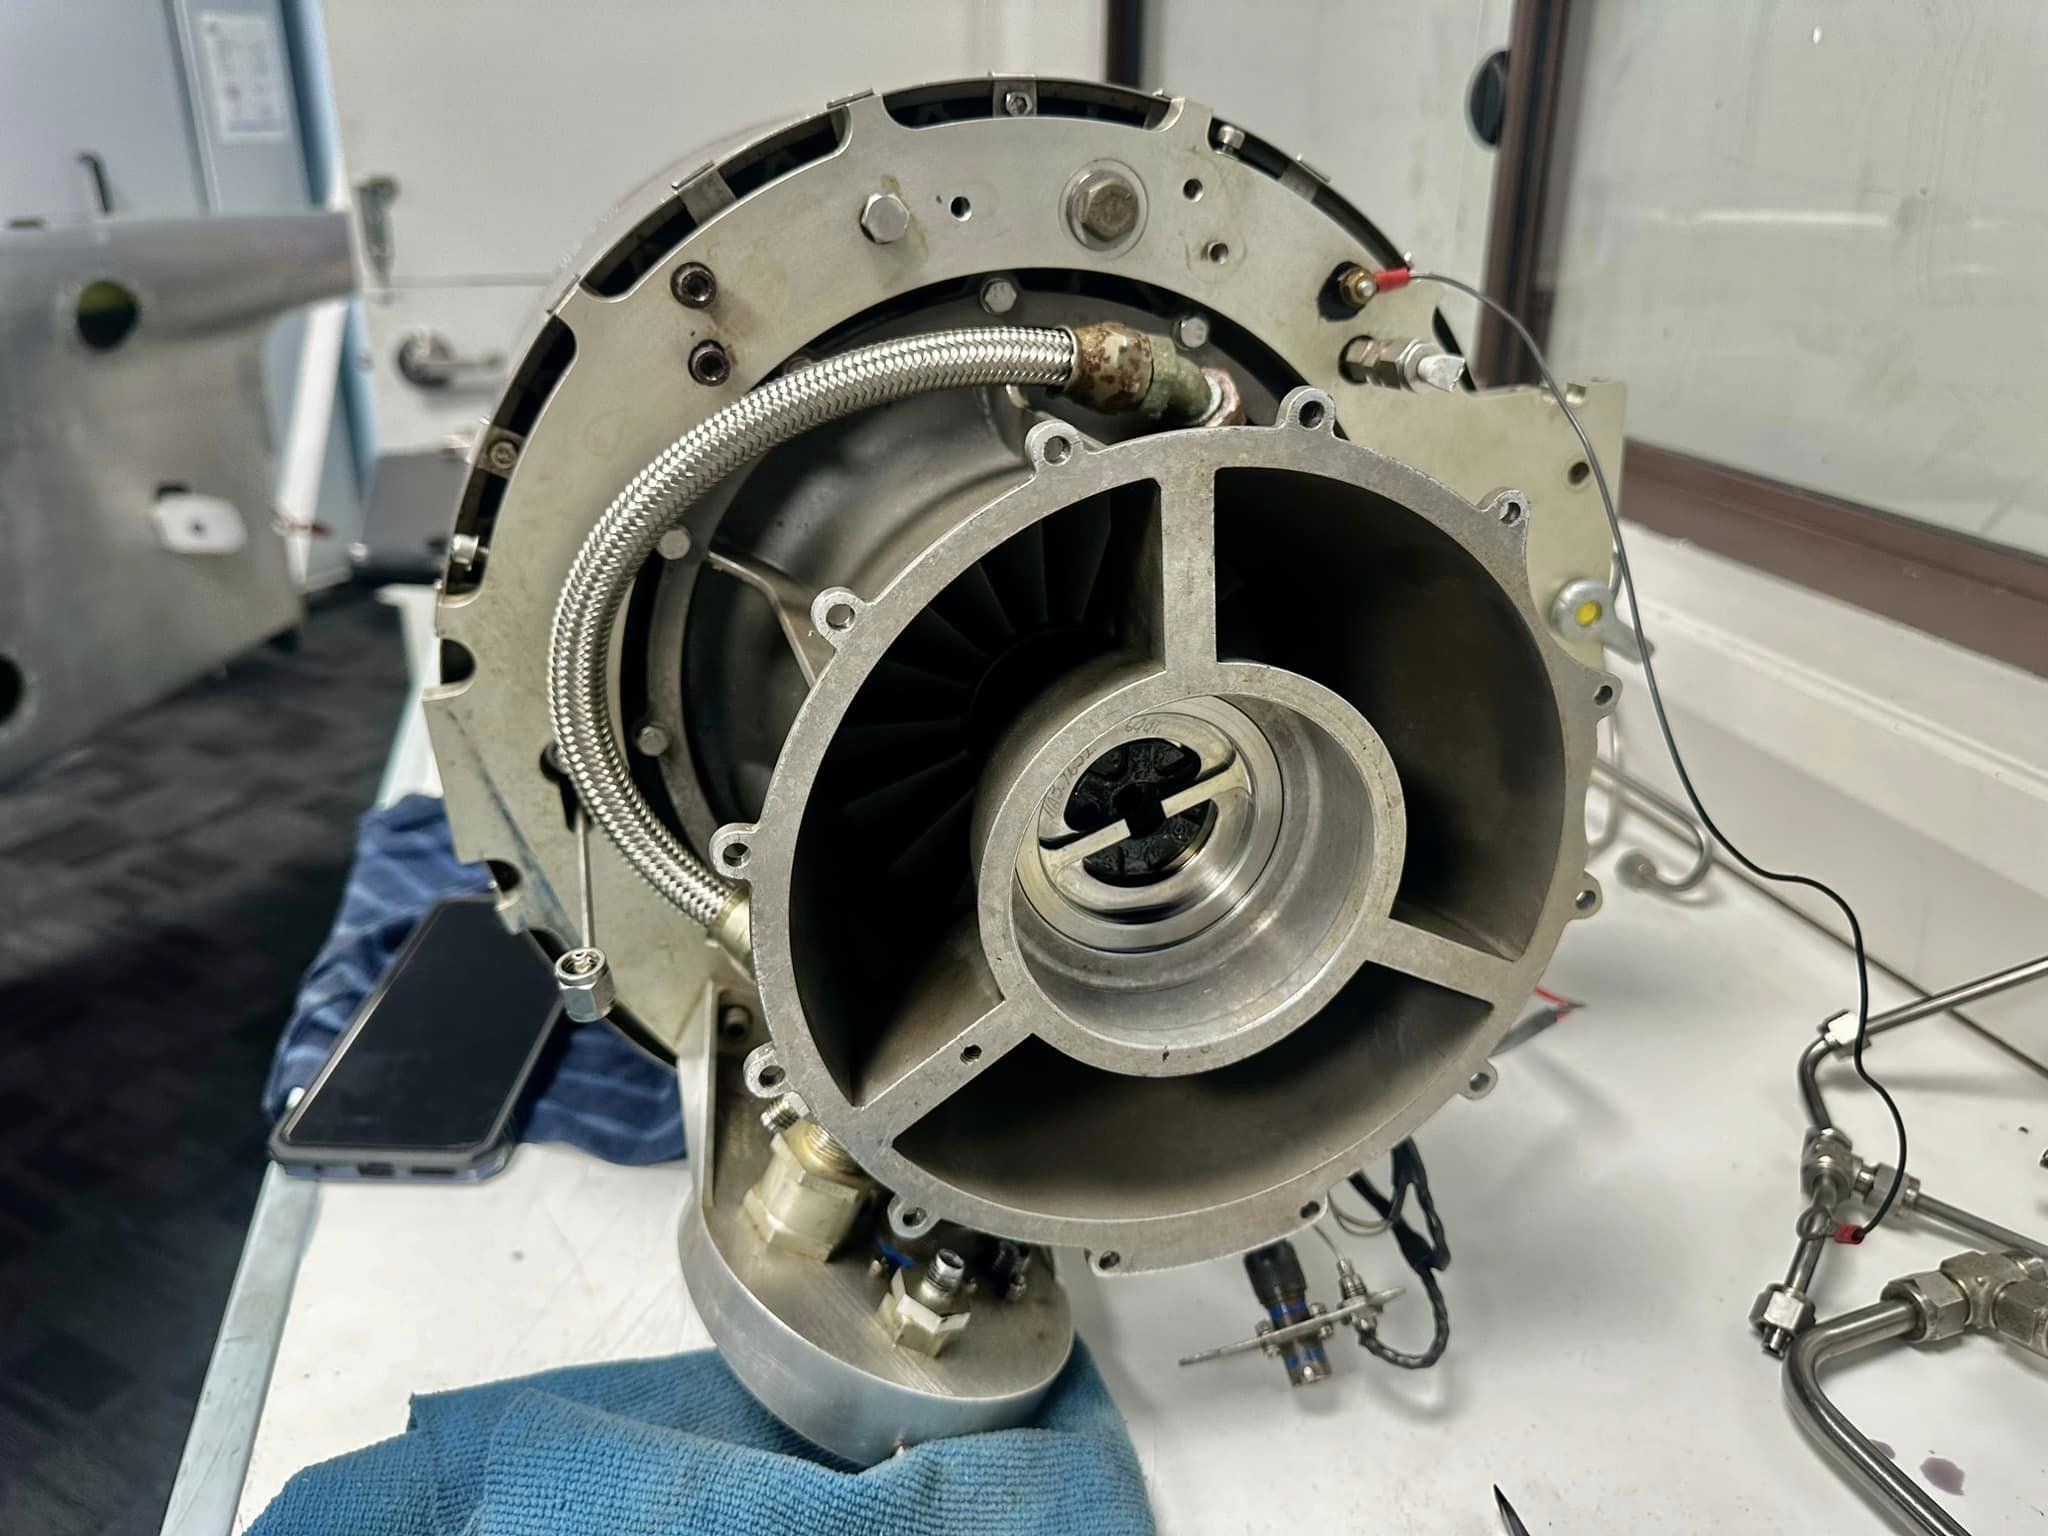
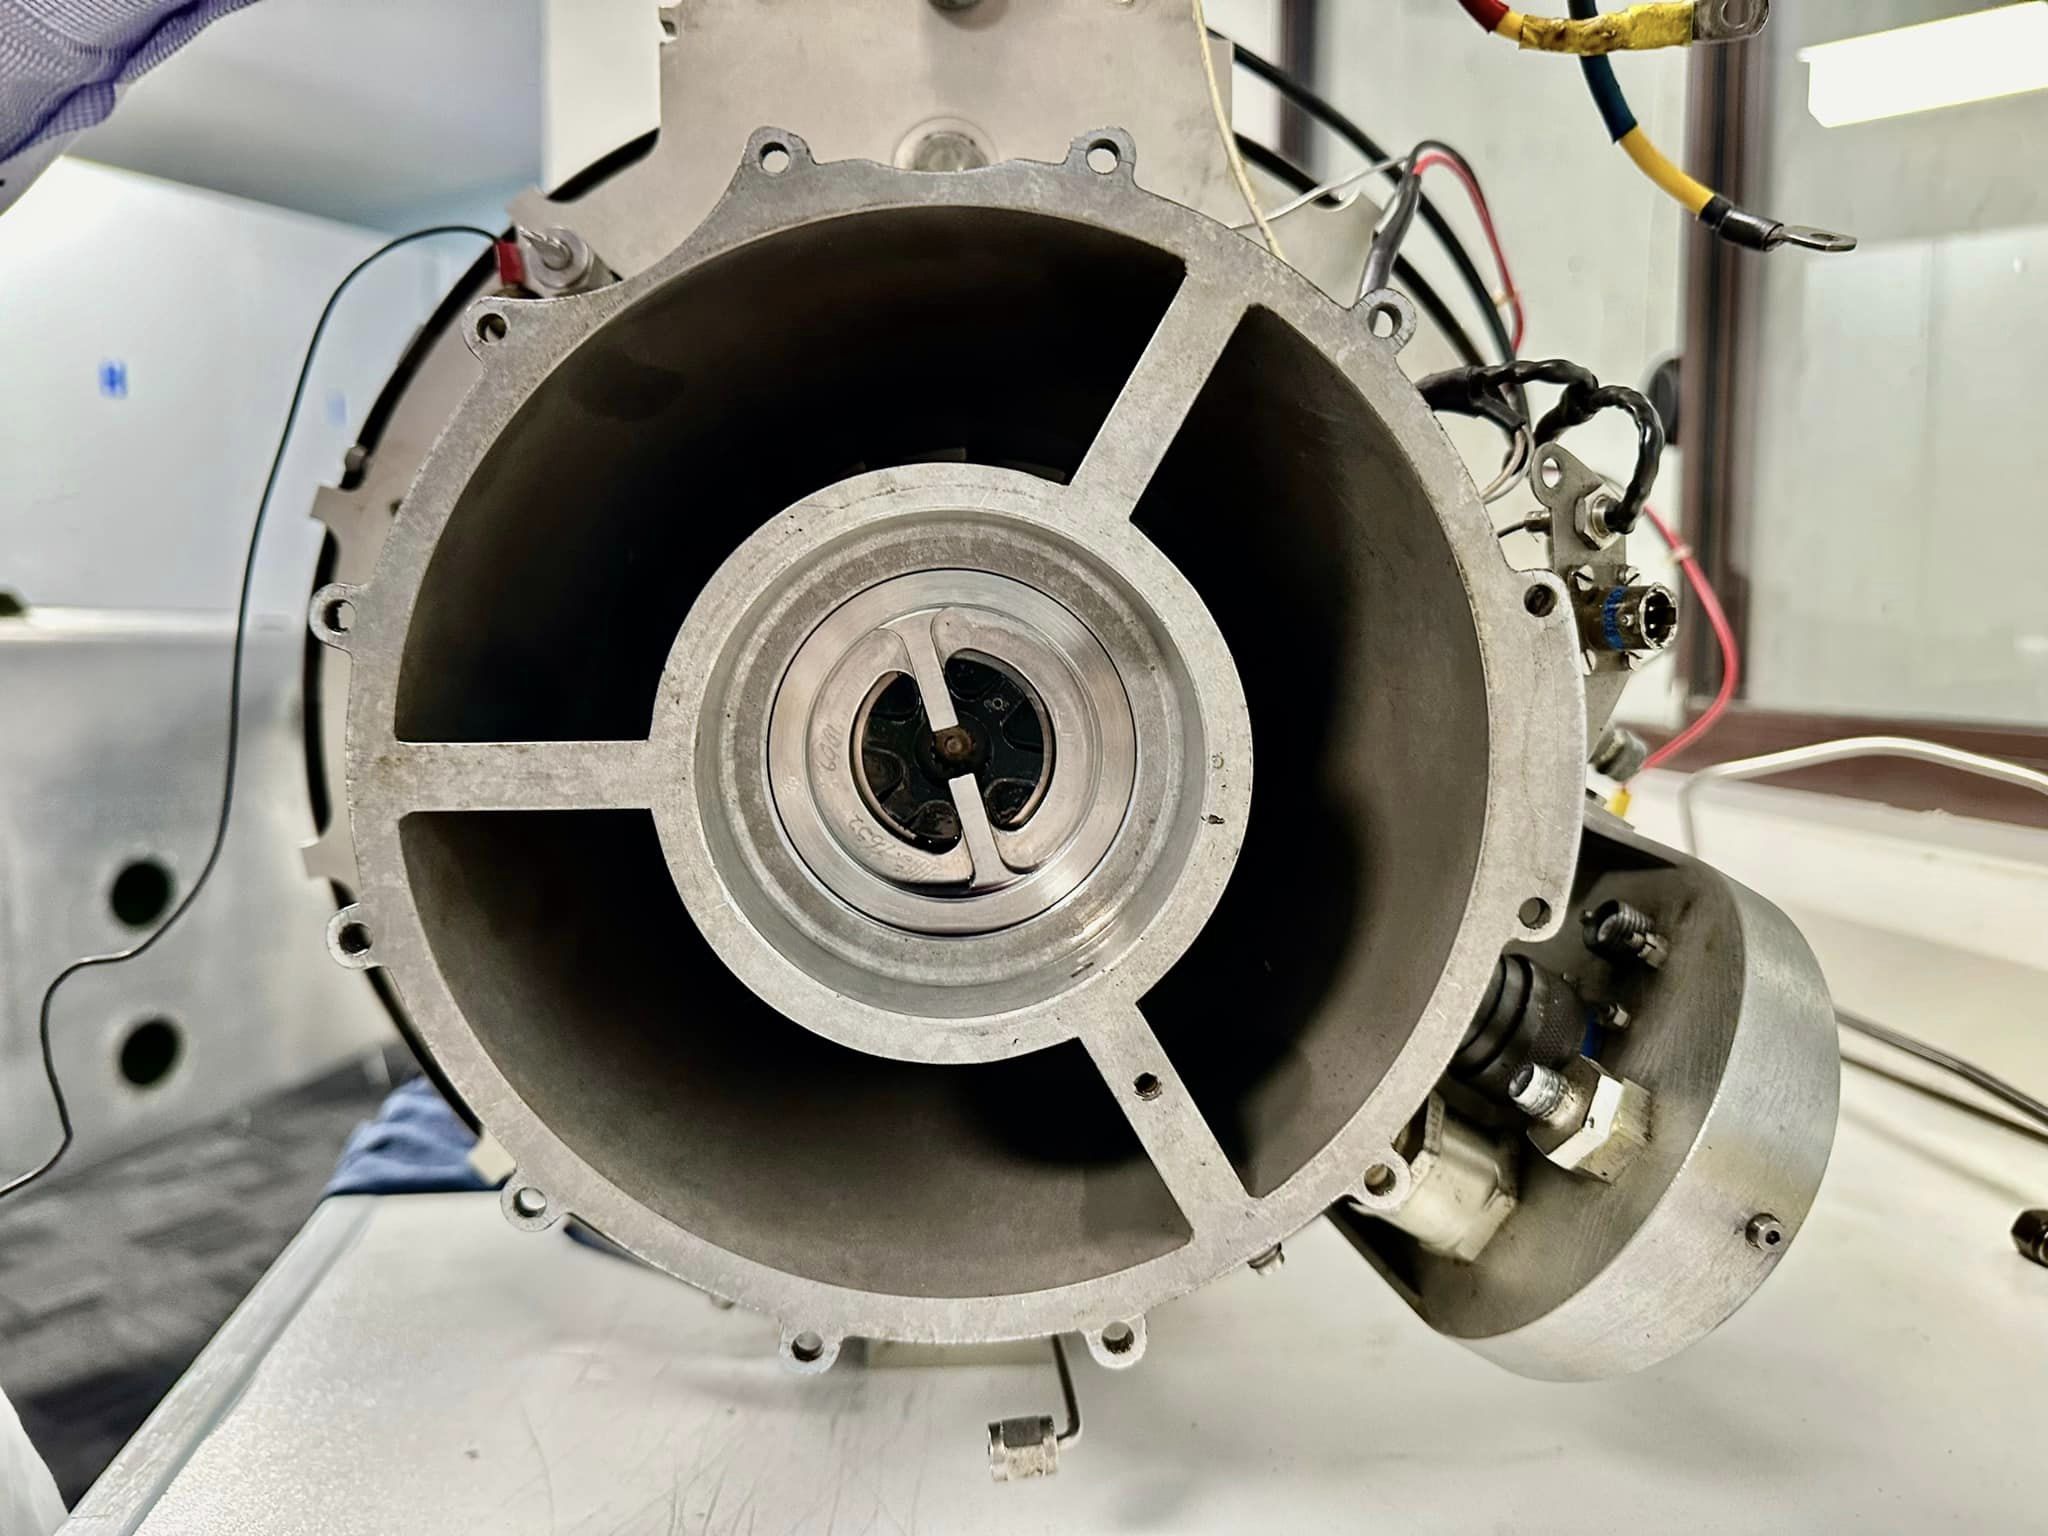
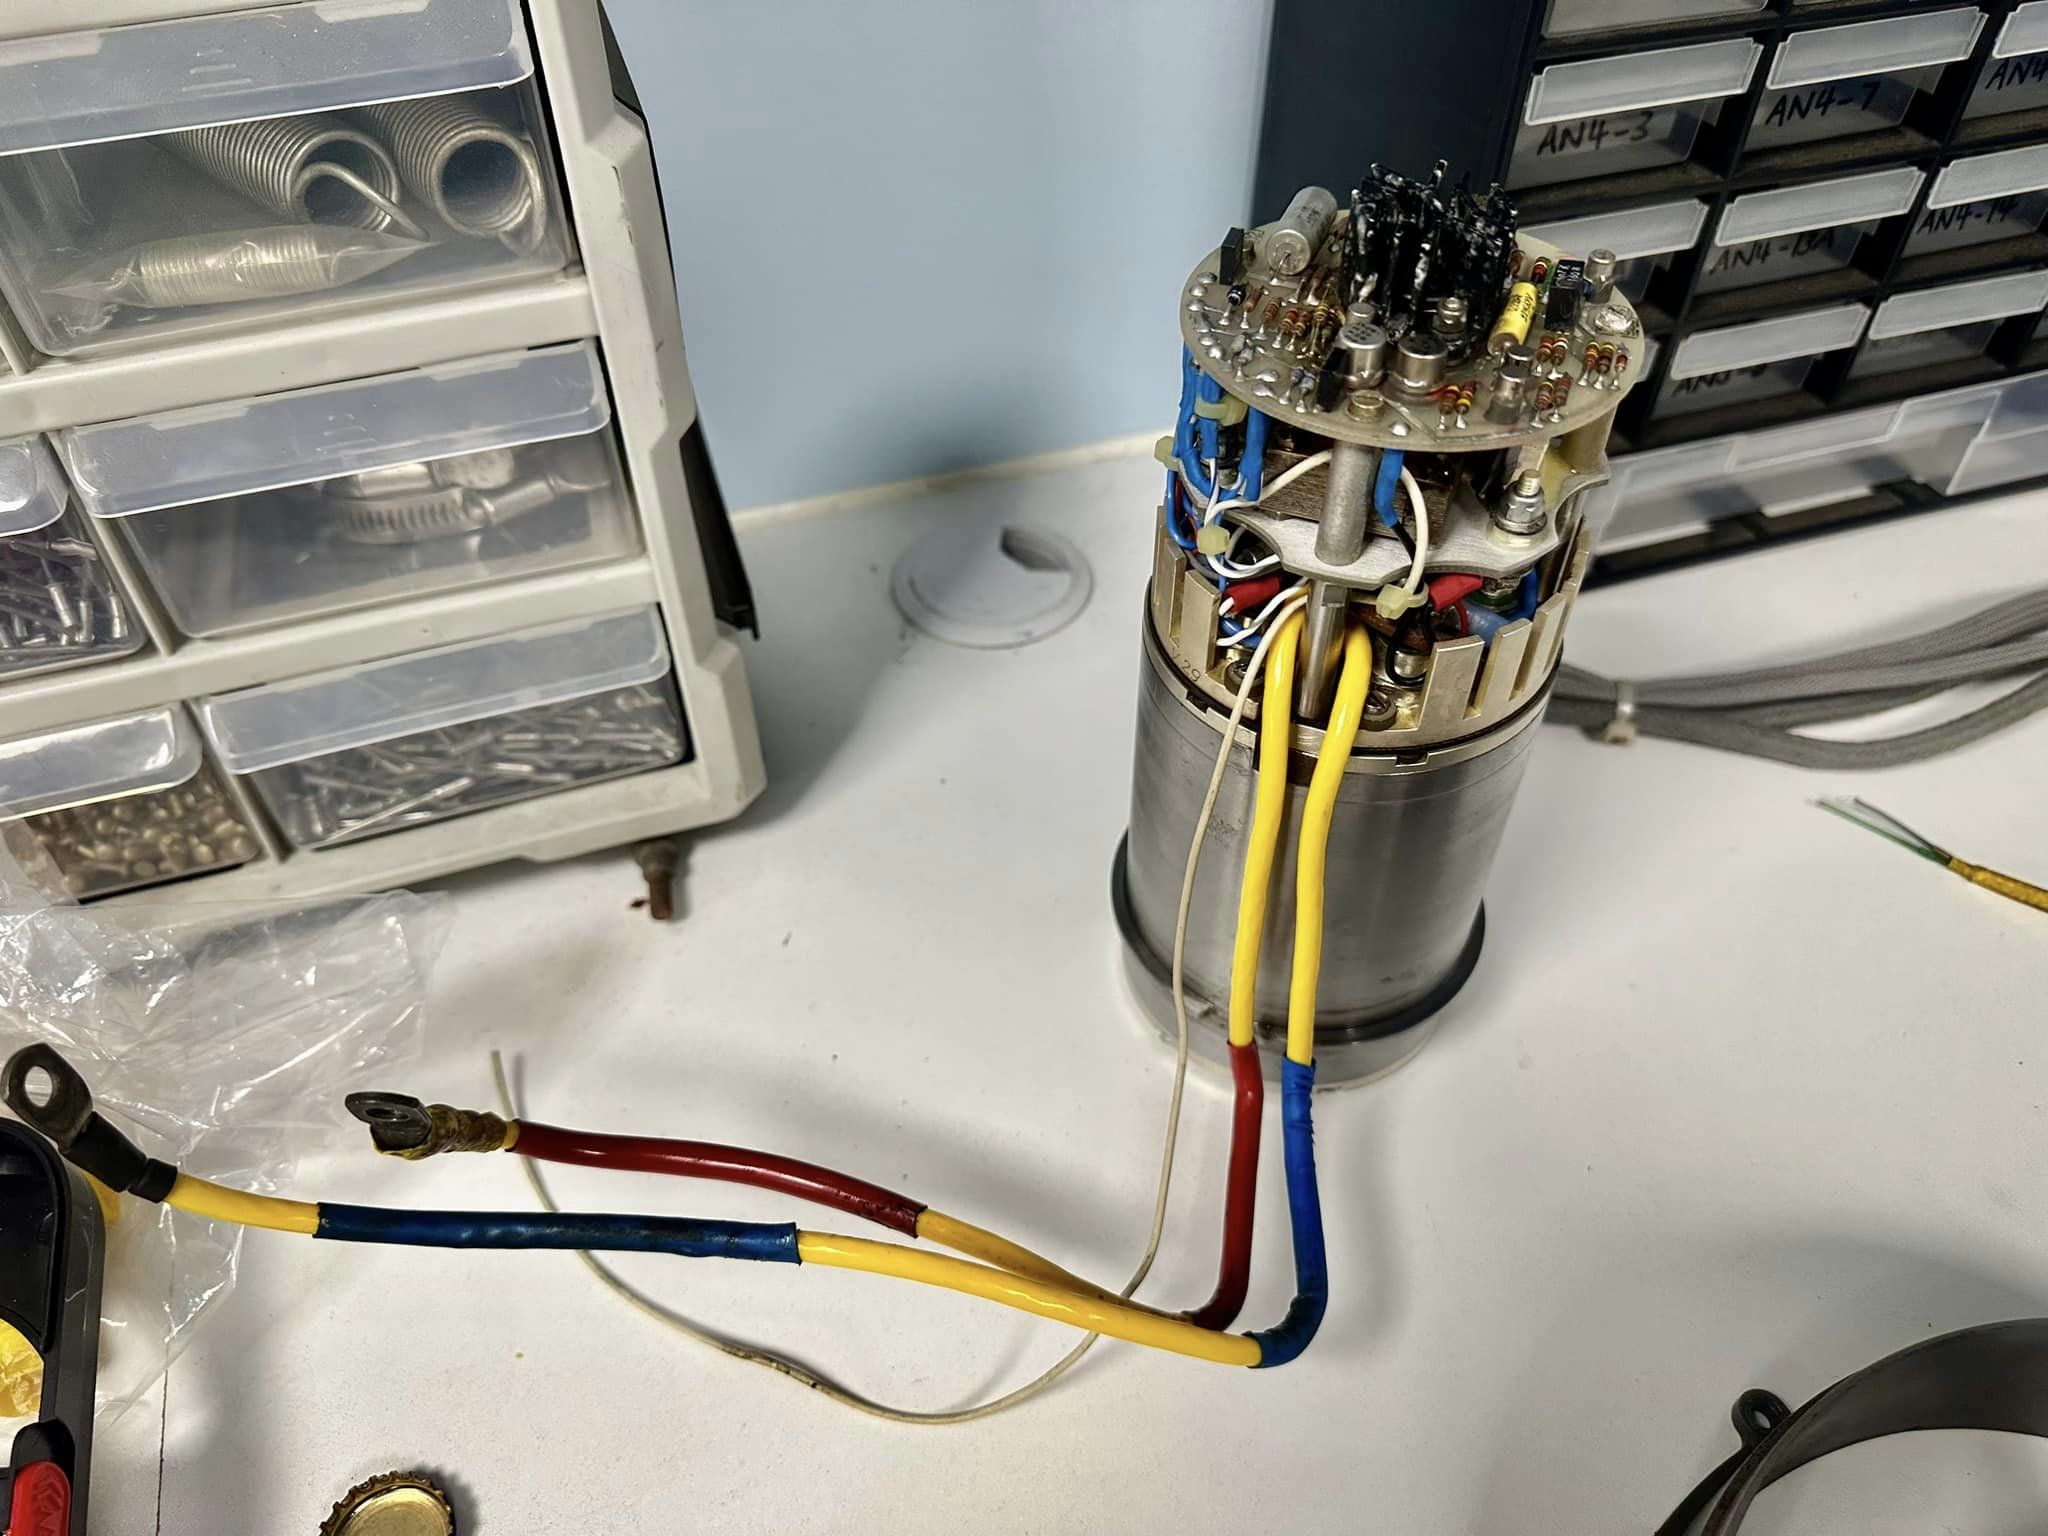
We removed the 28v alternator from the forward section of the turbine today.
The alternator assembly came out easy enough, after being bathed in ACF50 and gently tapping it to walk the housing back out of the stator casting. The alternator housing is stainless steel, whilst the turbine stator casting is alloy. My guessing is that the alternator had not been out of this engine since 1989, some 35 years, and some moisture has worked it’s way in there.
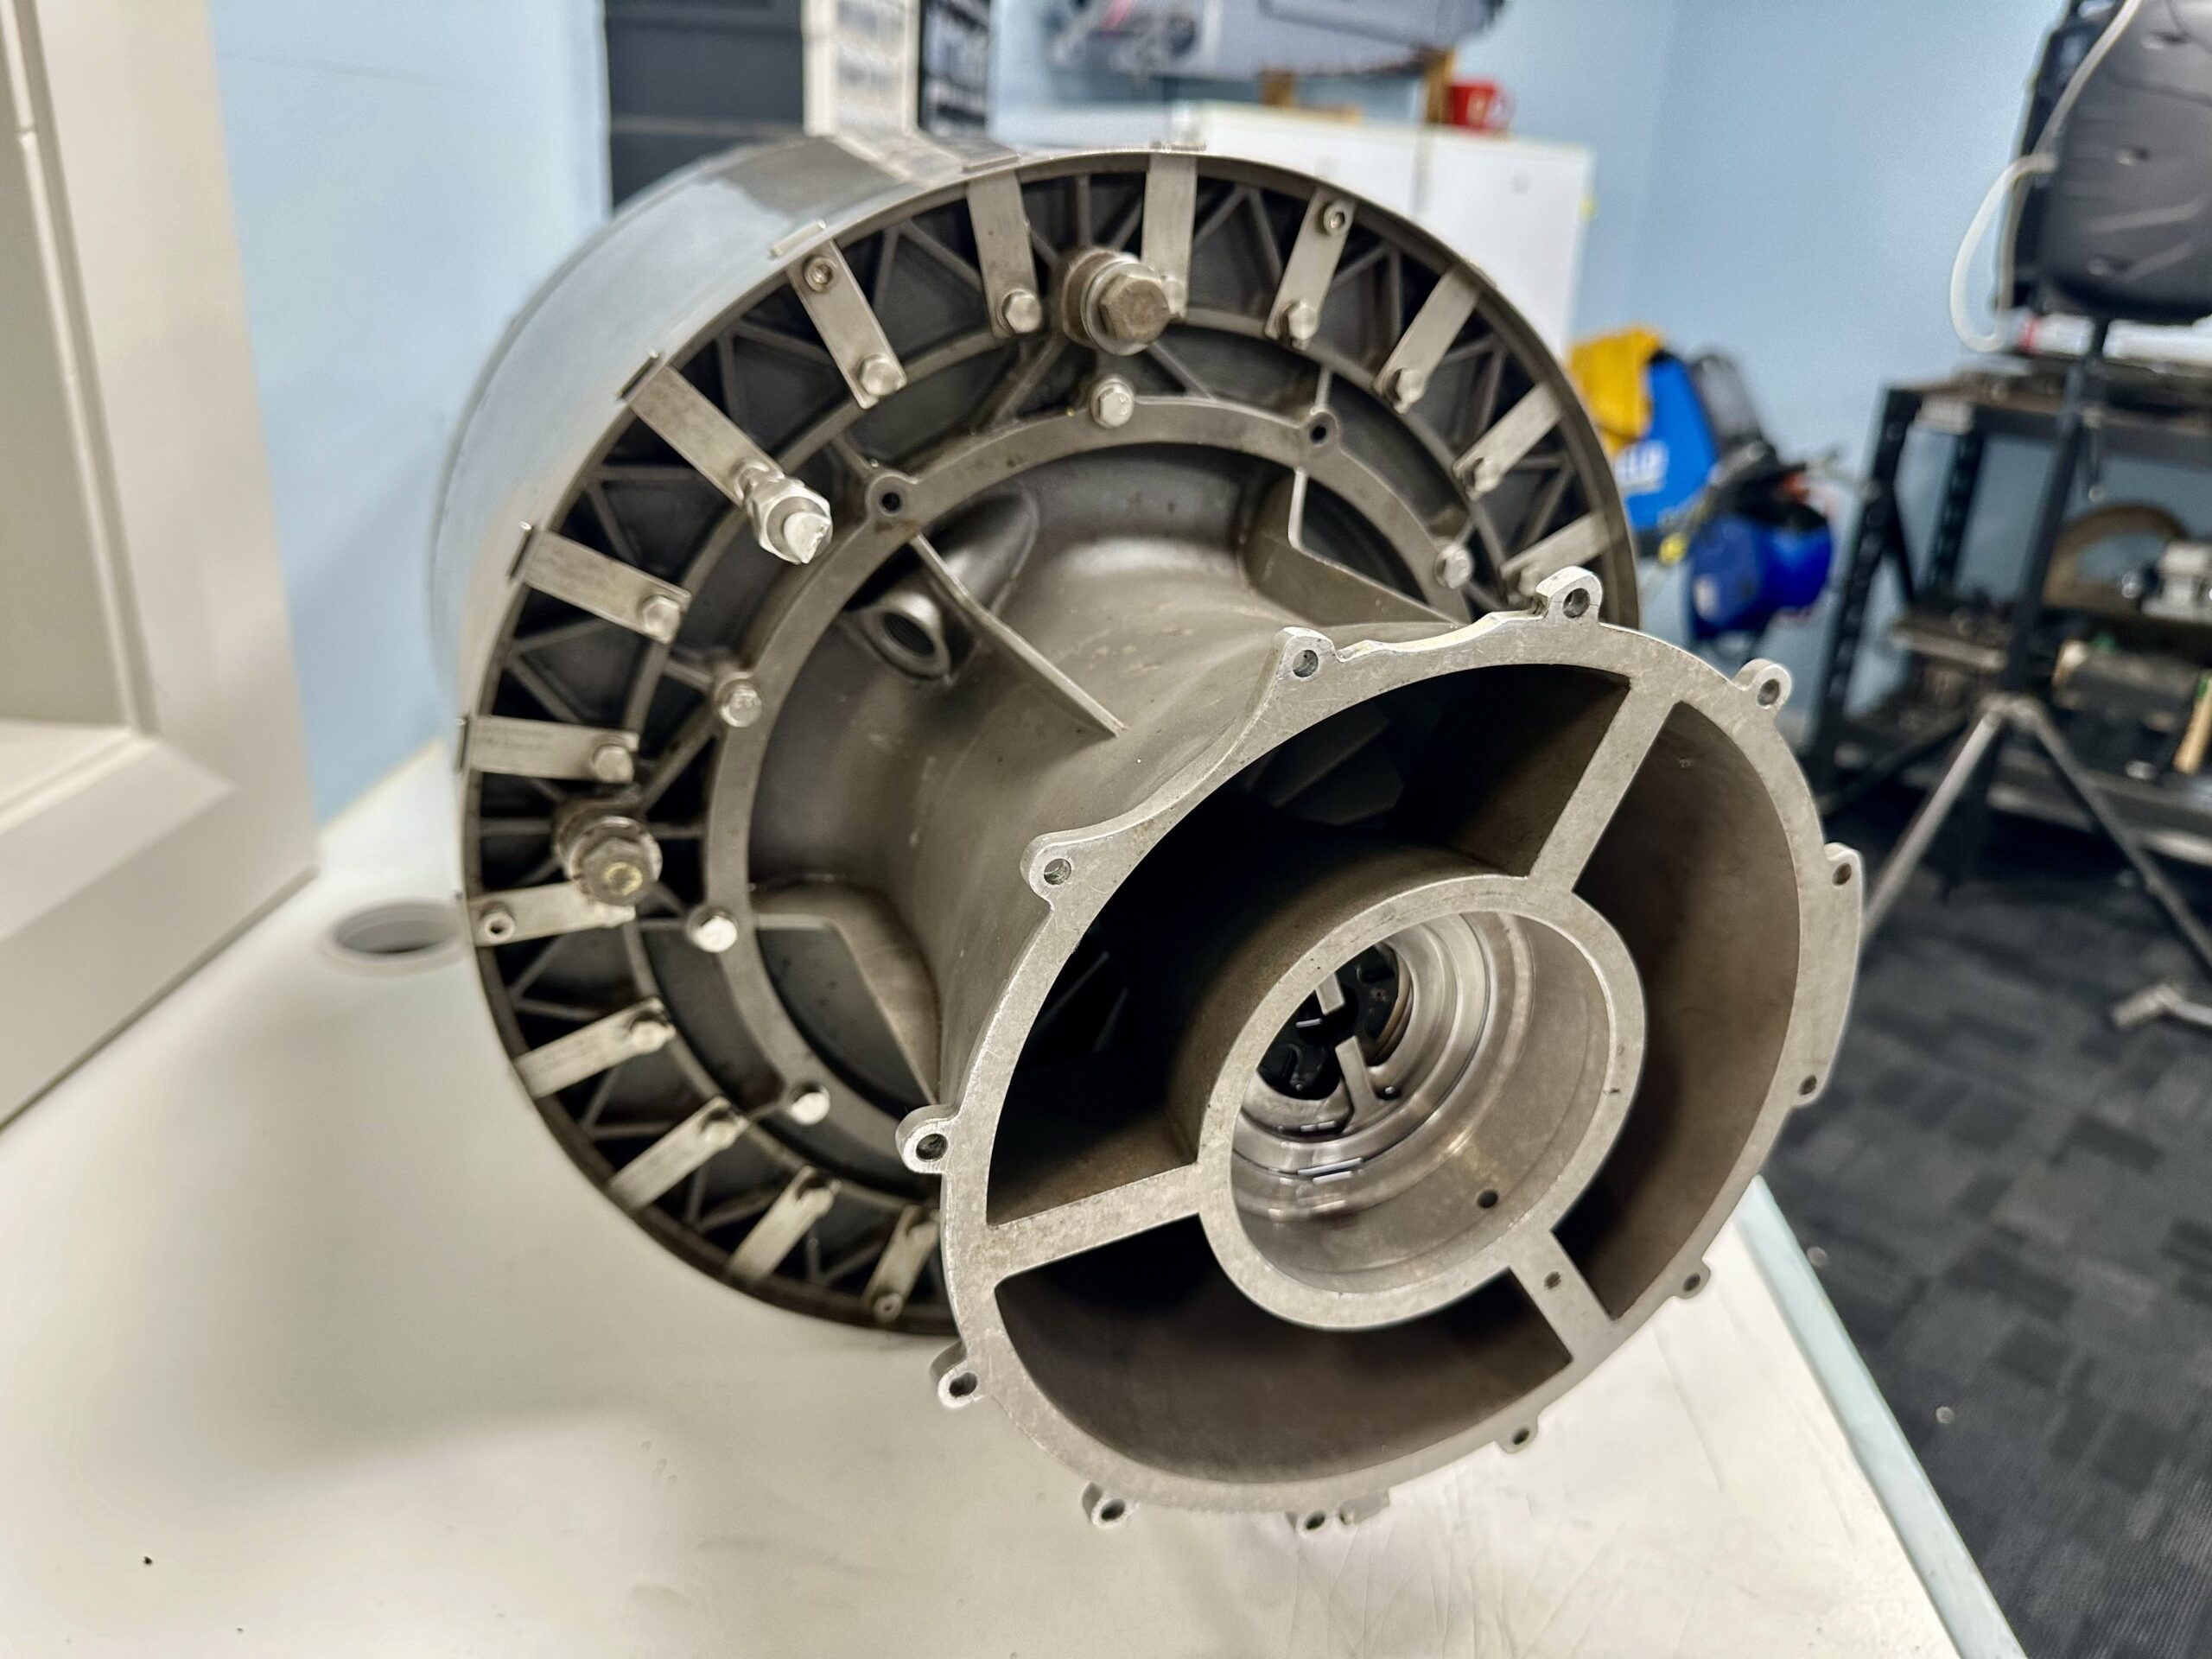
The task at hand is to remove all of the accessories and brackets, so that we can split the turbine case and remove the shaft/compressor assembly, so that we can replace the front and rear bearings. The front bearing is a ball bearing style and the aft bearing a roller pin bearing.
 Keymaster
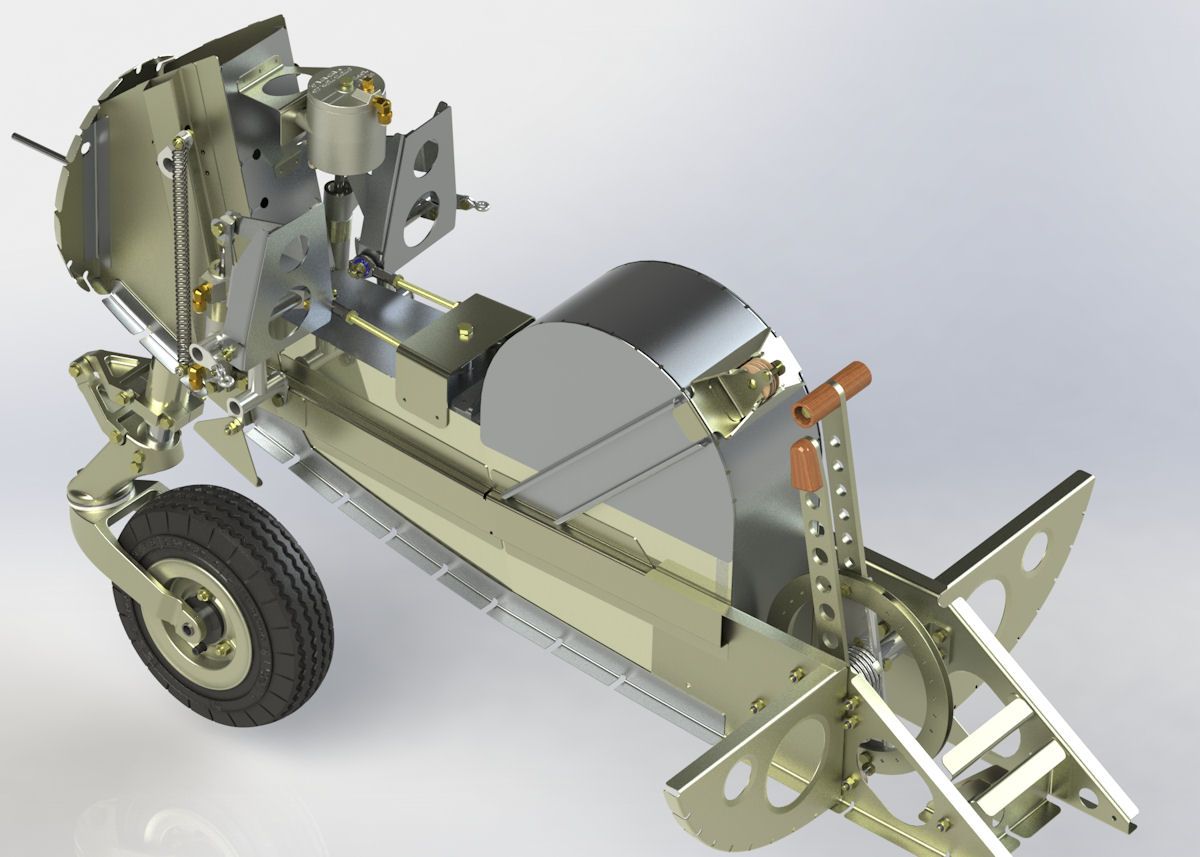
A 3d model of the nose-box assembly
 KeymasterKeymasterKeymaster
 -
AuthorPosts